Start: 11/14/05
Finish: 12/04/05
Total Time: 74 Hours
So this is the first big moment, the fuselage assembly. You start by building a brace and level system to reference for all your waterline measurements. While waterline measurements are those taken from absolute bottom of the fuselage, much the same way as on a ship, I have no intention of introducing it to flotation.
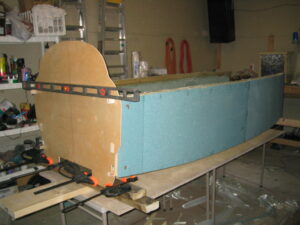
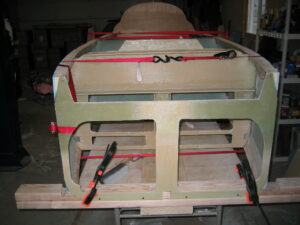
After building the assembly brace you start by clamping the temporary firewall to it so that the upper longerons are at exactly W.L. 23.0. At this point I began to see the first shapes of my plane really take shape. It made me smile.
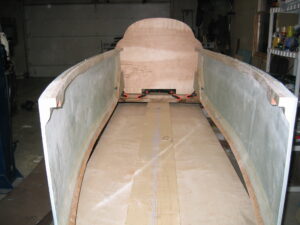
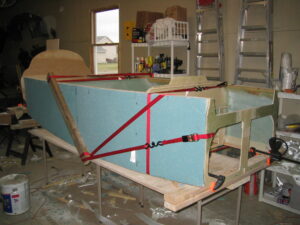
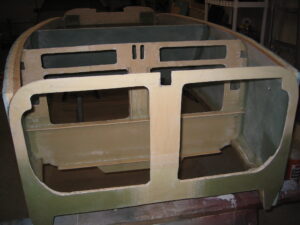
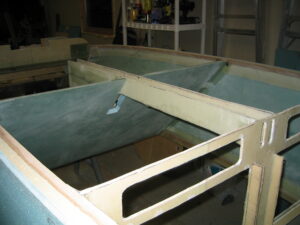
Next you temporarily clamp the forward most bulkhead (F22) to the assembly brace and line up the front of the longerons at W.L. 23.0 as well. After lining everything up square and level, and marking where each bulkhead lines up, it’s time to flox them in place. Flox is a mixture of epoxy and flocked cotton. After the flox is applied to the joints and everything is secured together with straps and clamps, it must cure for a day to ensure everything remains level and square. At this point it’s really starting to resemble an aircraft fuselage.
After the Flox cures the tie downs can be removed and the corner joints can be sealed with a layer of BID tape, and the fuselage is turned upside down.
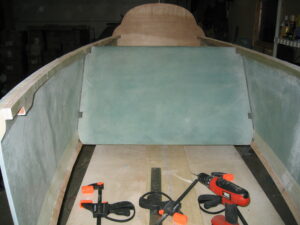
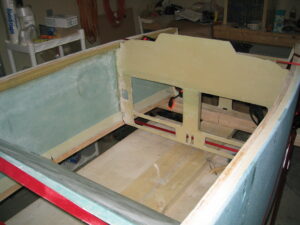
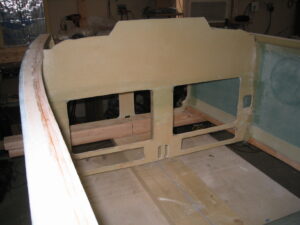
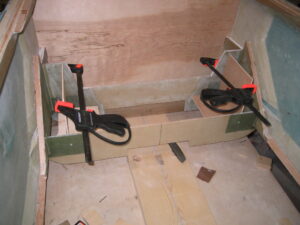
The landing gear bulkheads are installed next. First the Aft LG bulkhead, then the bottom of the forward one. Once the pilot holes are drilled for the main gear bolts, then the top of the forward LG bulkhead can be installed, and a number of reinforcement layups are added to both sides.
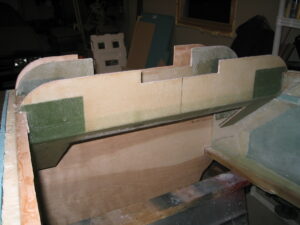
Next the front seatback brace/center keel/heat duct is made. After assembly it is floxed and BID taped into place. I had problems with the fuel selector valve bracket that is made for the seatback brace. I broke the 2024 Aluminum piece trying to bend it to shape. Others that had this problem reported making the bracket from 6 layers of BID instead of aluminum. I did the same, and must say, it should have been made this way to begin with. It’s lighter, easier to make, and stronger than the aluminum bracket.
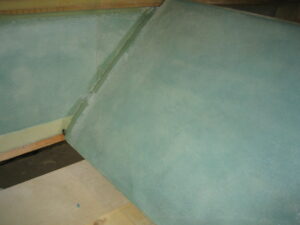
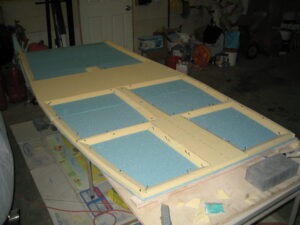
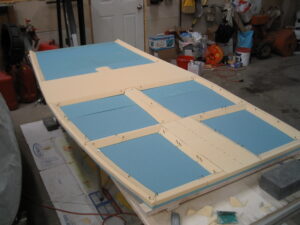
The final step is the installation of the fuselage bottom. The bottom is given contour on the inside by using foam spacers in the same fashion as the fuselage sides. The bottom foam is marked where all the bulkheads are located, and a brace is built on top of the bottom foam. Then the bottom is transferred to the workbench to assemble all the required spacers. Once the spacers are microed into place and allowed to cure, the bottom is trial fitted on the fuselage. After any corrections are made it’s time to glass the bottom, and after a partial cure it is floxed and BID taped to the bottom of the fuselage.
