Start: 01/21/07
Finish: 04/19/08
Total Time: 94 Hours
We’ve started this chapter early, so as to keep ourselves busy for a couple days while waiting for the rest of the parts for the nose gear chapter.
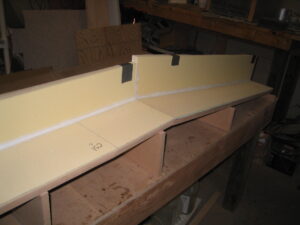
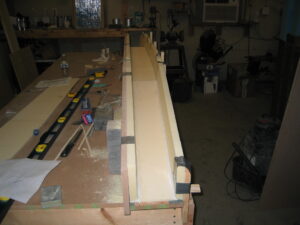
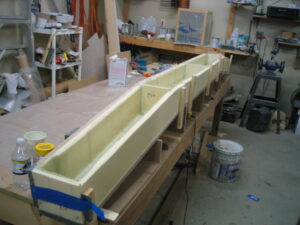
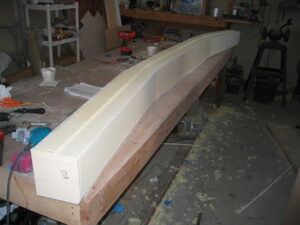
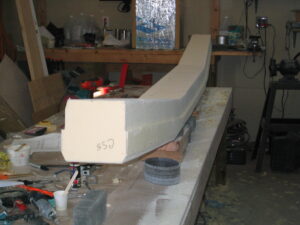
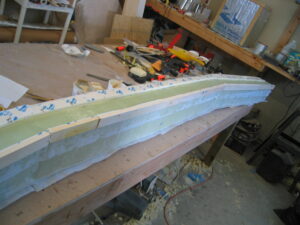
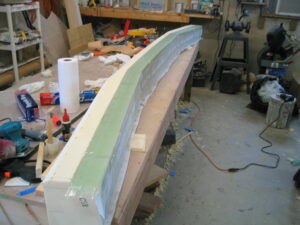
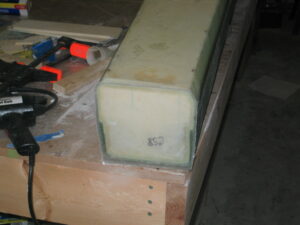
We start by building a jig from 3/4″ MDF. Then all the foam for the spar is cut and microed together in the jig.
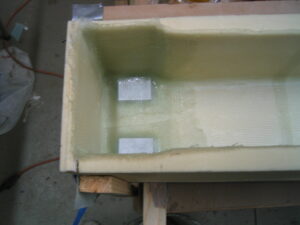
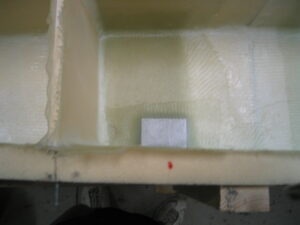
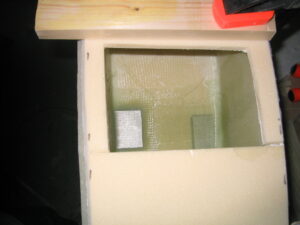
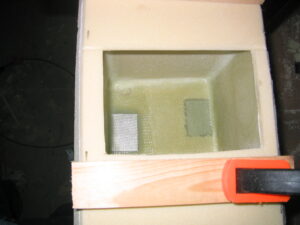
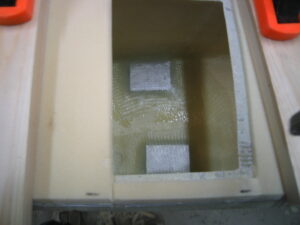
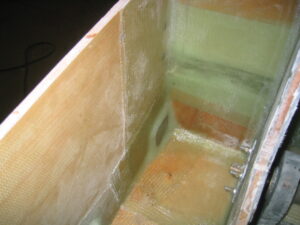
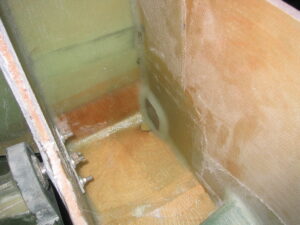
The next step is to glass the inside of the spar box, and reinforce the wing attach points with added fiberglass, as well as aluminum hard points. The top of the spar box is then glassed and allowed to cure before installing to close out the spar box.
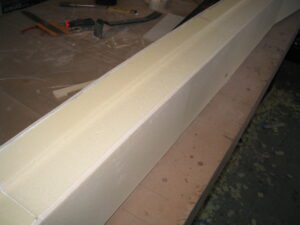
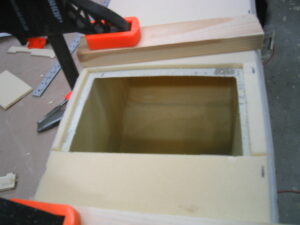
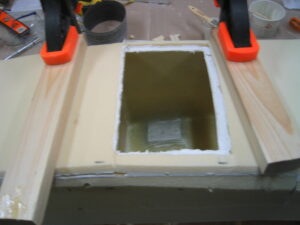
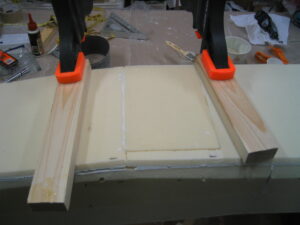
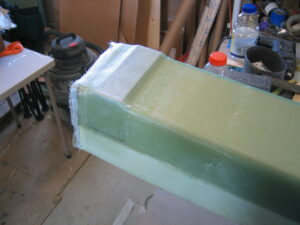
The spar cap troughs are then cut into the top and bottom faces. Additional hard points are now installed on the outside of the previous wing attach hard points. This is where we discovered an oops. When installing the hard points on the inside of the spar, the 2 inboard ones were installed toward the bottom edge instead of the top edge. With the top cover now installed, this would require a bit of surgery to fix. We cut access holes in the top cover, over the area where we needed to install the additional hard points. We then sanded the area and floxed in hard points where they are supposed to be and covered with 1 ply BID. We then cut a 1/4″ of the foam surrounding the access hole away, leaving a glass lip. We then cut replacement foam 1/4″ wider than the access hole, glassed the inside surface and microed it into place. Total repair time was about 3 hours.
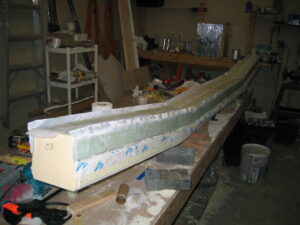
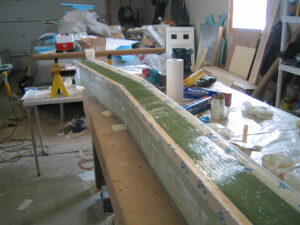
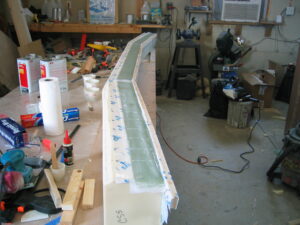
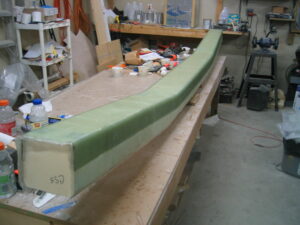
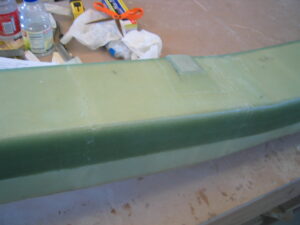
Next we installed the shear web across the top and bottom spar cap troughs, as well as the aft face. the shear web consists of 4 plies of UNI fiberglass, layed up at a 45 degree orientation. This step took us considerably longer than we had expected. In retrospect I believe the size was the greatest adversary. It took so long to get a ply across the entire span that the epoxy was getting sticky back at the beginning of the span by the time we got to laying up the next ply. This made it difficult to work out the air bubbles. We had used primarily slow hardener for this layup, so I don’t know how we could have made it easier.
The next morning we got up early and went out to the garage expecting to find a cured shear web to lay up the top spar cap on. I was certain that I had set the thermostat to manual mode the night before and set it to 74 degrees. What I found the next morning, however, was that the thermostat had still been in automatic mode, and had dropped back to 65 degrees. Our shear web was still a bit sticky. Being we were going to be laying up more glass anyway I didn’t worry about it, but I only pulled the peel ply off of the one spar cap trough, so that the peel ply would still be effective on the other two surfaces after they finished curing. This turned out to be a good thing, as some excess epoxy dripped down through the dam onto the aft face shear web during squeeging. The peel ply makes this no problem.
I had pulled the peel ply from the bottom spar cap trough first, so that’s the one we laid up first. It went very smoothly except for the poor quality spar cap tape from Aircraft Spruce. The cross thread was tied in knots a number of places. Apparently they had trouble with the thread breaking. The knots would get caught on the glass strands as we were pulling the cross thread out, thus disrupting the straight fibers. Lots of time lost to straightening the glass. This combined with numerous other order difficulties we have had with Aircraft Spruce recently has led us to decide not to order from them anymore. Total time for the bottom spar cap was about 5 hours. After cure we flipped the spar over, and laid up the top spar cap, which took about 6 hours.
After the spar caps had cured we removed the 1×2 spruce dams, and radius the edge of the spar caps in preparation for another 4 ply UNI layup simular to the shear web, but this time going over the spar caps, and onto the forward beveled edges.
This 2nd 4 ply UNI layup went better than the first one (the shear web) did. Basically we knew what we were up against, and prepared for it a little better. I increased the temp in the garage to 78 degrees to get the epoxy flowing a little better, but some of the positive impact on the epoxy may have been offset by the negative impact to our productivity. Minnesotans don’t work as efficiently above 72 degrees. 🙂 After this had cured we installed the exterior wing attach hardpoint reinforcements. Once those were cured we flipped the spar over and cut the access holes for the inboard wing attach points. Then came the final layup to glass the forward face with 2 plies of UNI. Once cured we made flox corners on the end caps and glassed them with a ply of BID.
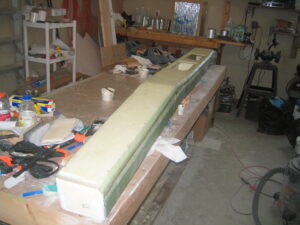
This completes the construction of the center section spar. The final step of this chapter, installing the spar into the fuselage is to be completed after the wings have been constructed. So we’ll come back to it in a few months. Spar construction was complete on 2/28/07, less than a month after starting, and while continuing work on chapter 13. This was a good chapter to use as “filler work” while waiting for parts. The construction of the spar has no dependencies on any other work, it’s very simple, and contains tasks requiring both short and long work sessions.
As pomised…A few (too many) months later we’ve returned to finish the last step of this chapter, installing the centersection spar. Our wings and winglets are complete, and we’ve started working on the turtleback and canopy. While waiting for the canopy bubble to arrive we took a break from Chapter 18 to install the spar, as we’ll need it to be done in a couple weeks anyway.
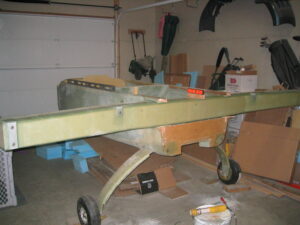
Installing the spar is an exercise with 4 easy (tongue in cheek) steps. 1) check level, 2) check square, 3) adjust, 4) repeat. After many hours of step 1 through 4, we finally had everything perfect, and floxed the spar into the fuselage. What a wonderful sight to see the fuselage grow again. After glassing all the reinforcement tapes from the fuselage to the spar, firewall to the spar, and landing gear bulkheads to the spar, we stood back and wished we had held off on taking the wings up to the hangar. It would be great to bolt them on and see the bird with outstretched wings for the first time. Our garage would have no room to be working on anything though, so for now we’ll just have to imagine what it will look like.
