Start: 07/08/06
Finish: 08/18/06
Total Time: 78 Hours
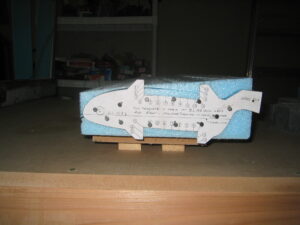
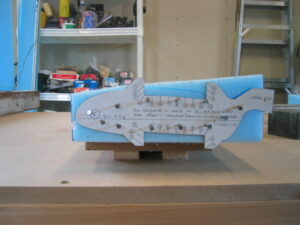
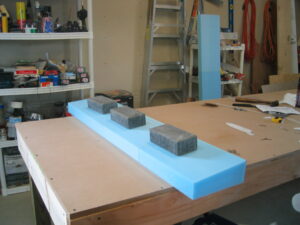
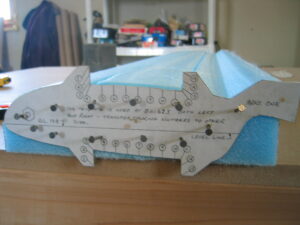
After a couple month derailment in progress, it was time to get things back on track. This chapter is the first introduction to hotwire cutting. I was a little apprehensive about this at first, but a couple local builders assured me it was not as difficult as I was imagining. They were right. Hotwire cutting involves using what looks like a 5 foot wide cheese slicer and formica templates to cut or carve the foam into the desired shape. Voltage is applied to heat the wire of the apparatus, thus slicing through the foam with ease. A template on each end of the foam block provides the guide necessary to obtain the correct shape. Care must be taken to ensure that both templates are affixed to the foam block using the same reference for trailing edge and level.
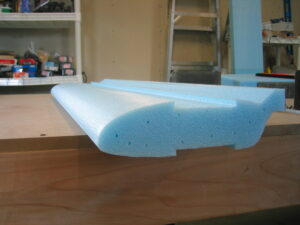
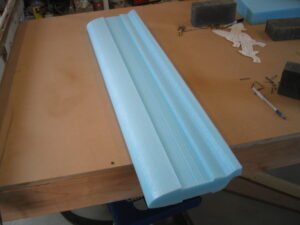
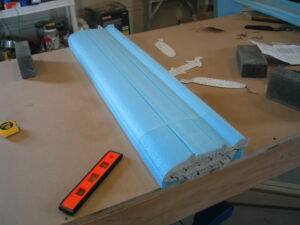
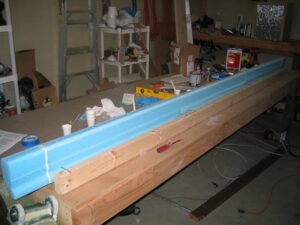
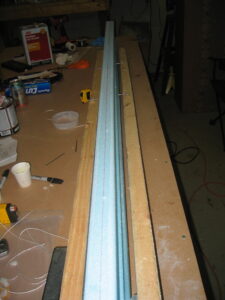
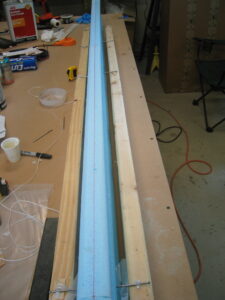
The canard core is made in 5 pieces. 1 center, 2 inboard, and 2 outboard cores. These are all cut out separately and then bonded together with micro. First the cores are cut using the airfoil templates. Then the center and inboard cores have a trough cut into the middle of the top and bottom surfaces. These troughs allow for the installation of the shear web and spar cap. The leading edge of the center and inboard cores is then cut off at the forward edge of the trough. They are then bonded together with micro, and aligned along their centerlines. They are now ready for the installation of the lift tab inserts and the shear web.
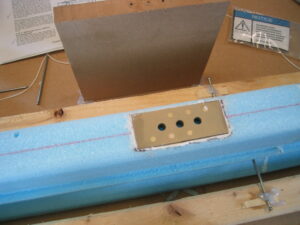
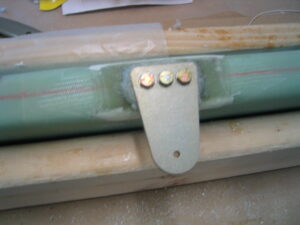
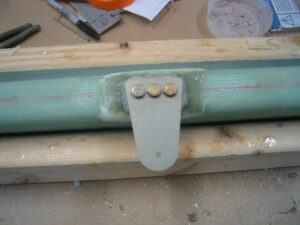
The shear web layup is installed around the leading edge of the spar cap trough. After installing the shear web the lift tabs are bolted and floxed to the inserts that were embedded into the foam in the previous step. The leading edge cores are now notched for the lift tabs and reattached with micro to the aft portion of the canard cores. Once the leading edge cores are reattached it is now ready for the bottom spar cap.
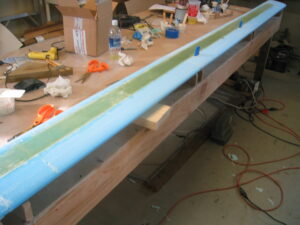
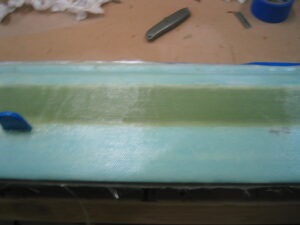
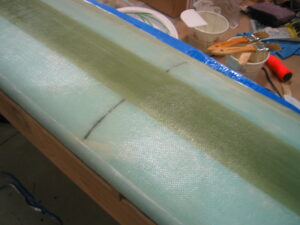
The spar cap is made from 3″ wide uni-directional tape. The strands are much thicker than those used in the uni or bid cloth we’ve worked with up to this point. The strands in this tape are loosely held together by a sparse cross thread, which is removed prior to epoxy application. Wetting out one layer at a time, layers are added until the spar cap trough is completely filled. Application of the skin immediately after laying up the spar cap is desirable to ensure the best bond possible, though it is possible to simply peel ply the spar cap, and lightly sand dull after cure before applying the skin. For the bottom spar cap and skin we had plenty of time (on a weekend) to install the skin immediately.
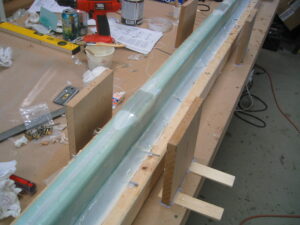
Once the bottom skin is cured, the canard is flipped right side up and re jigged in a level position, checking for level and twist. Any twist or out of level must be corrected at this point. The ‘fish tail’, as it referred to, is cut off at this point, creating a nice thin trailing edge. The contour is rechecked, and when all looks good, the top spar cap and top skin are applied.
