Start: 08/19/06
Finish: 12/29/06
Total Time: 51 Hours
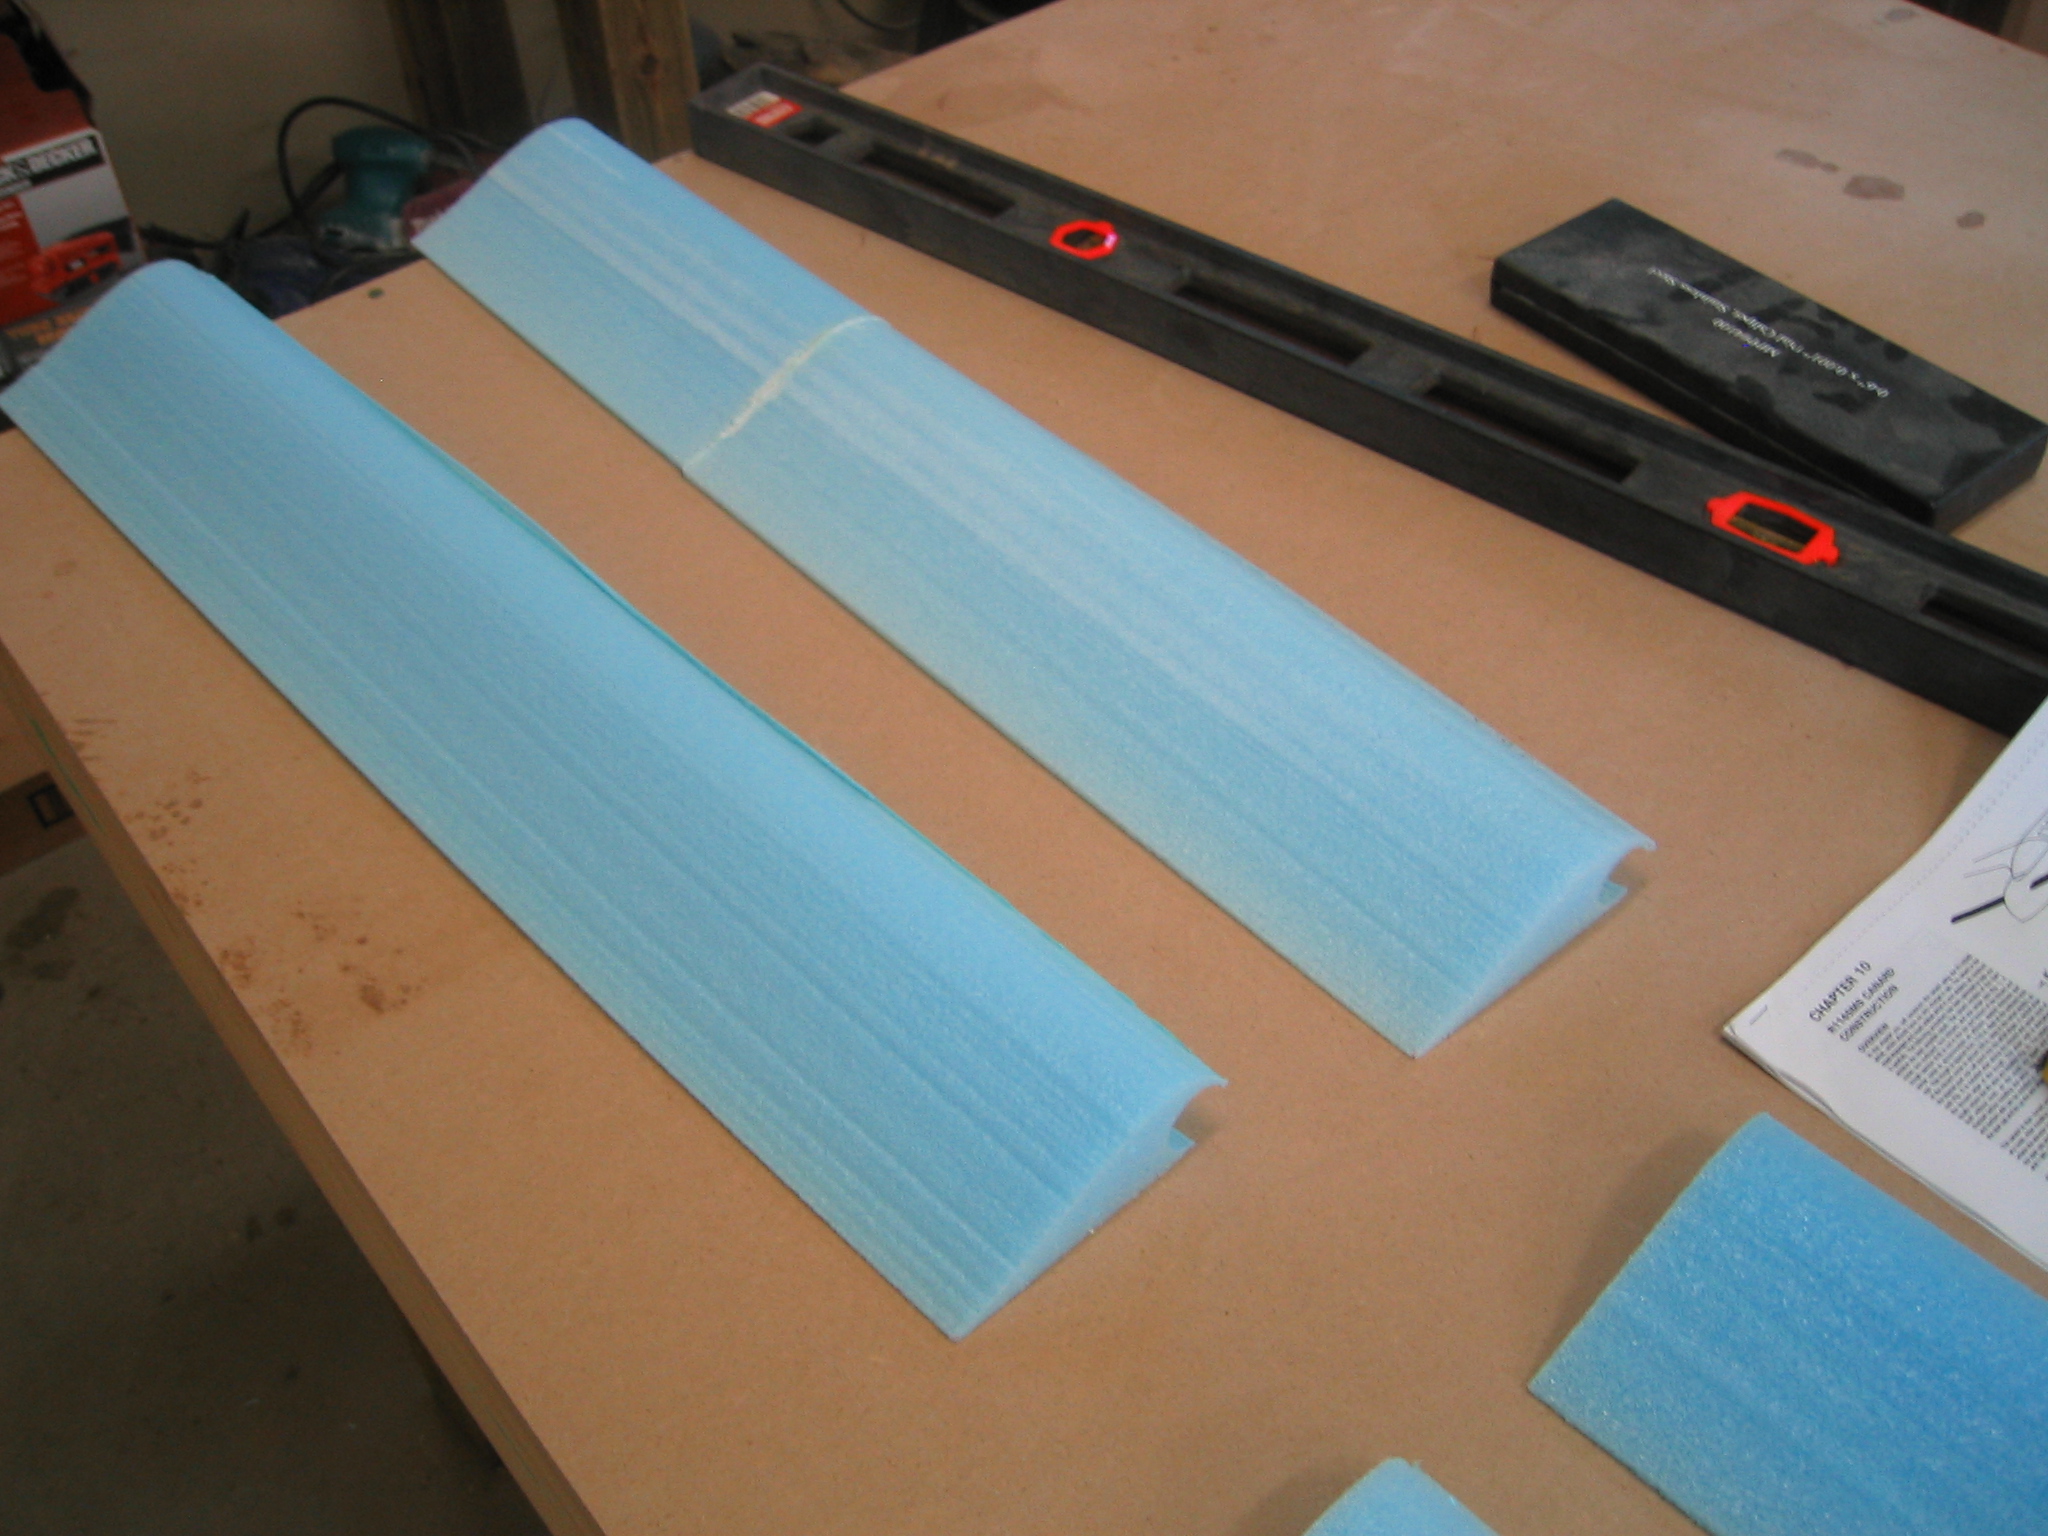
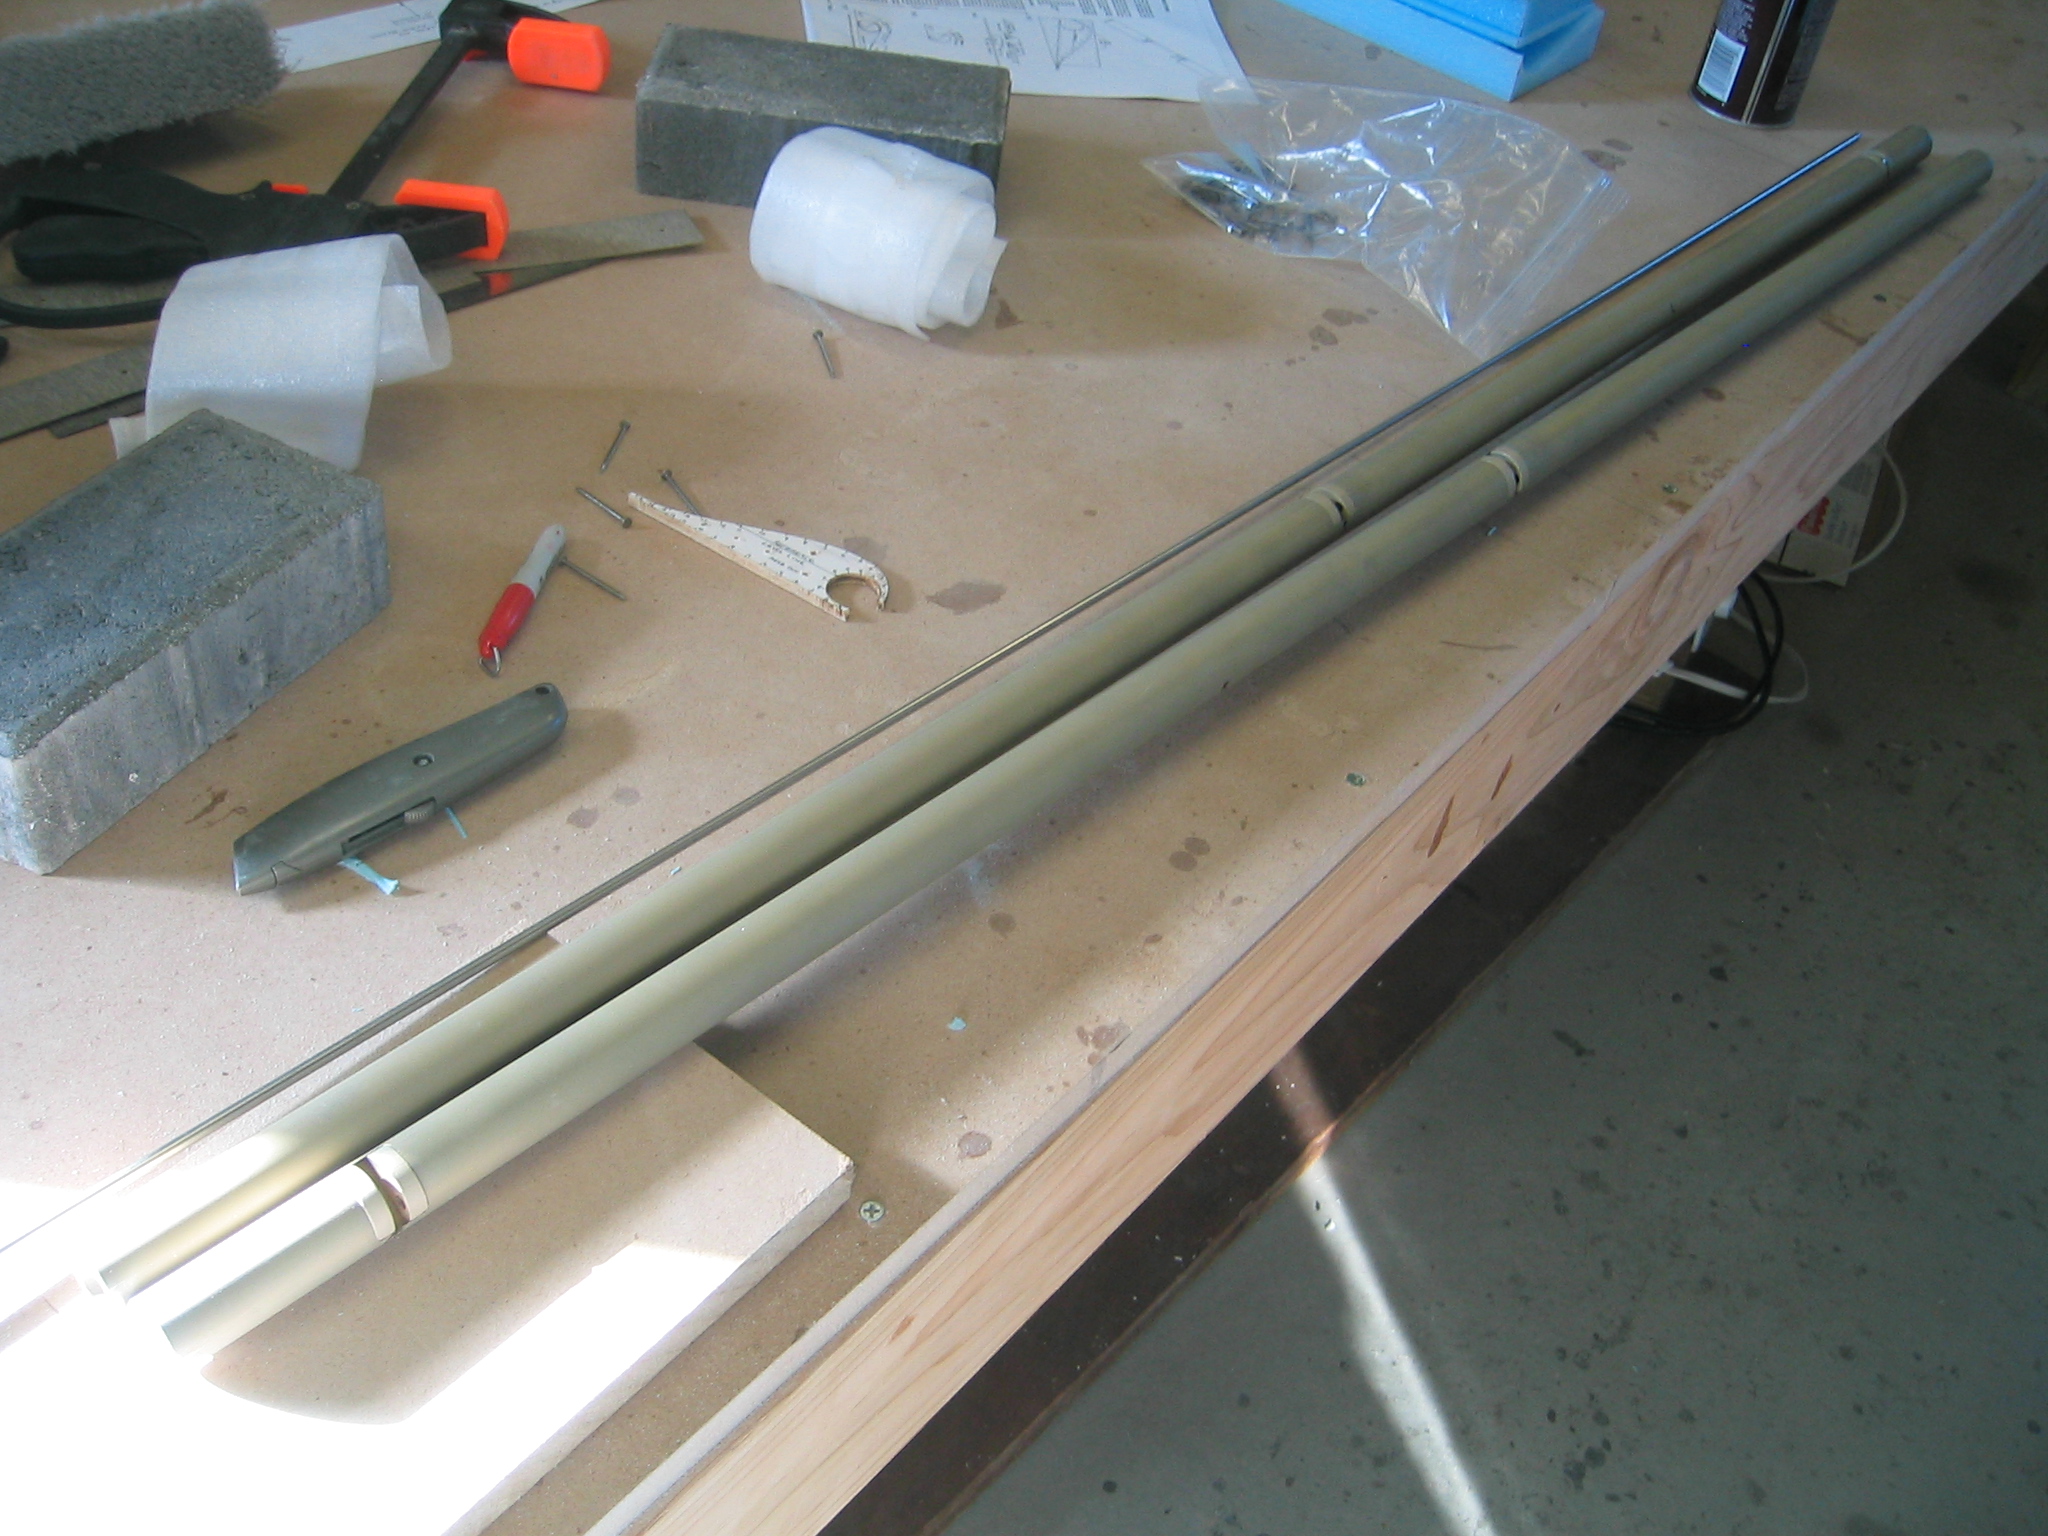
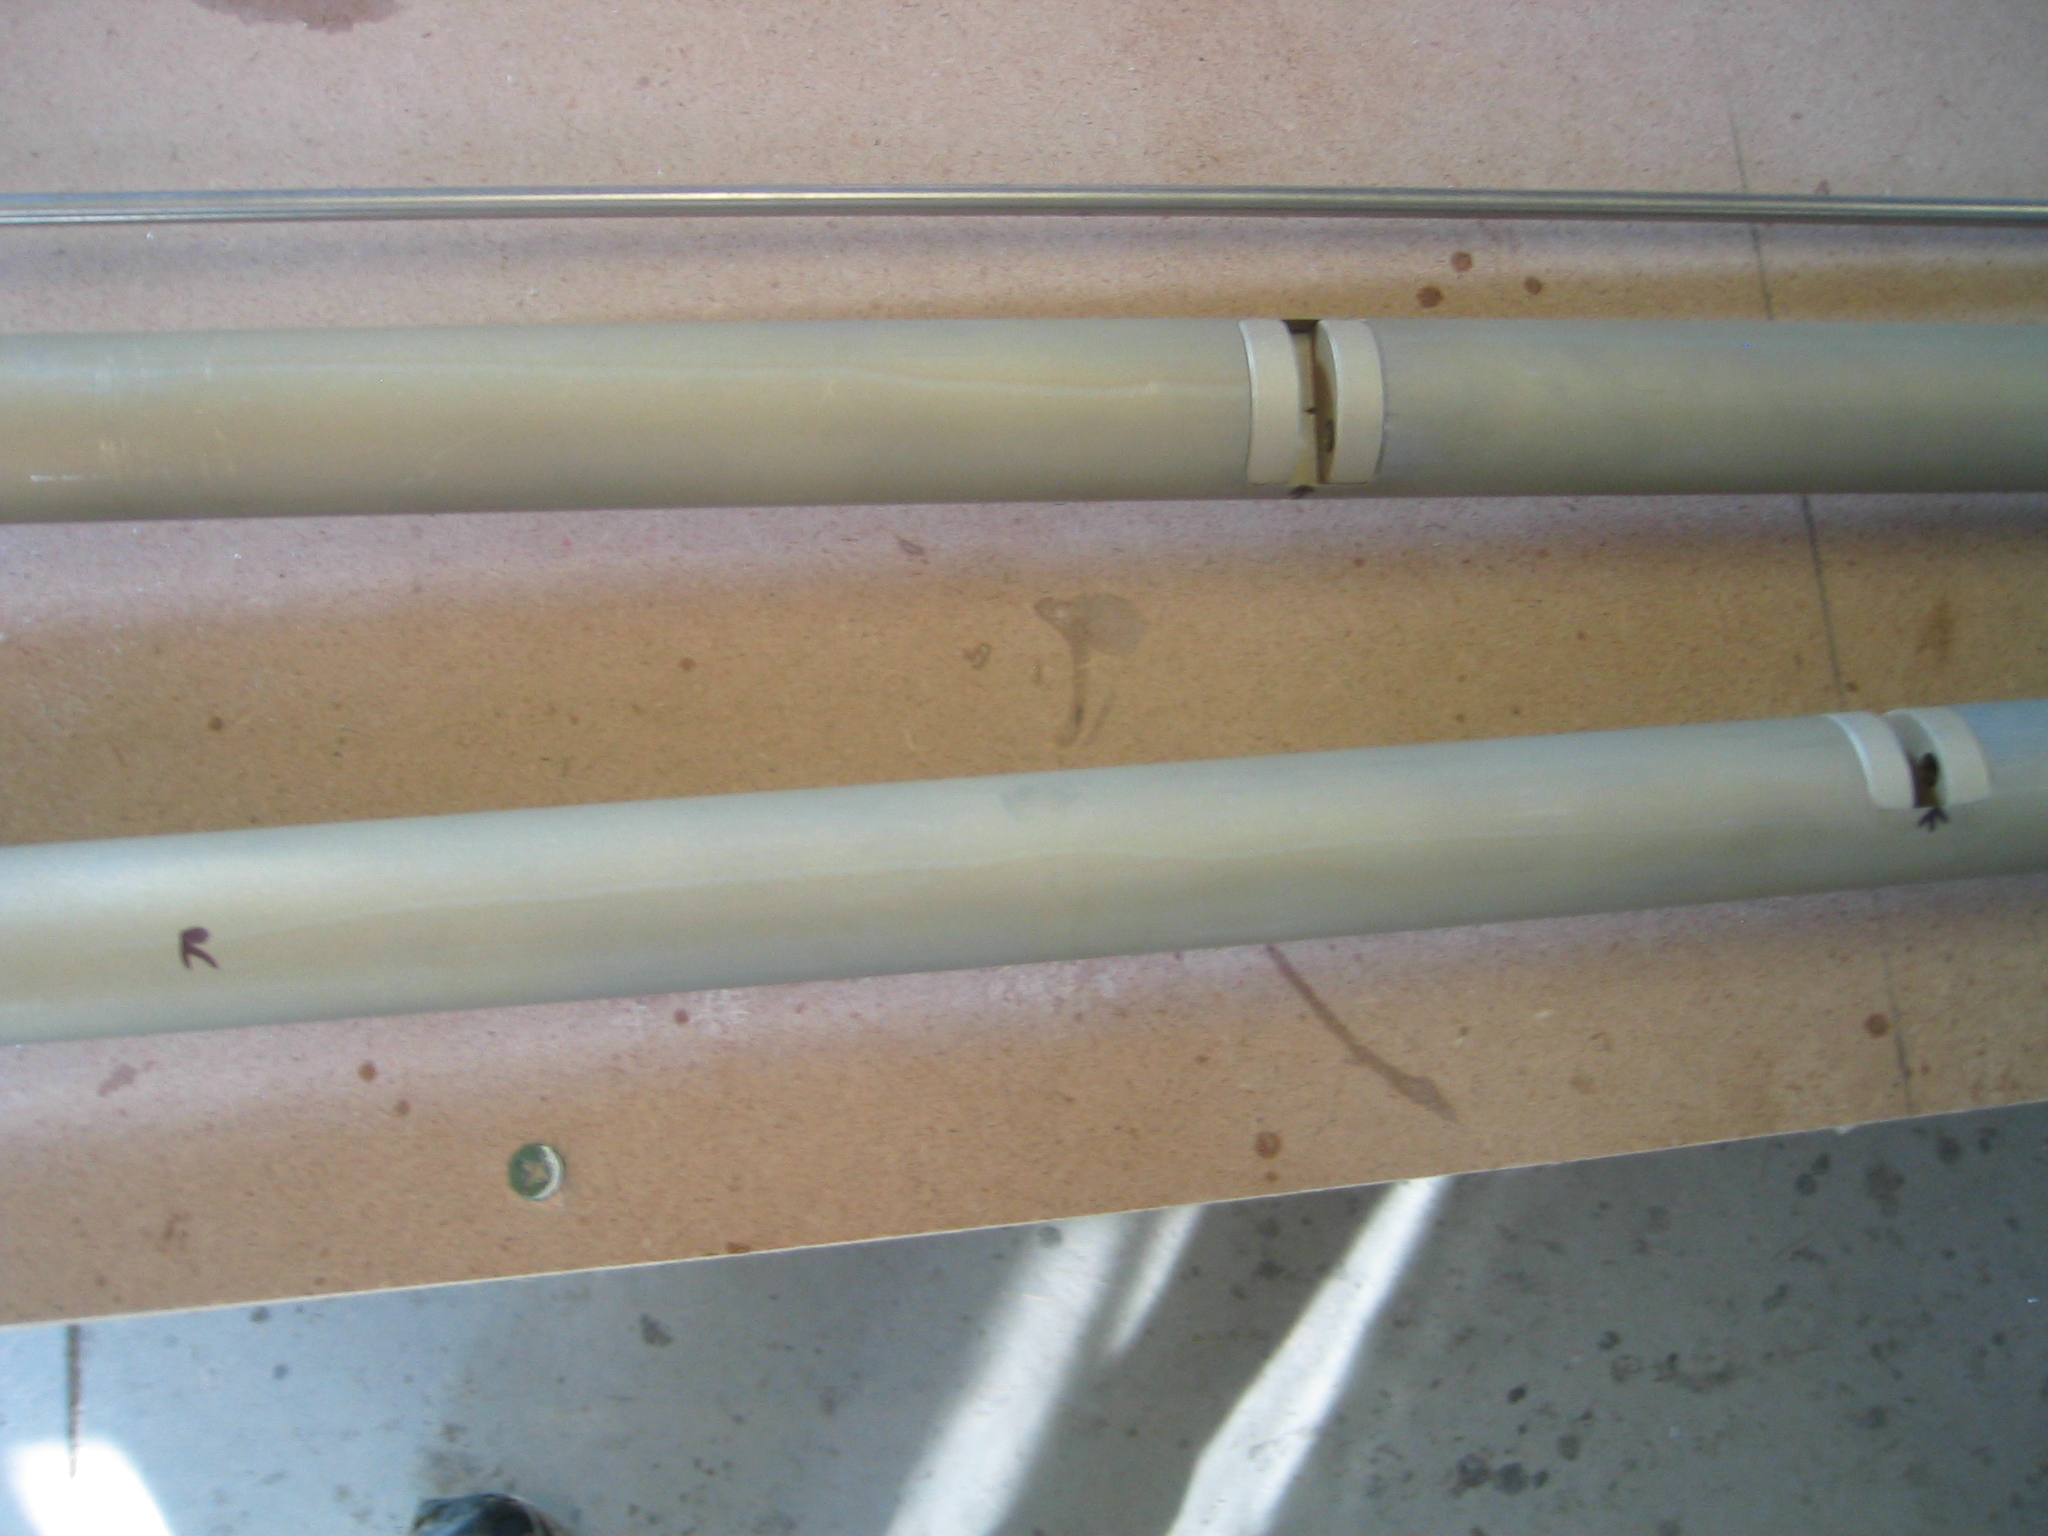
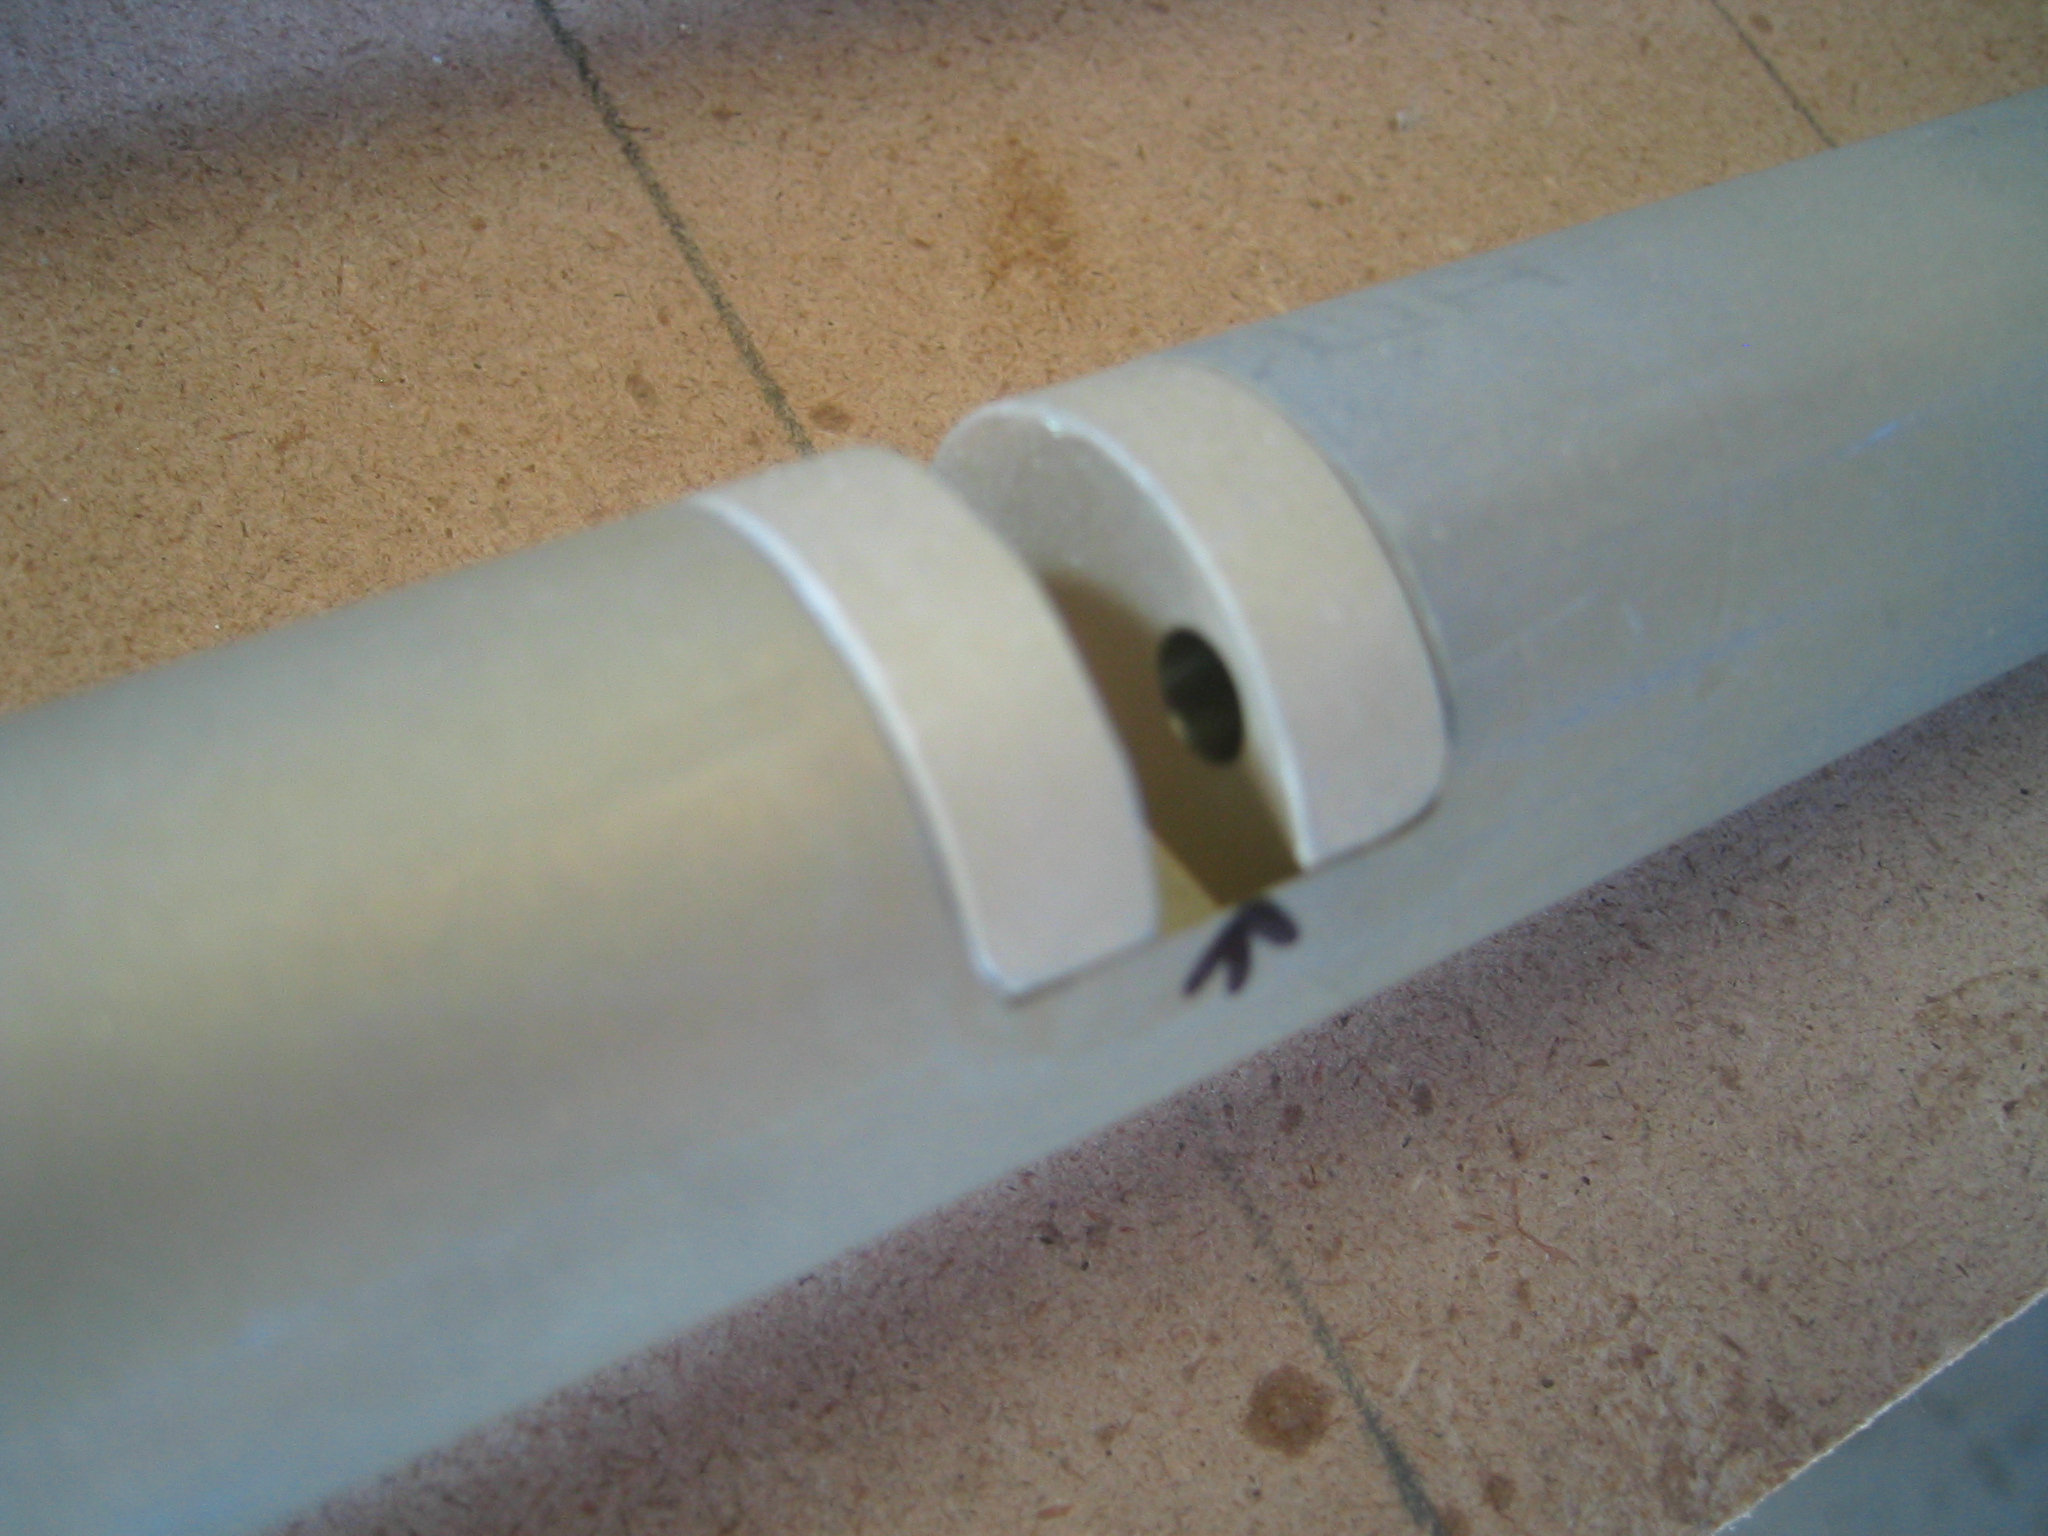
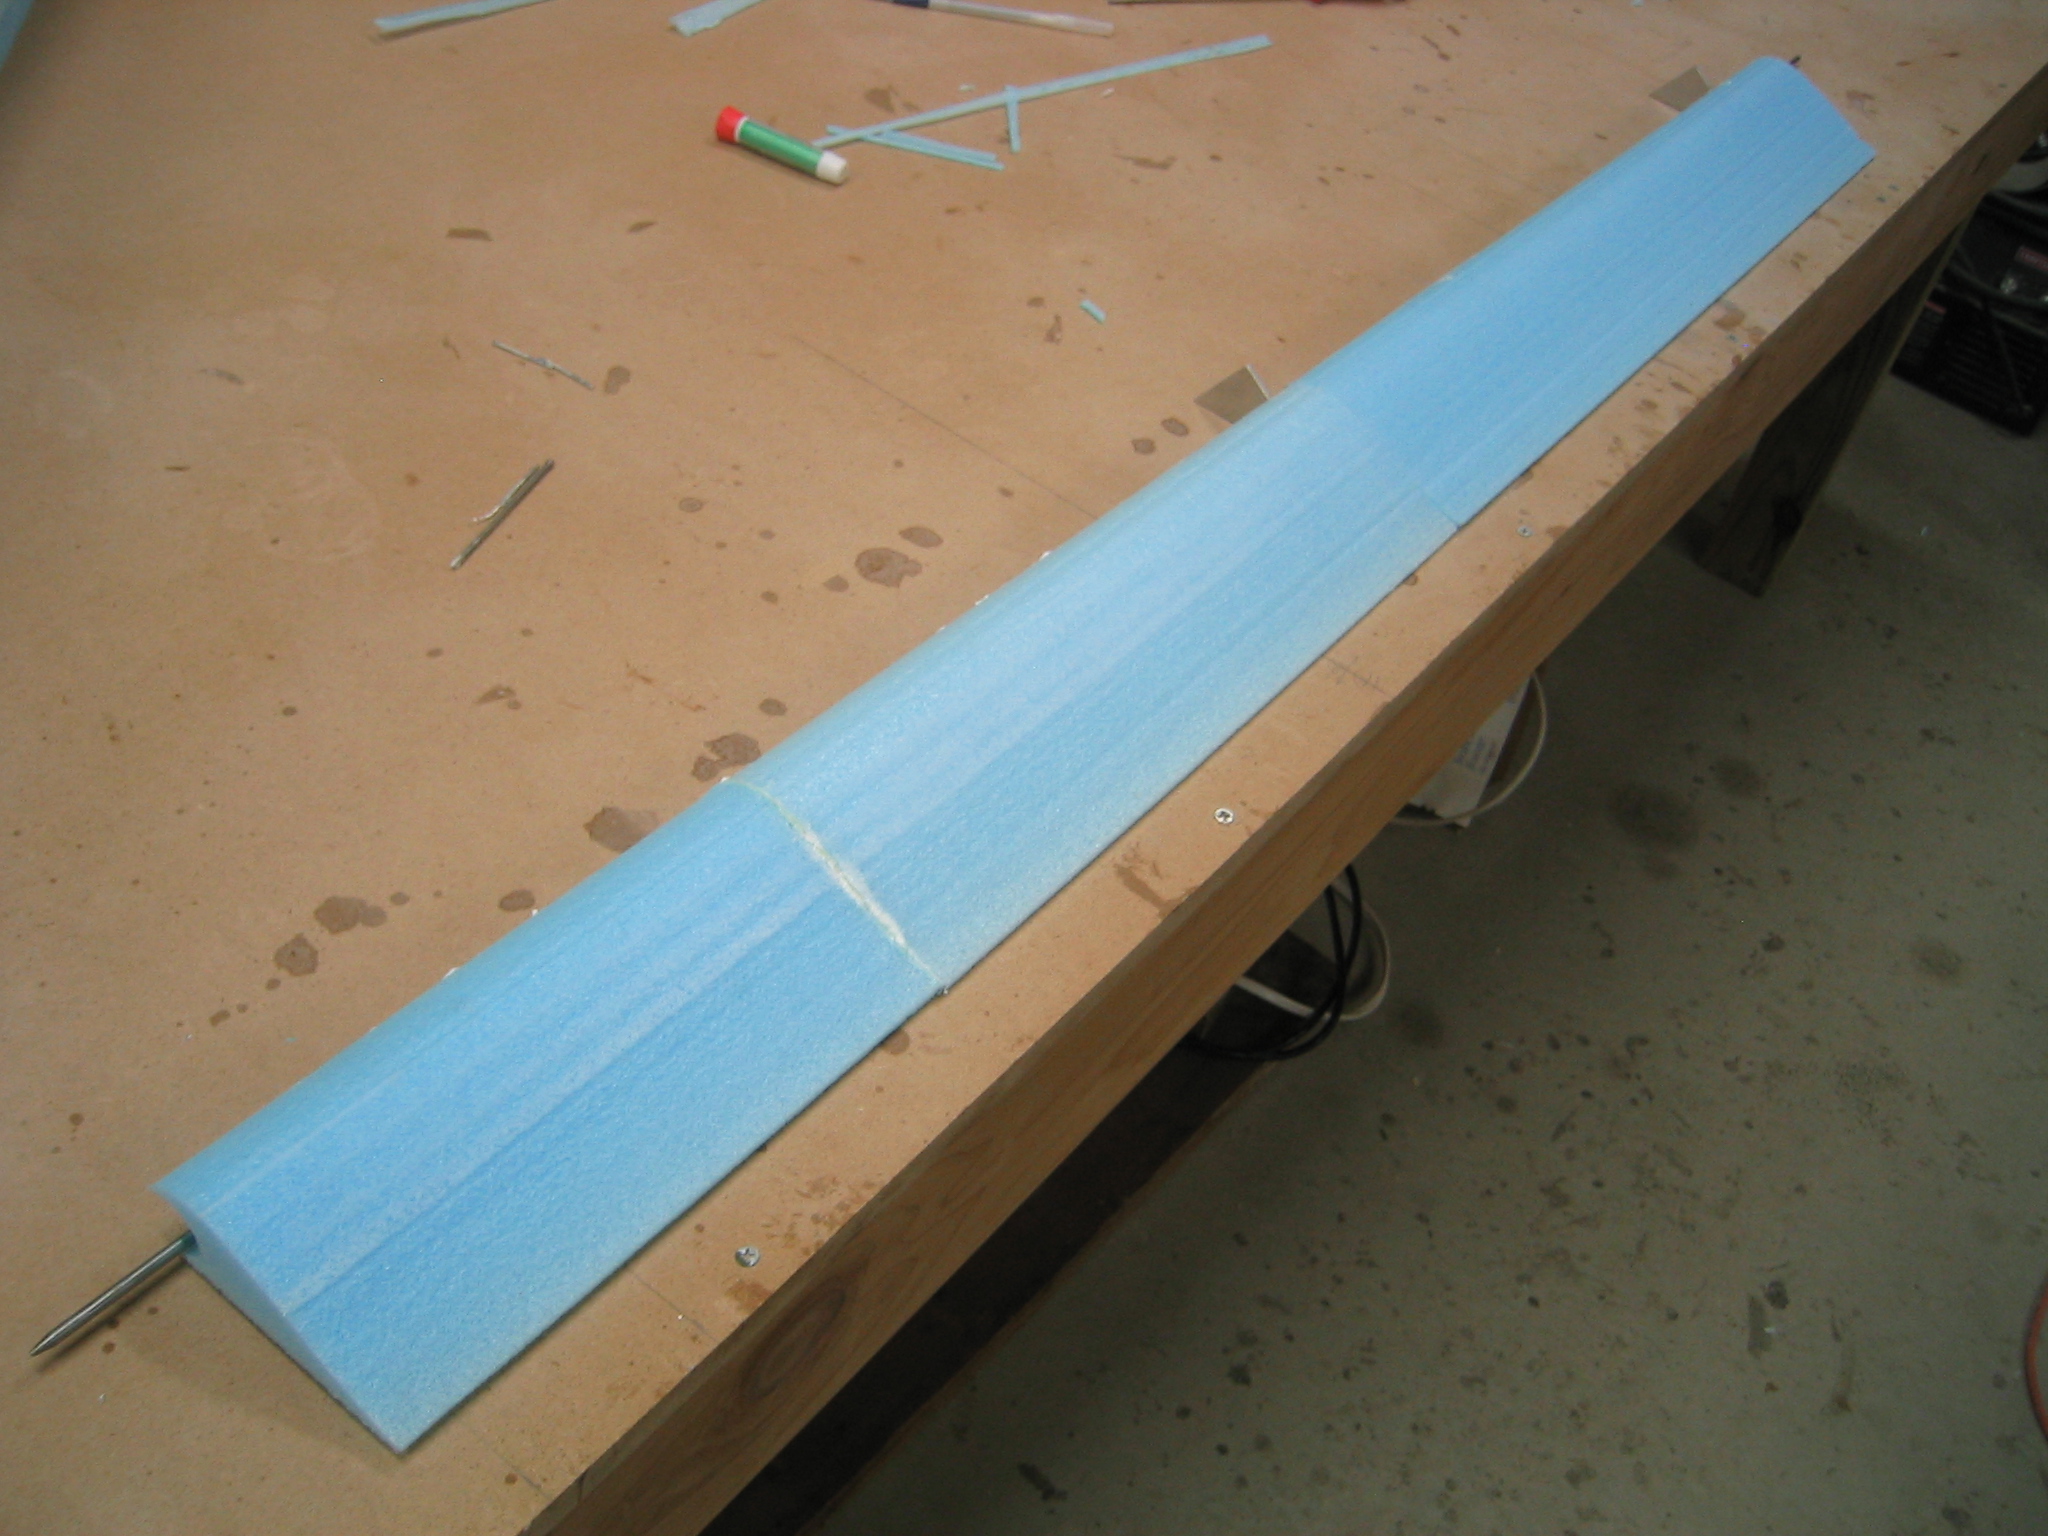
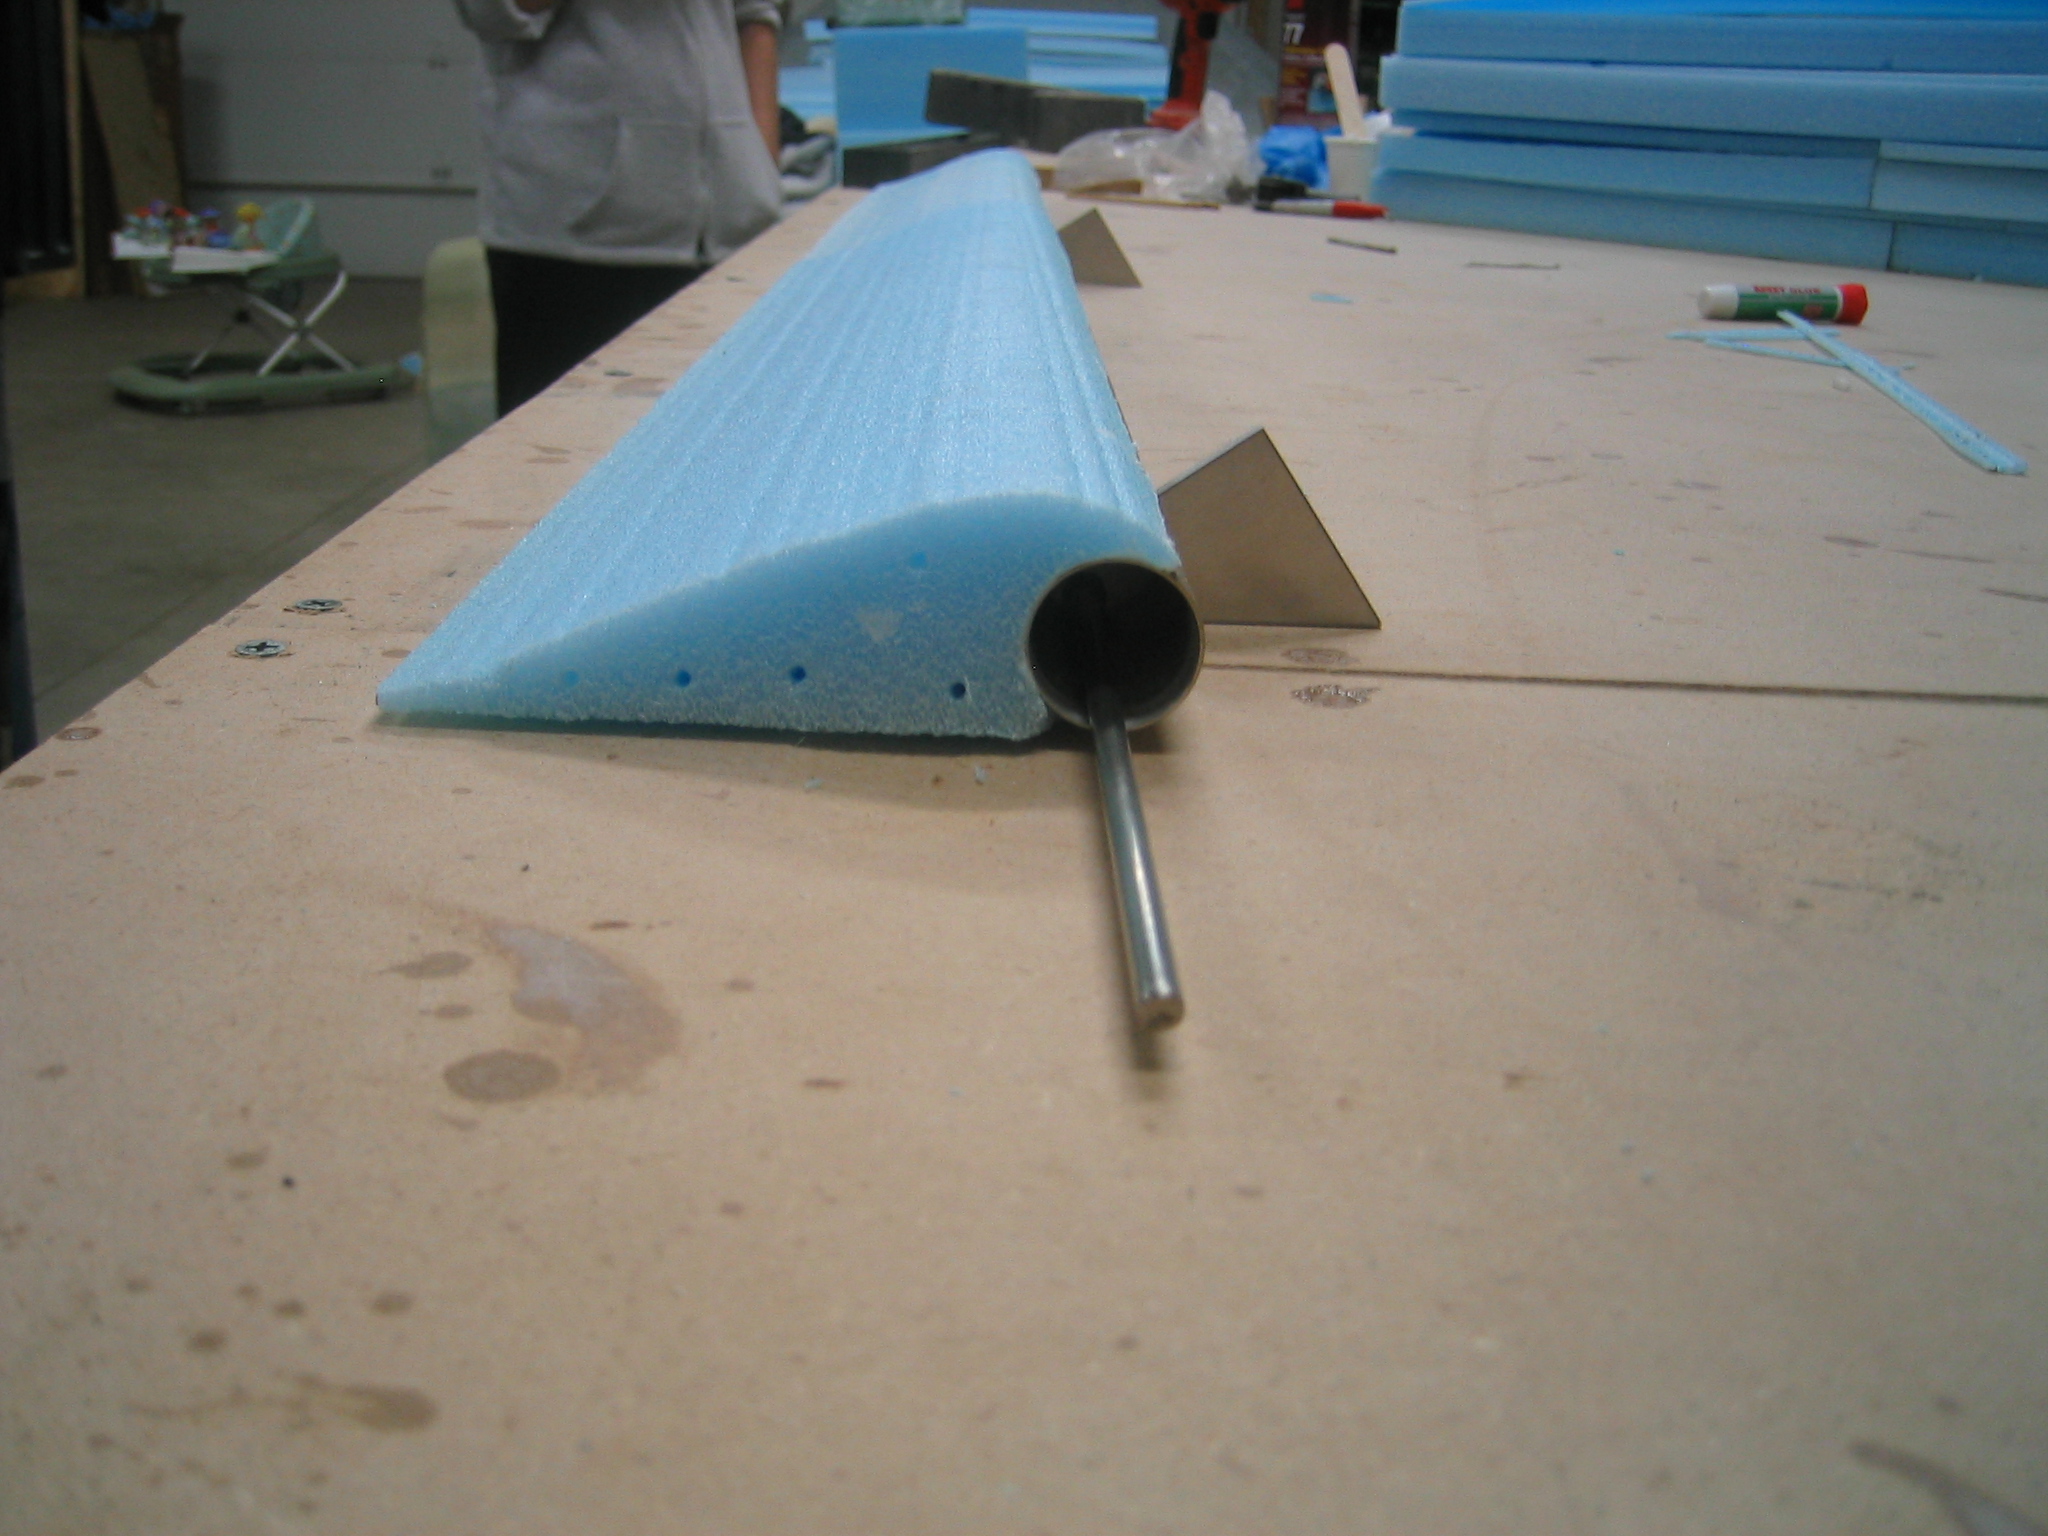
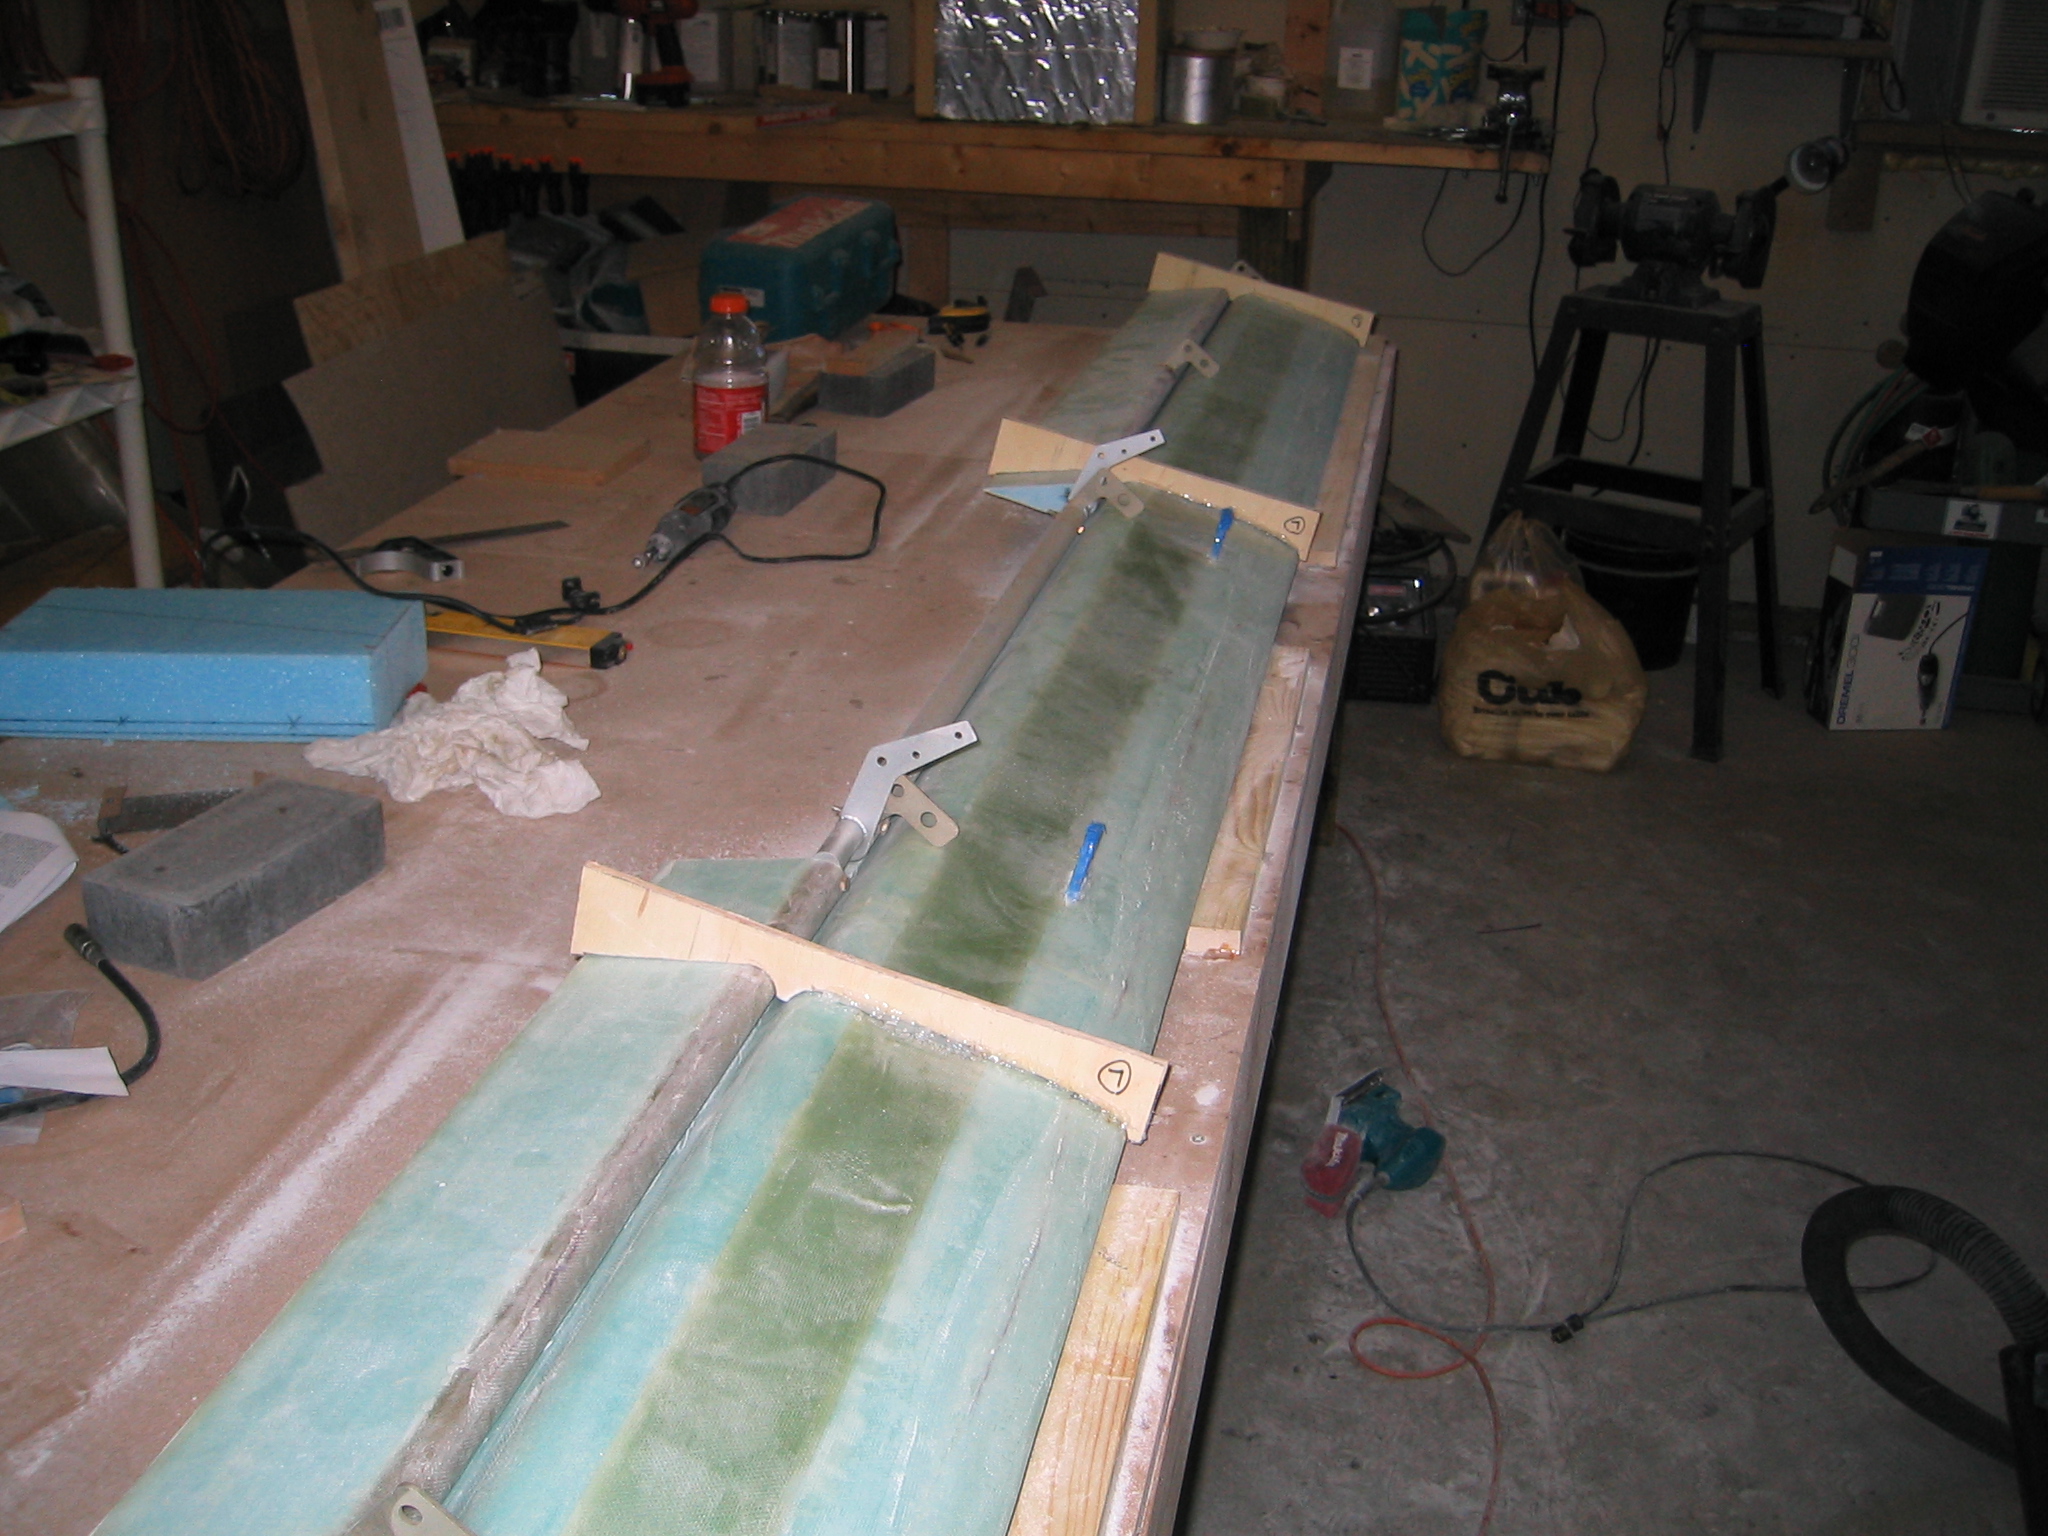
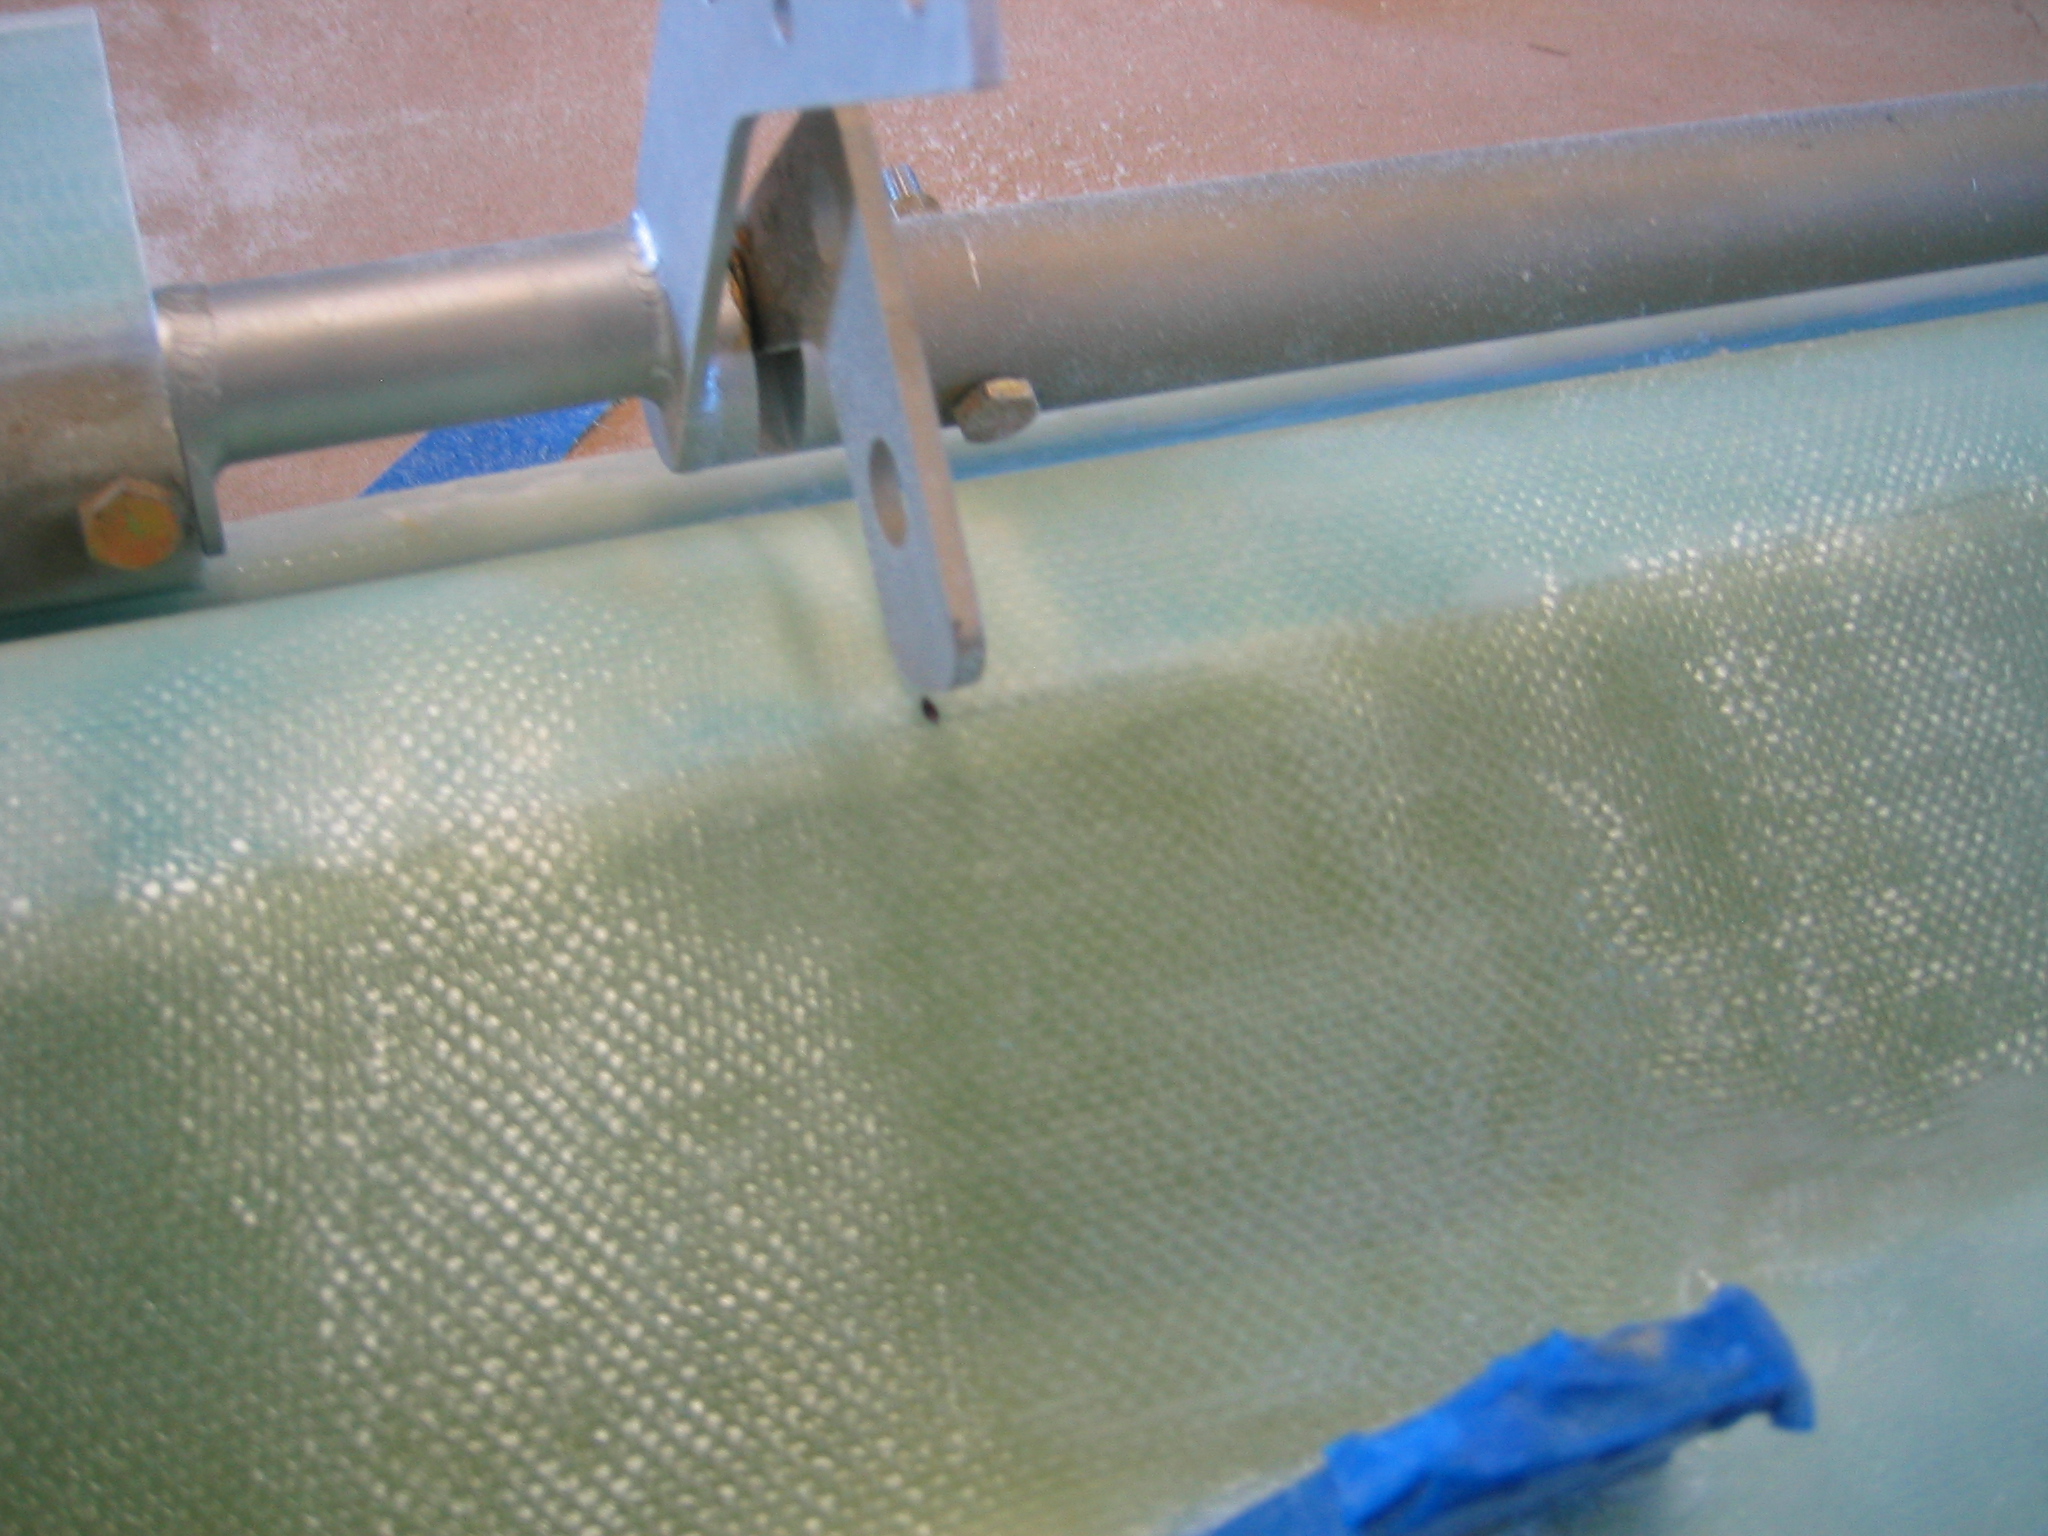
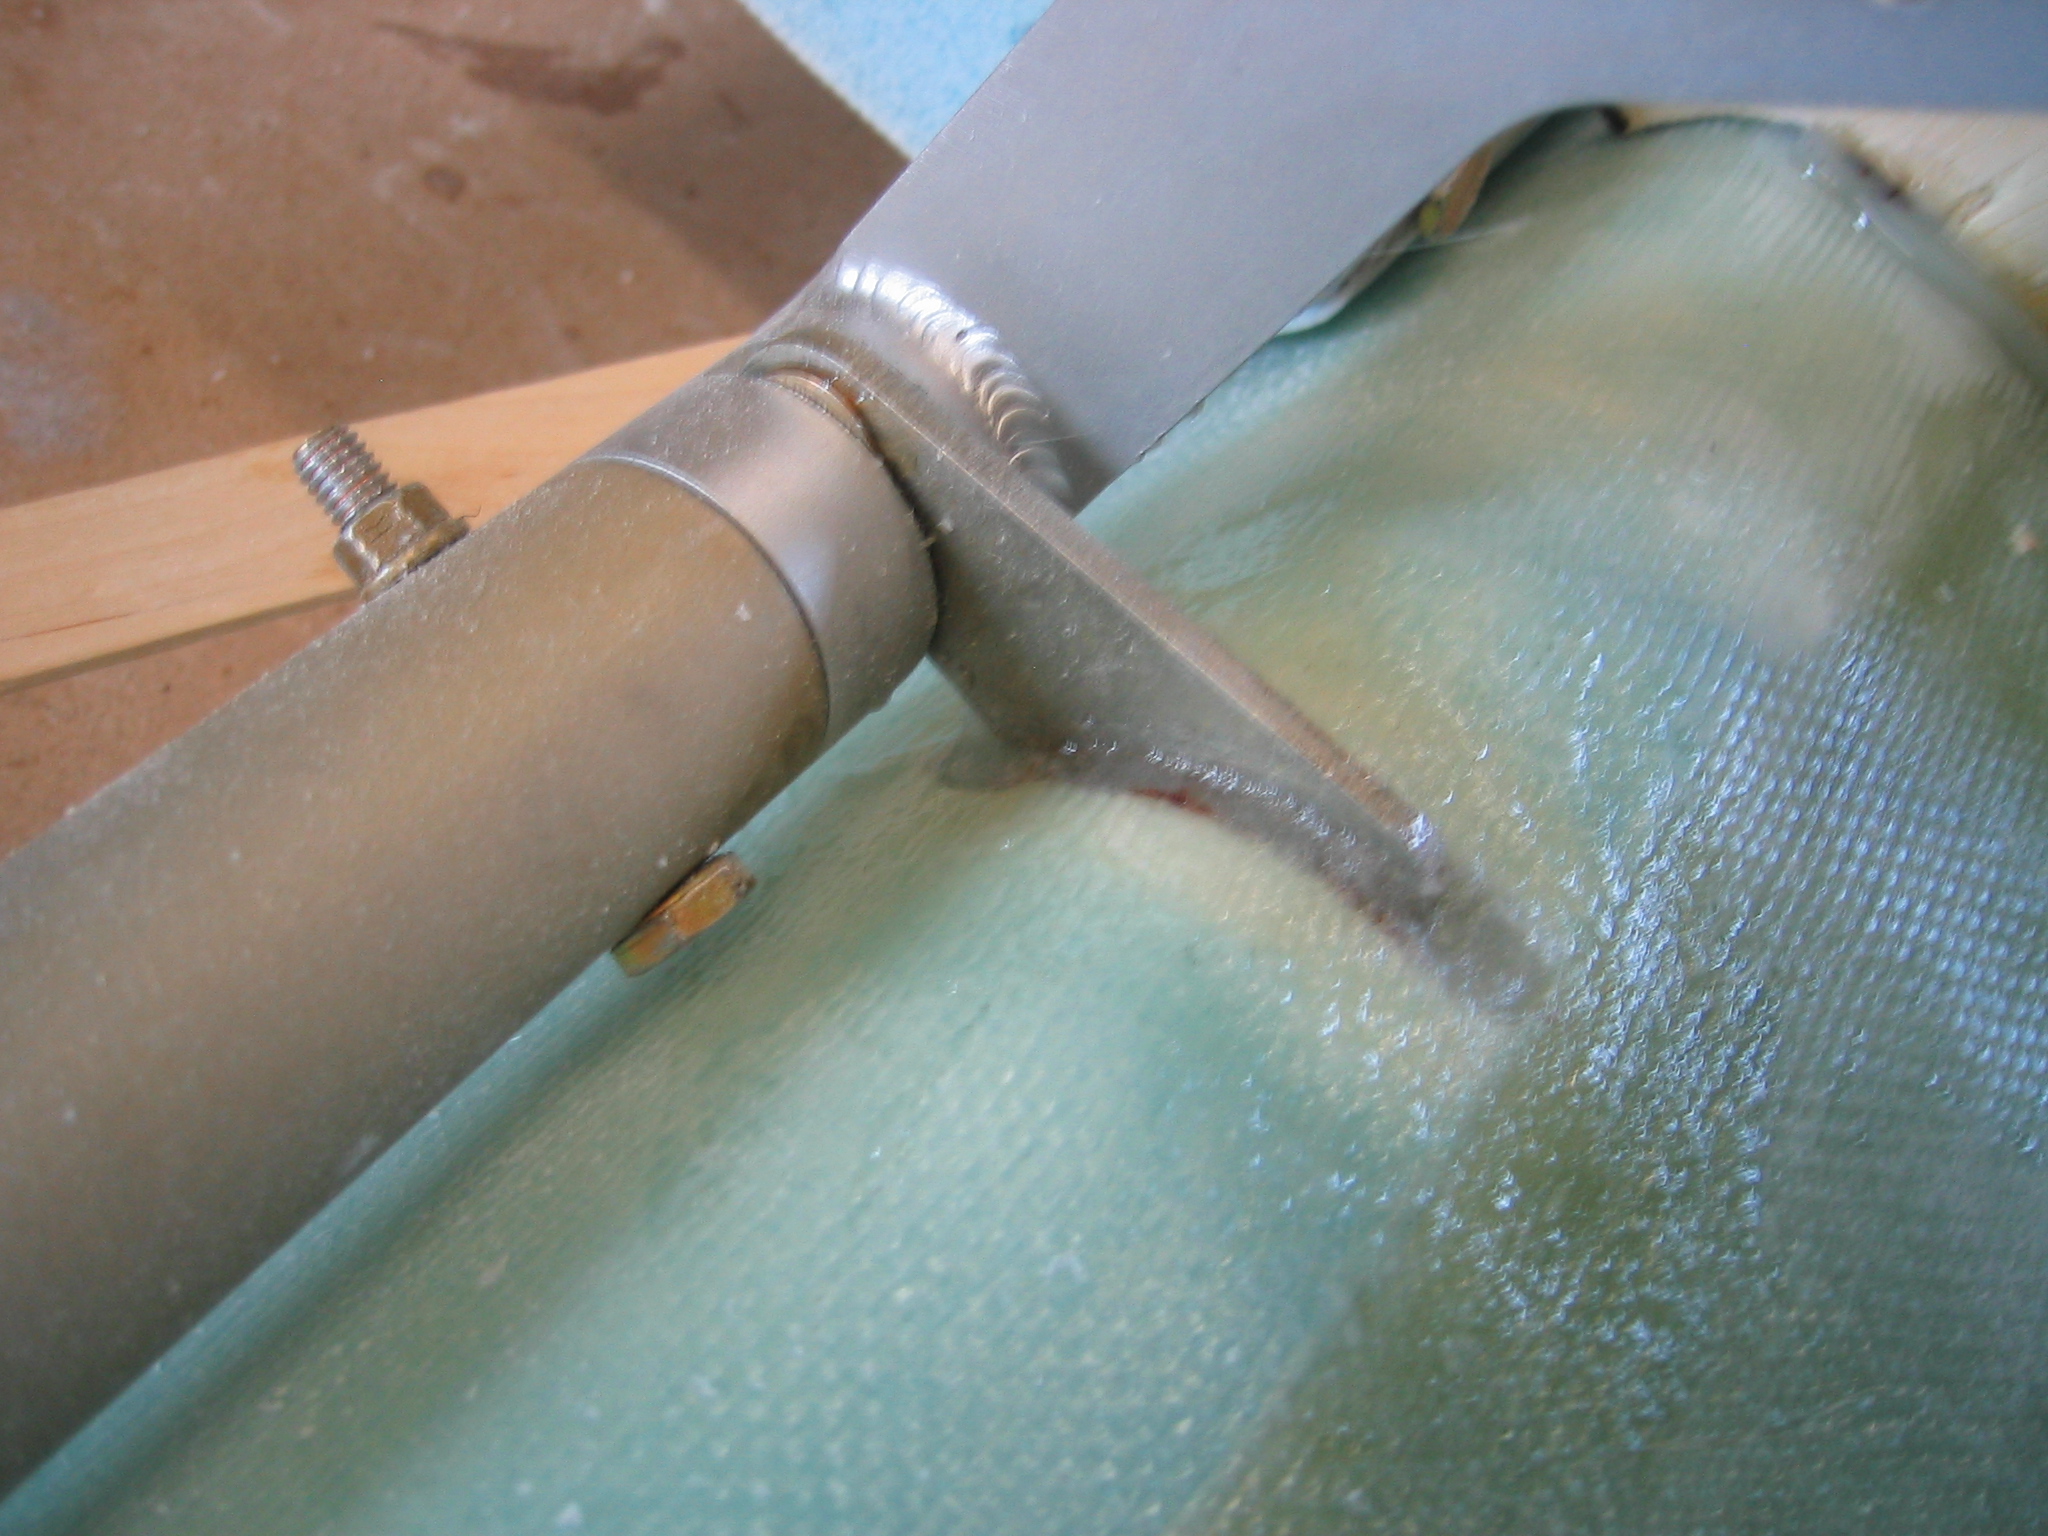
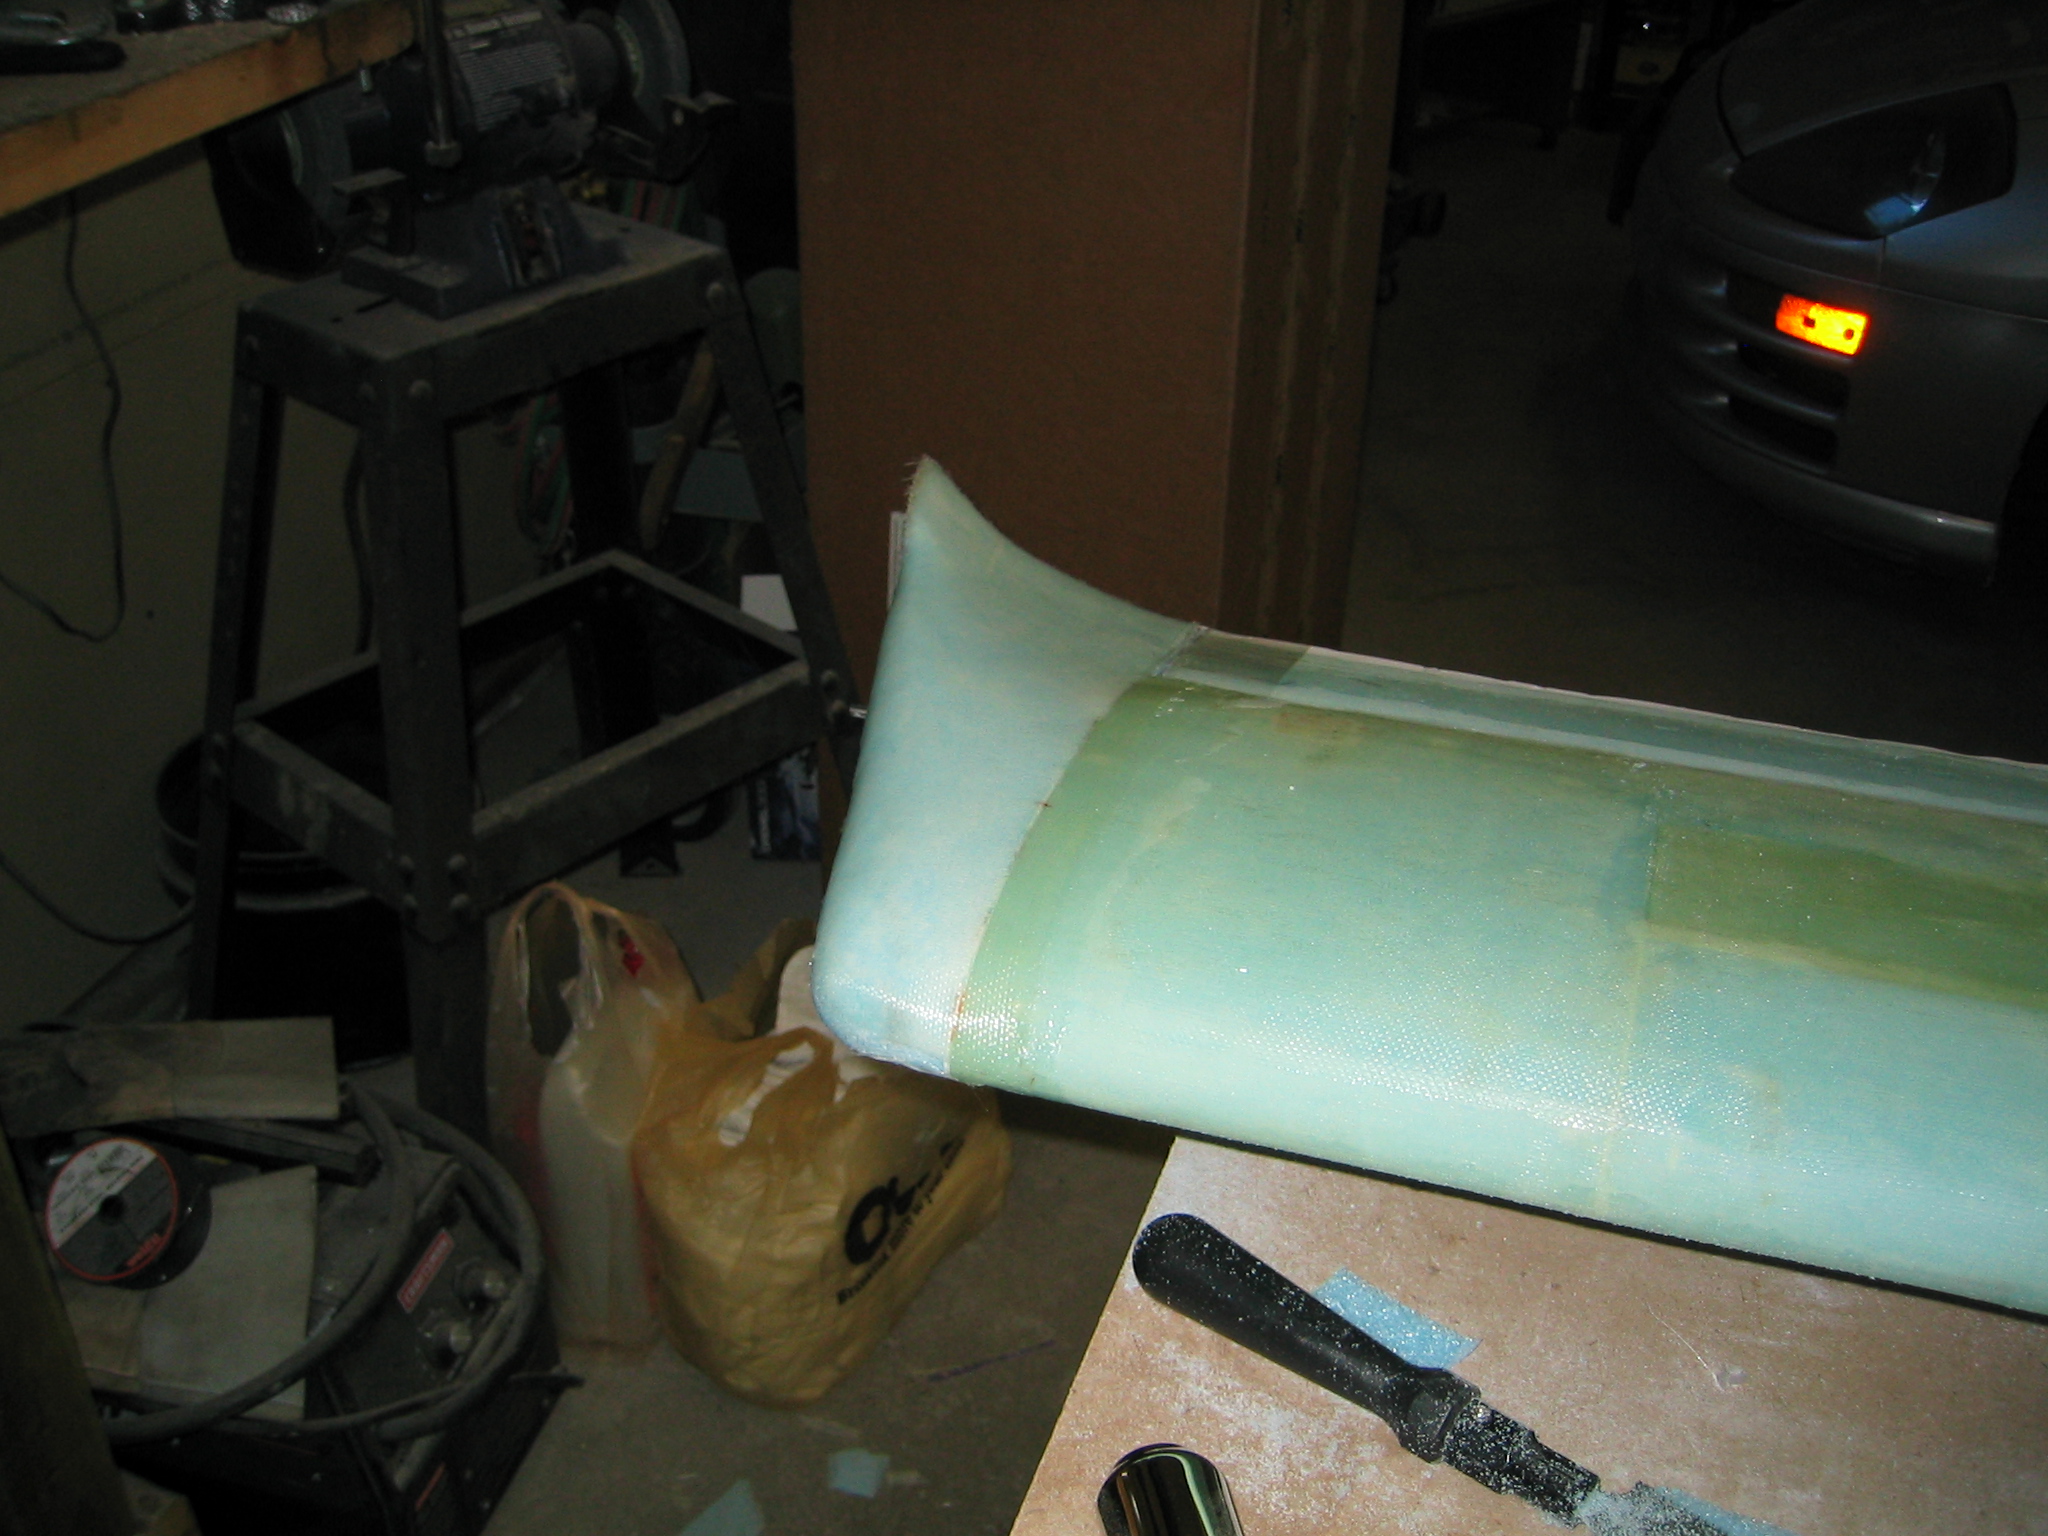
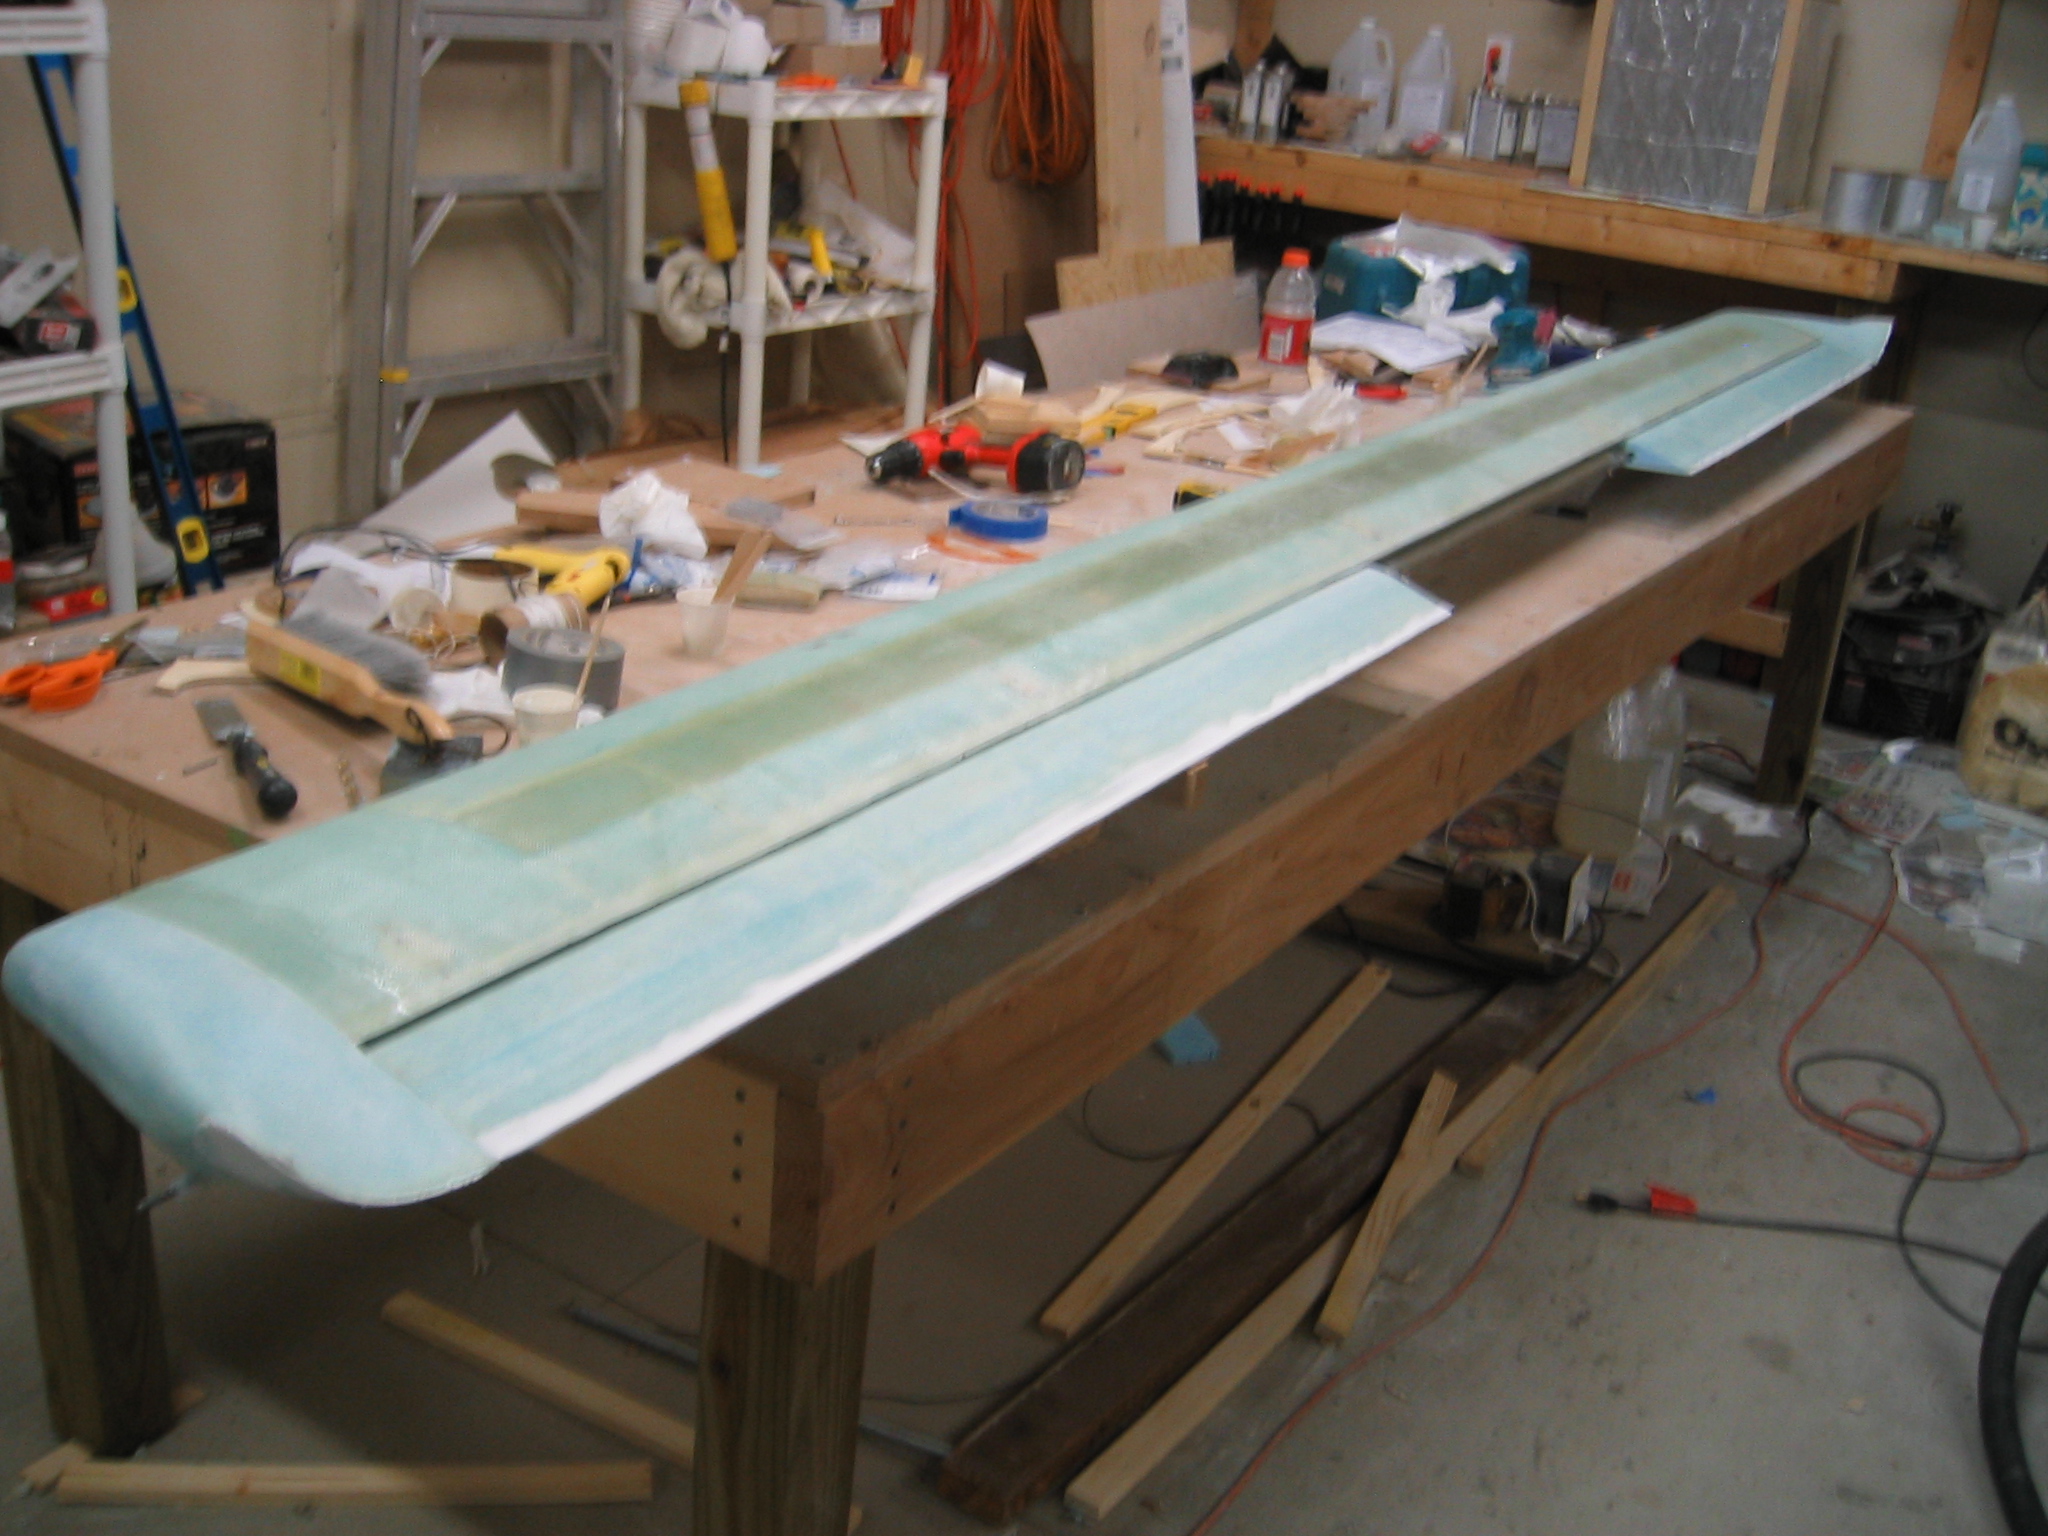
After completion of the canard, it’s time to move on to the elevators. This starts again with the use of the hotwire saw to cut the foam cores for the elevators. We also need to get the elevator torque tubes ready to have the elevators mounted to them. The NC2 inserts for the hinge pin are pressed into place and secured with a rivet. The cutout in the elevator cores for the torque tubes are then coated with micro and we jig the elevators onto the tubes using prefabricated jigs (NC7).
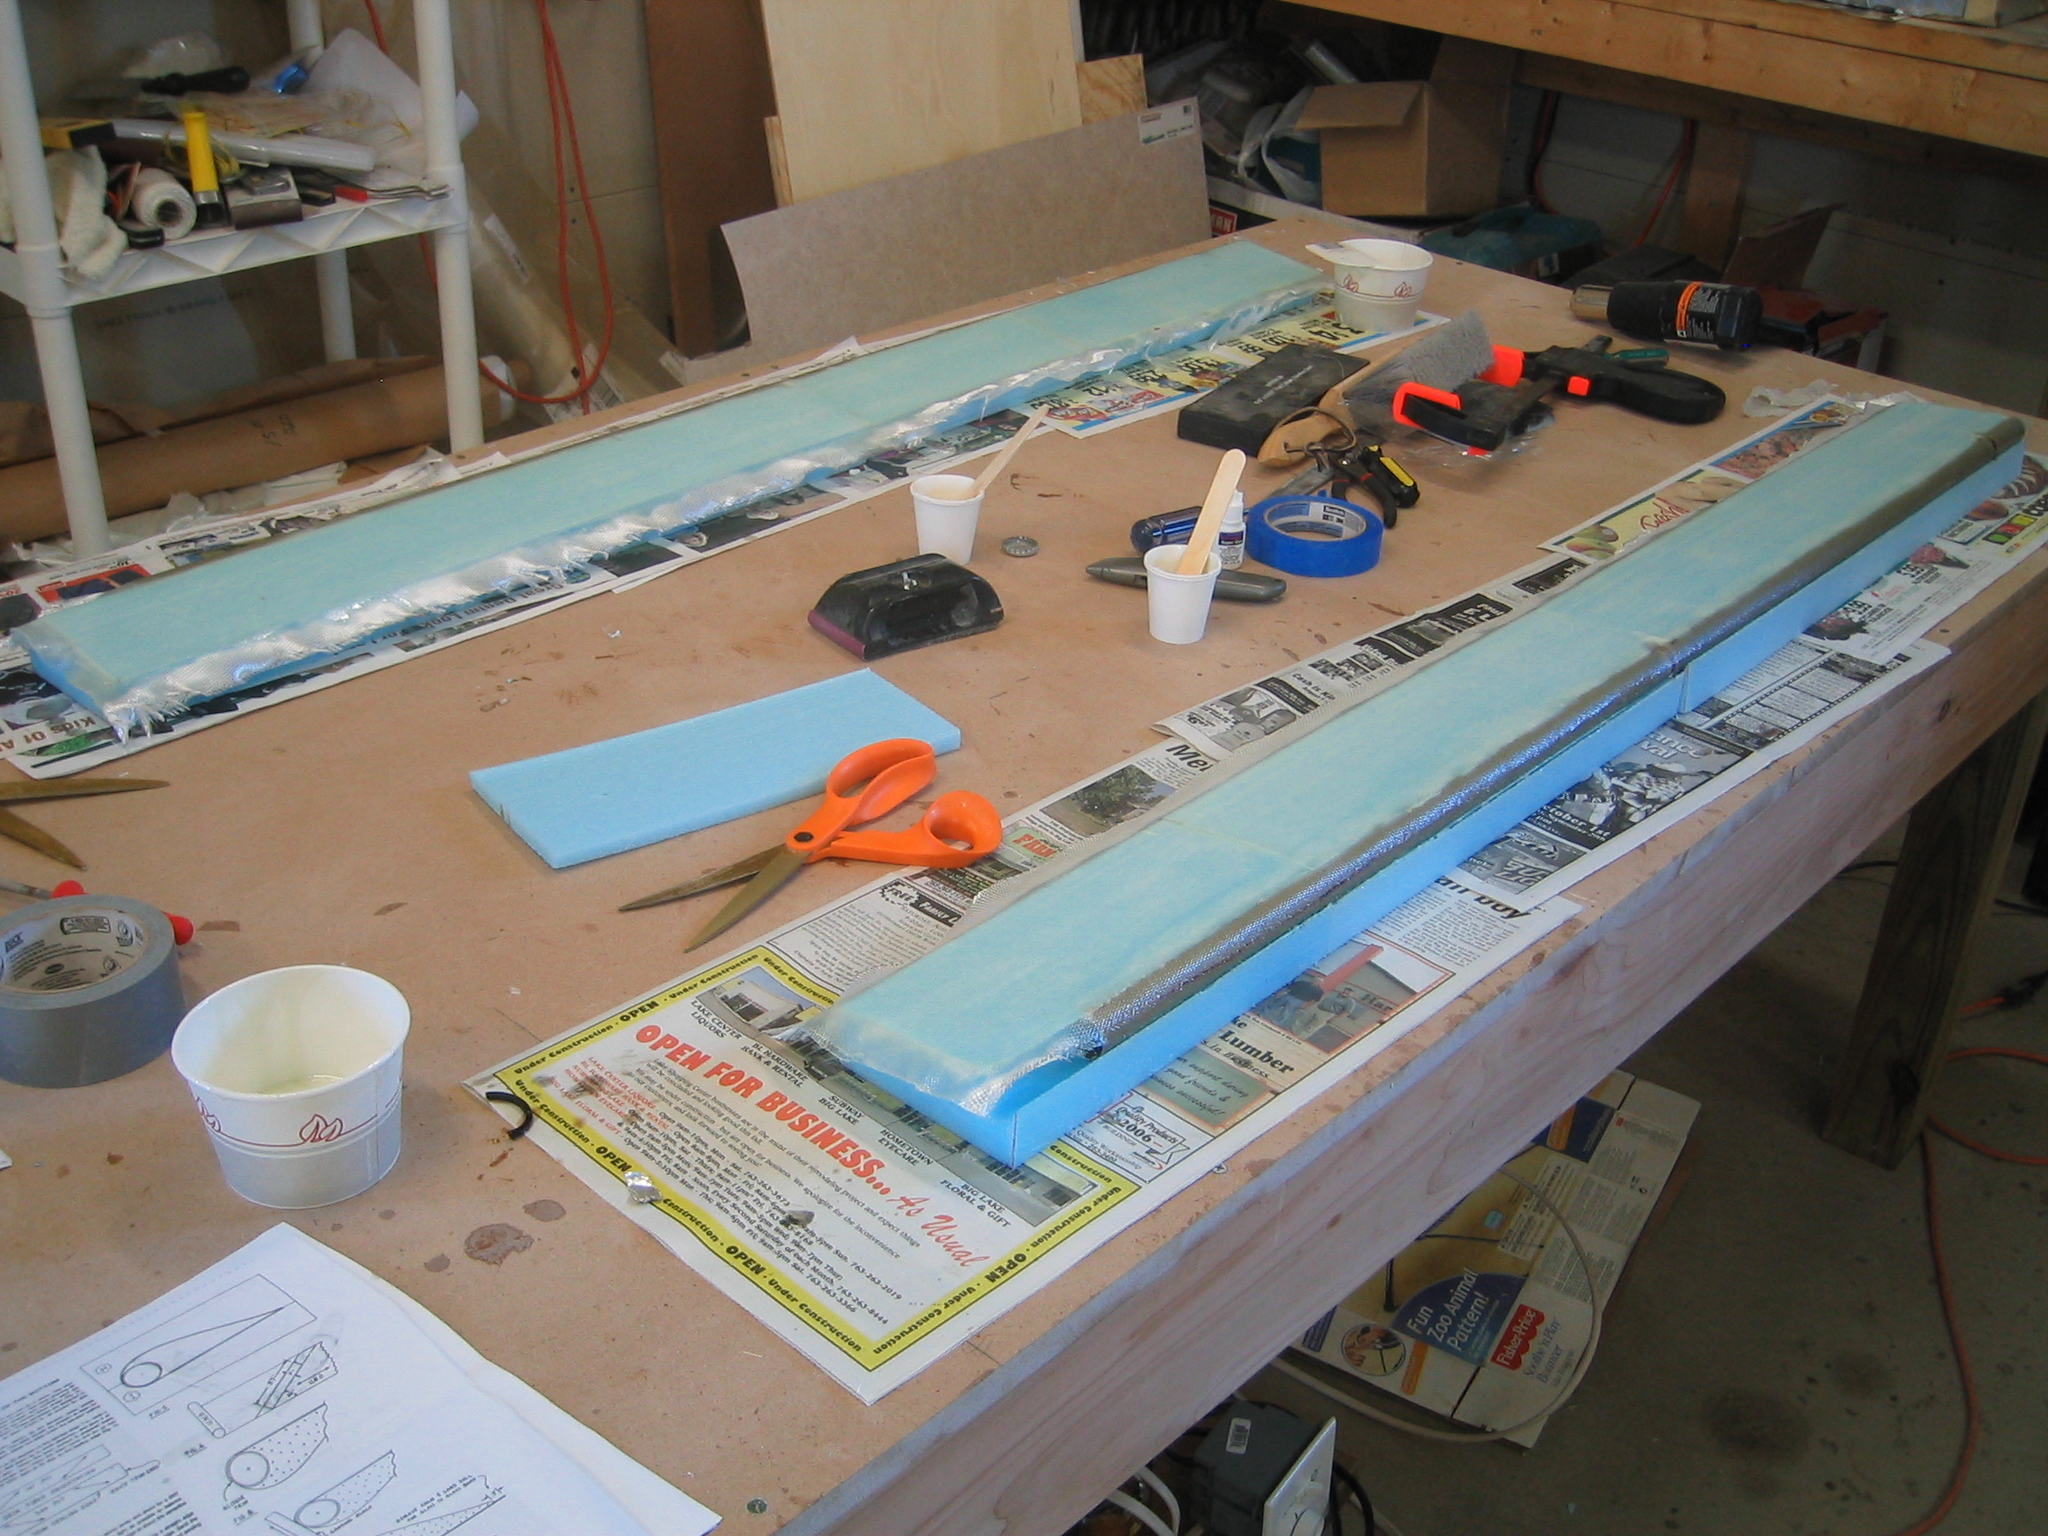
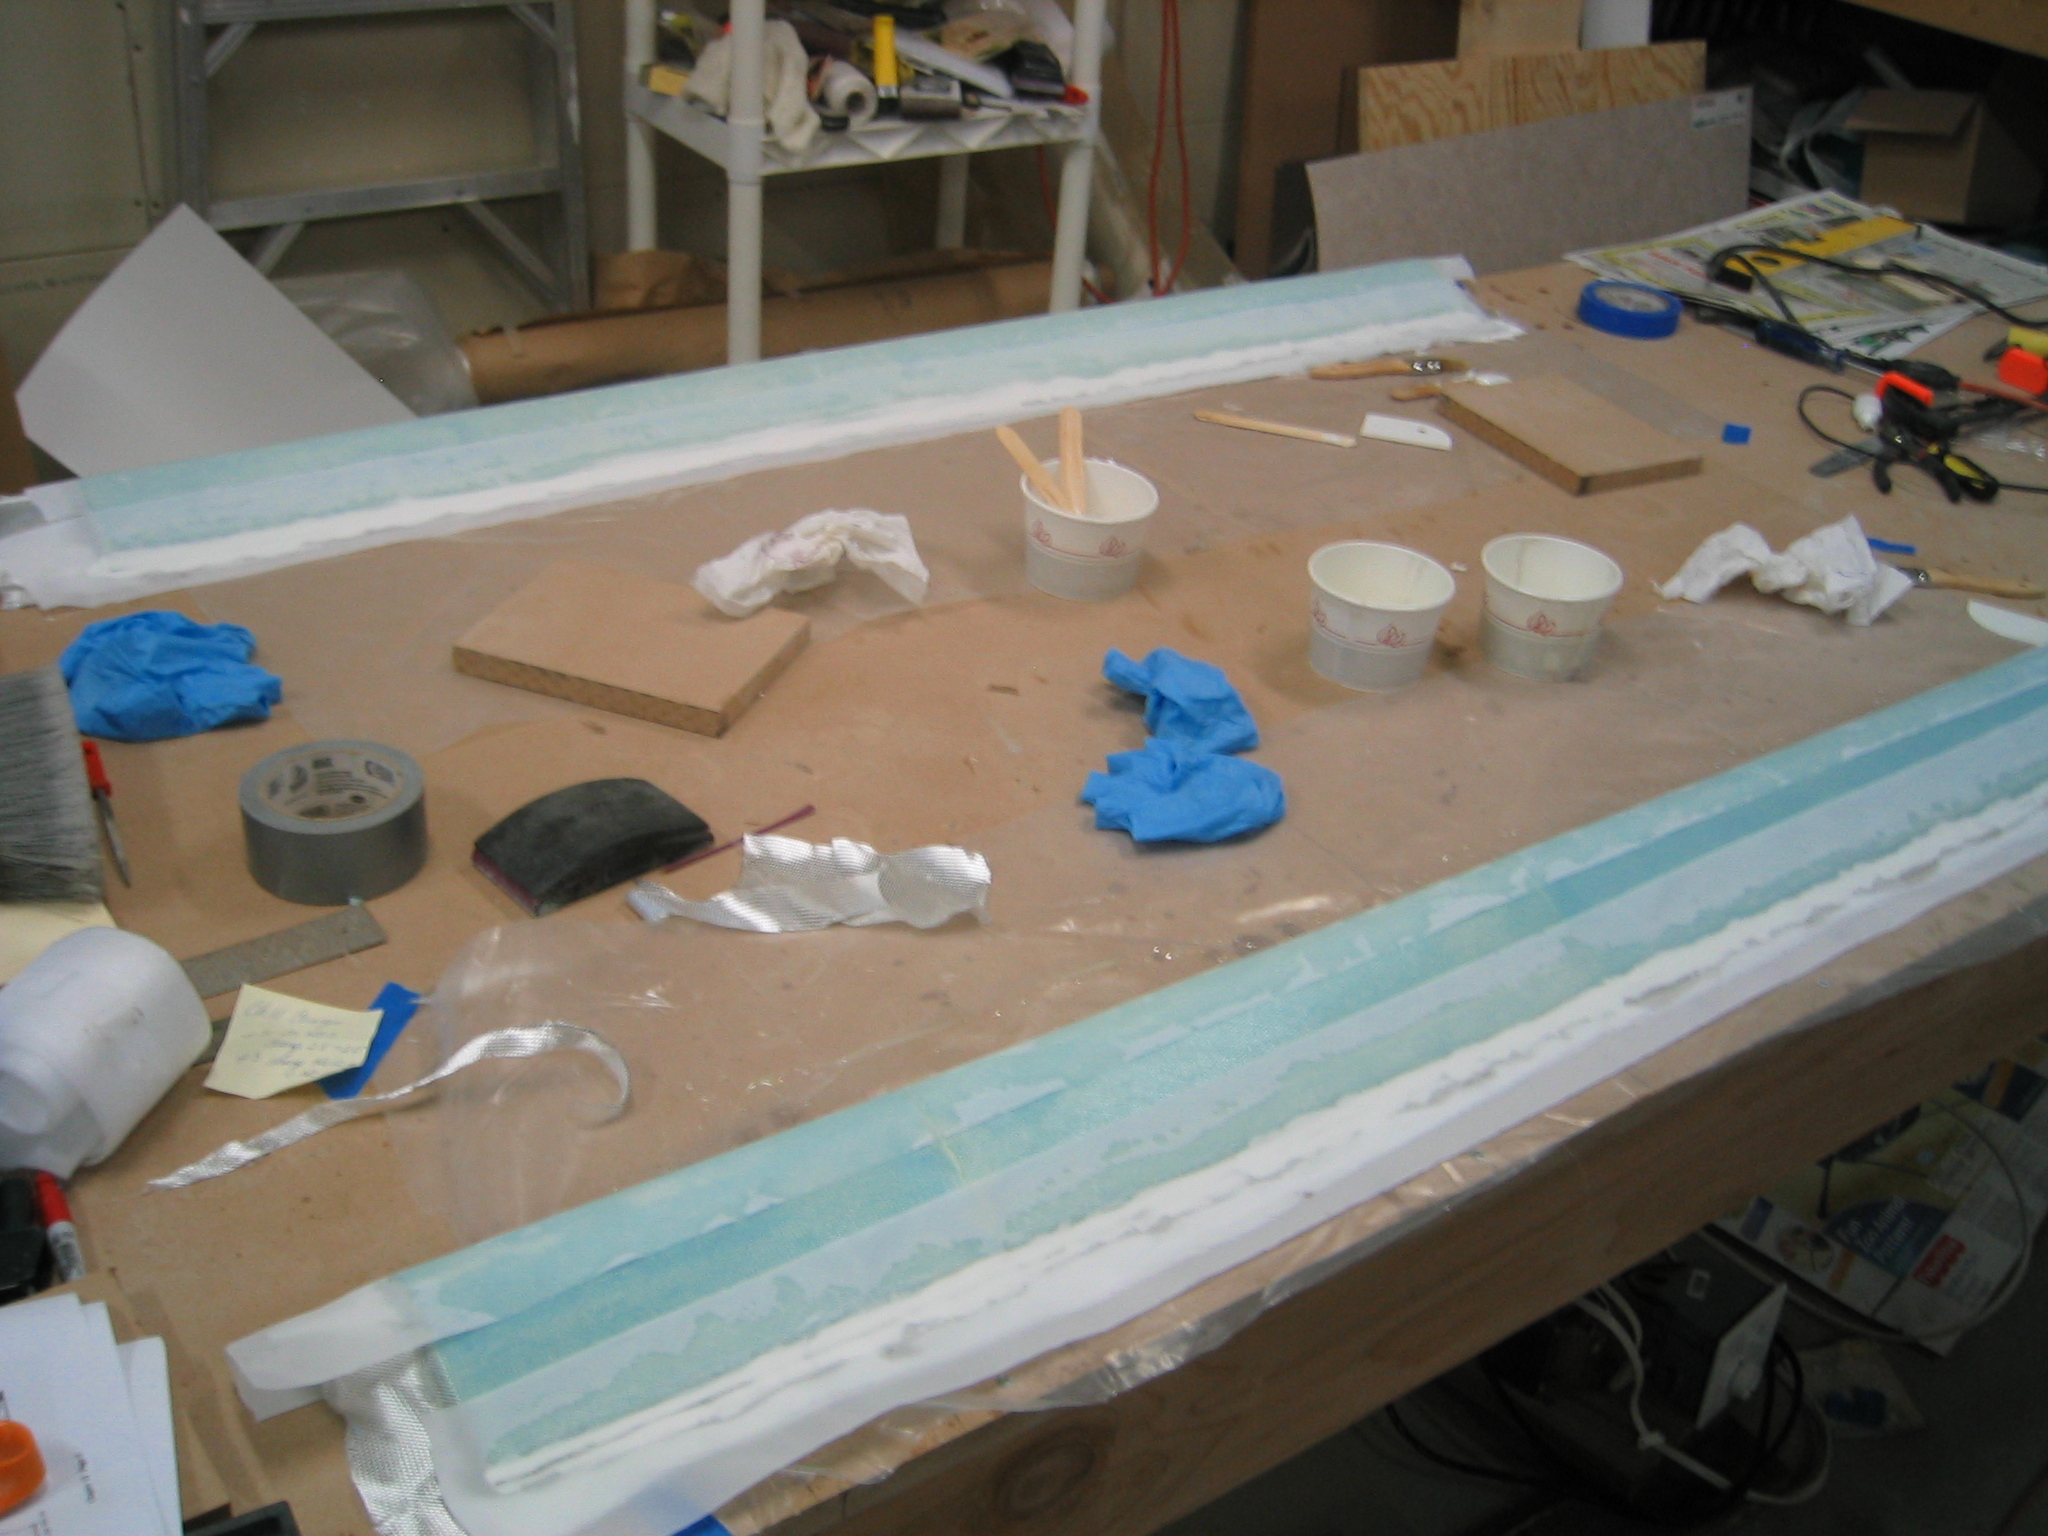
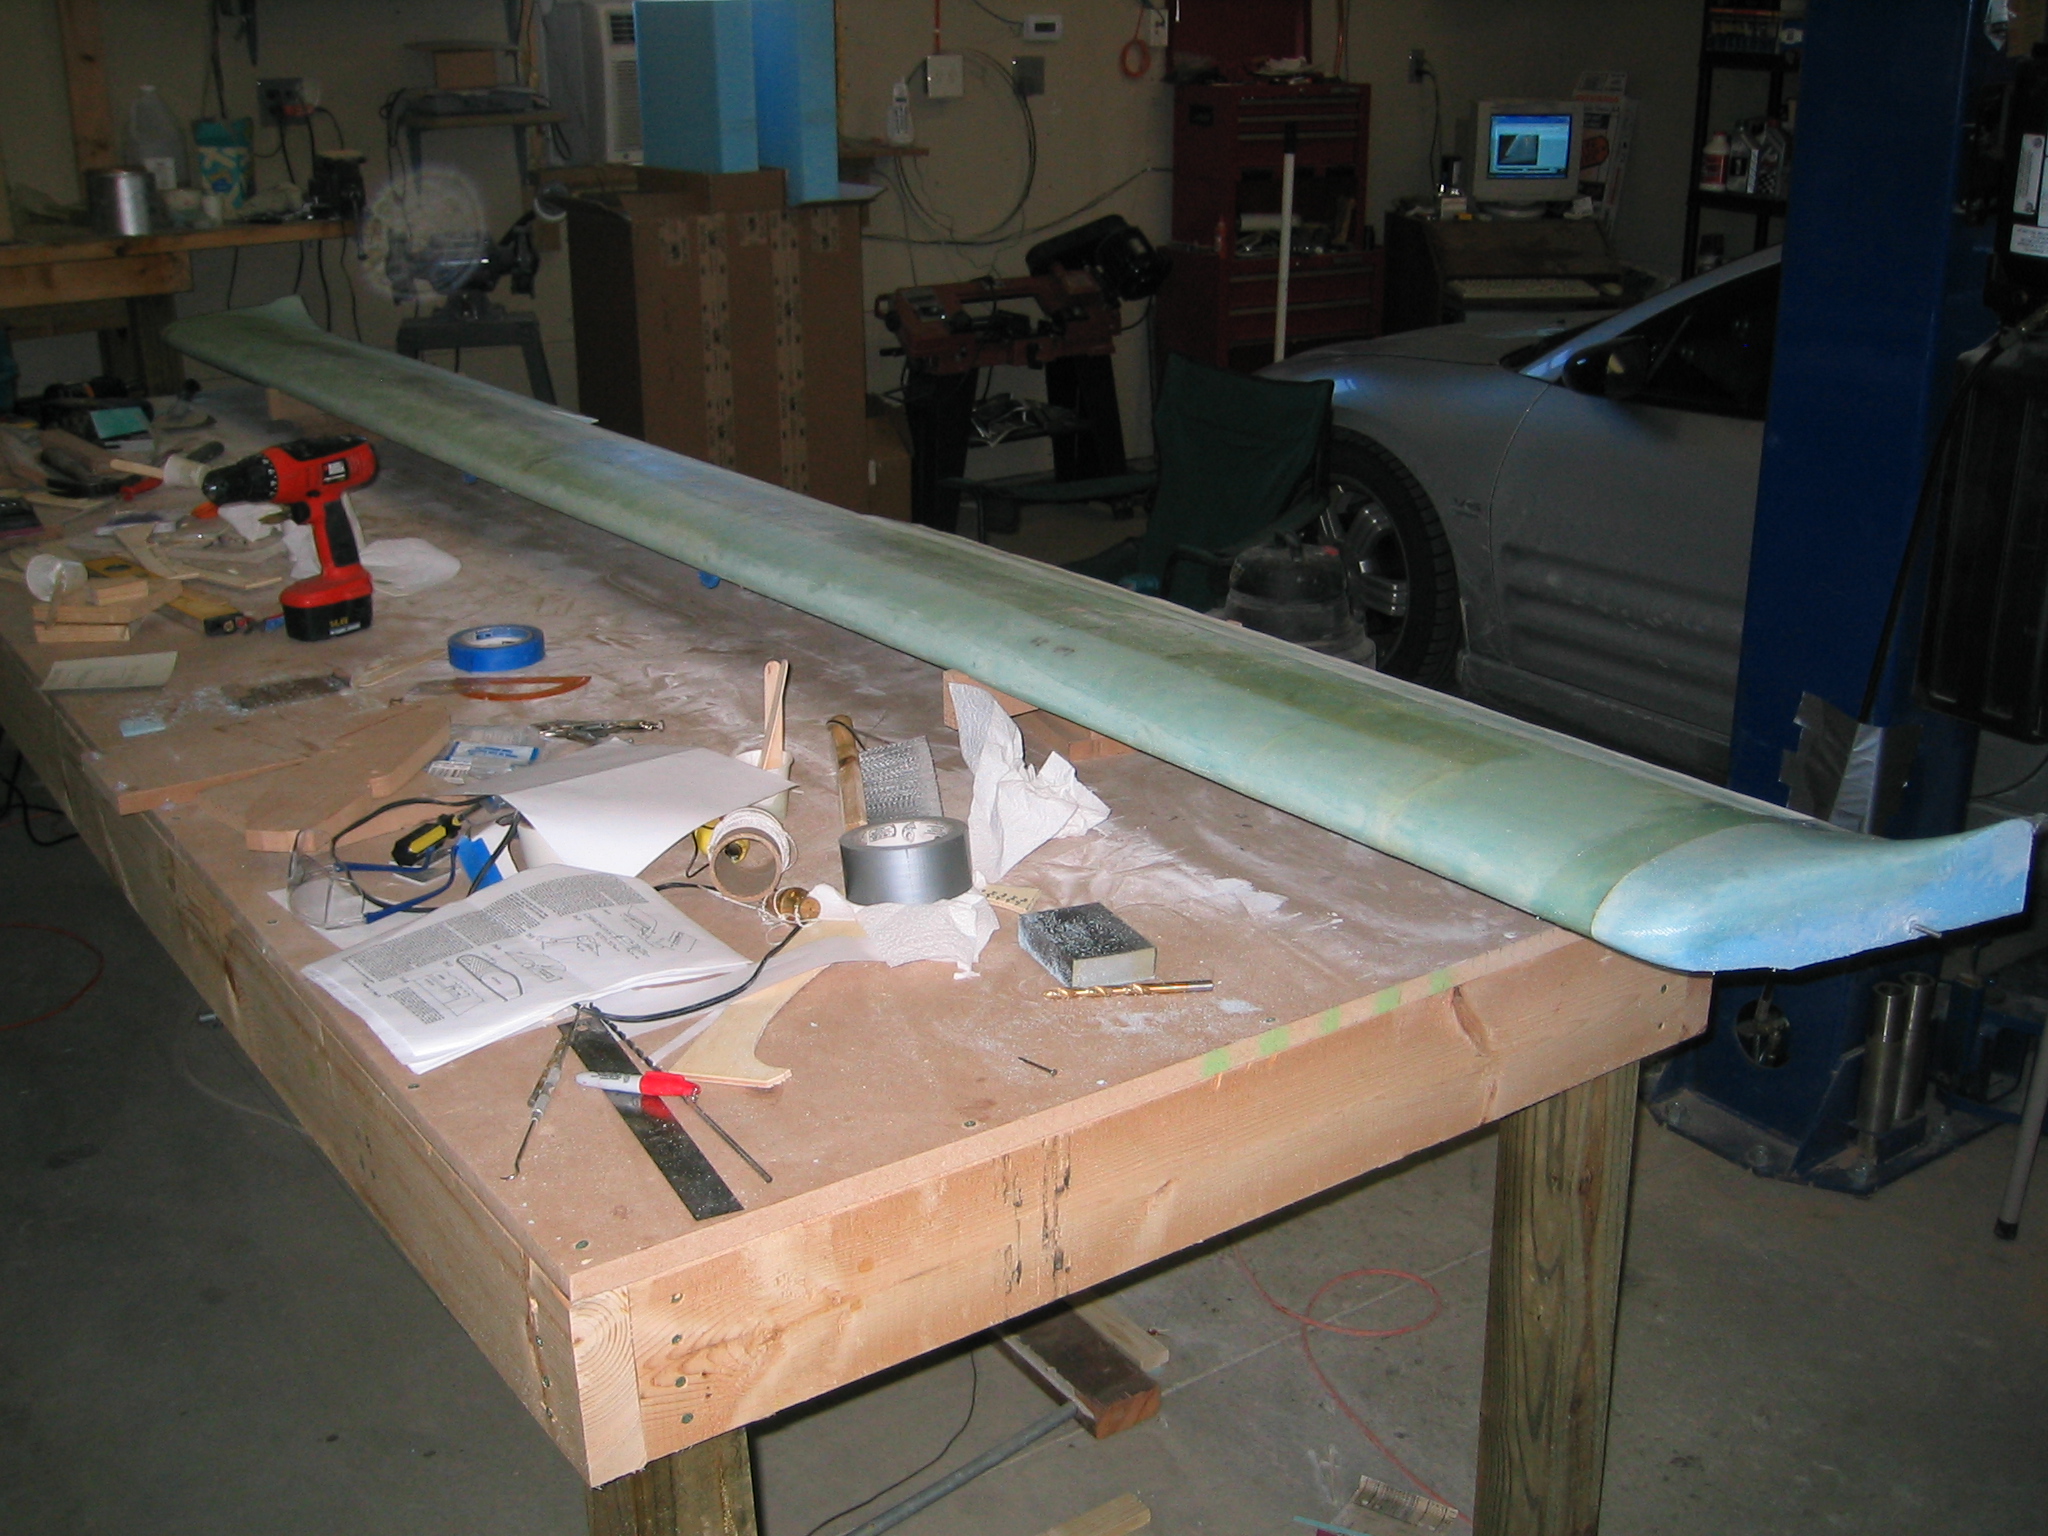
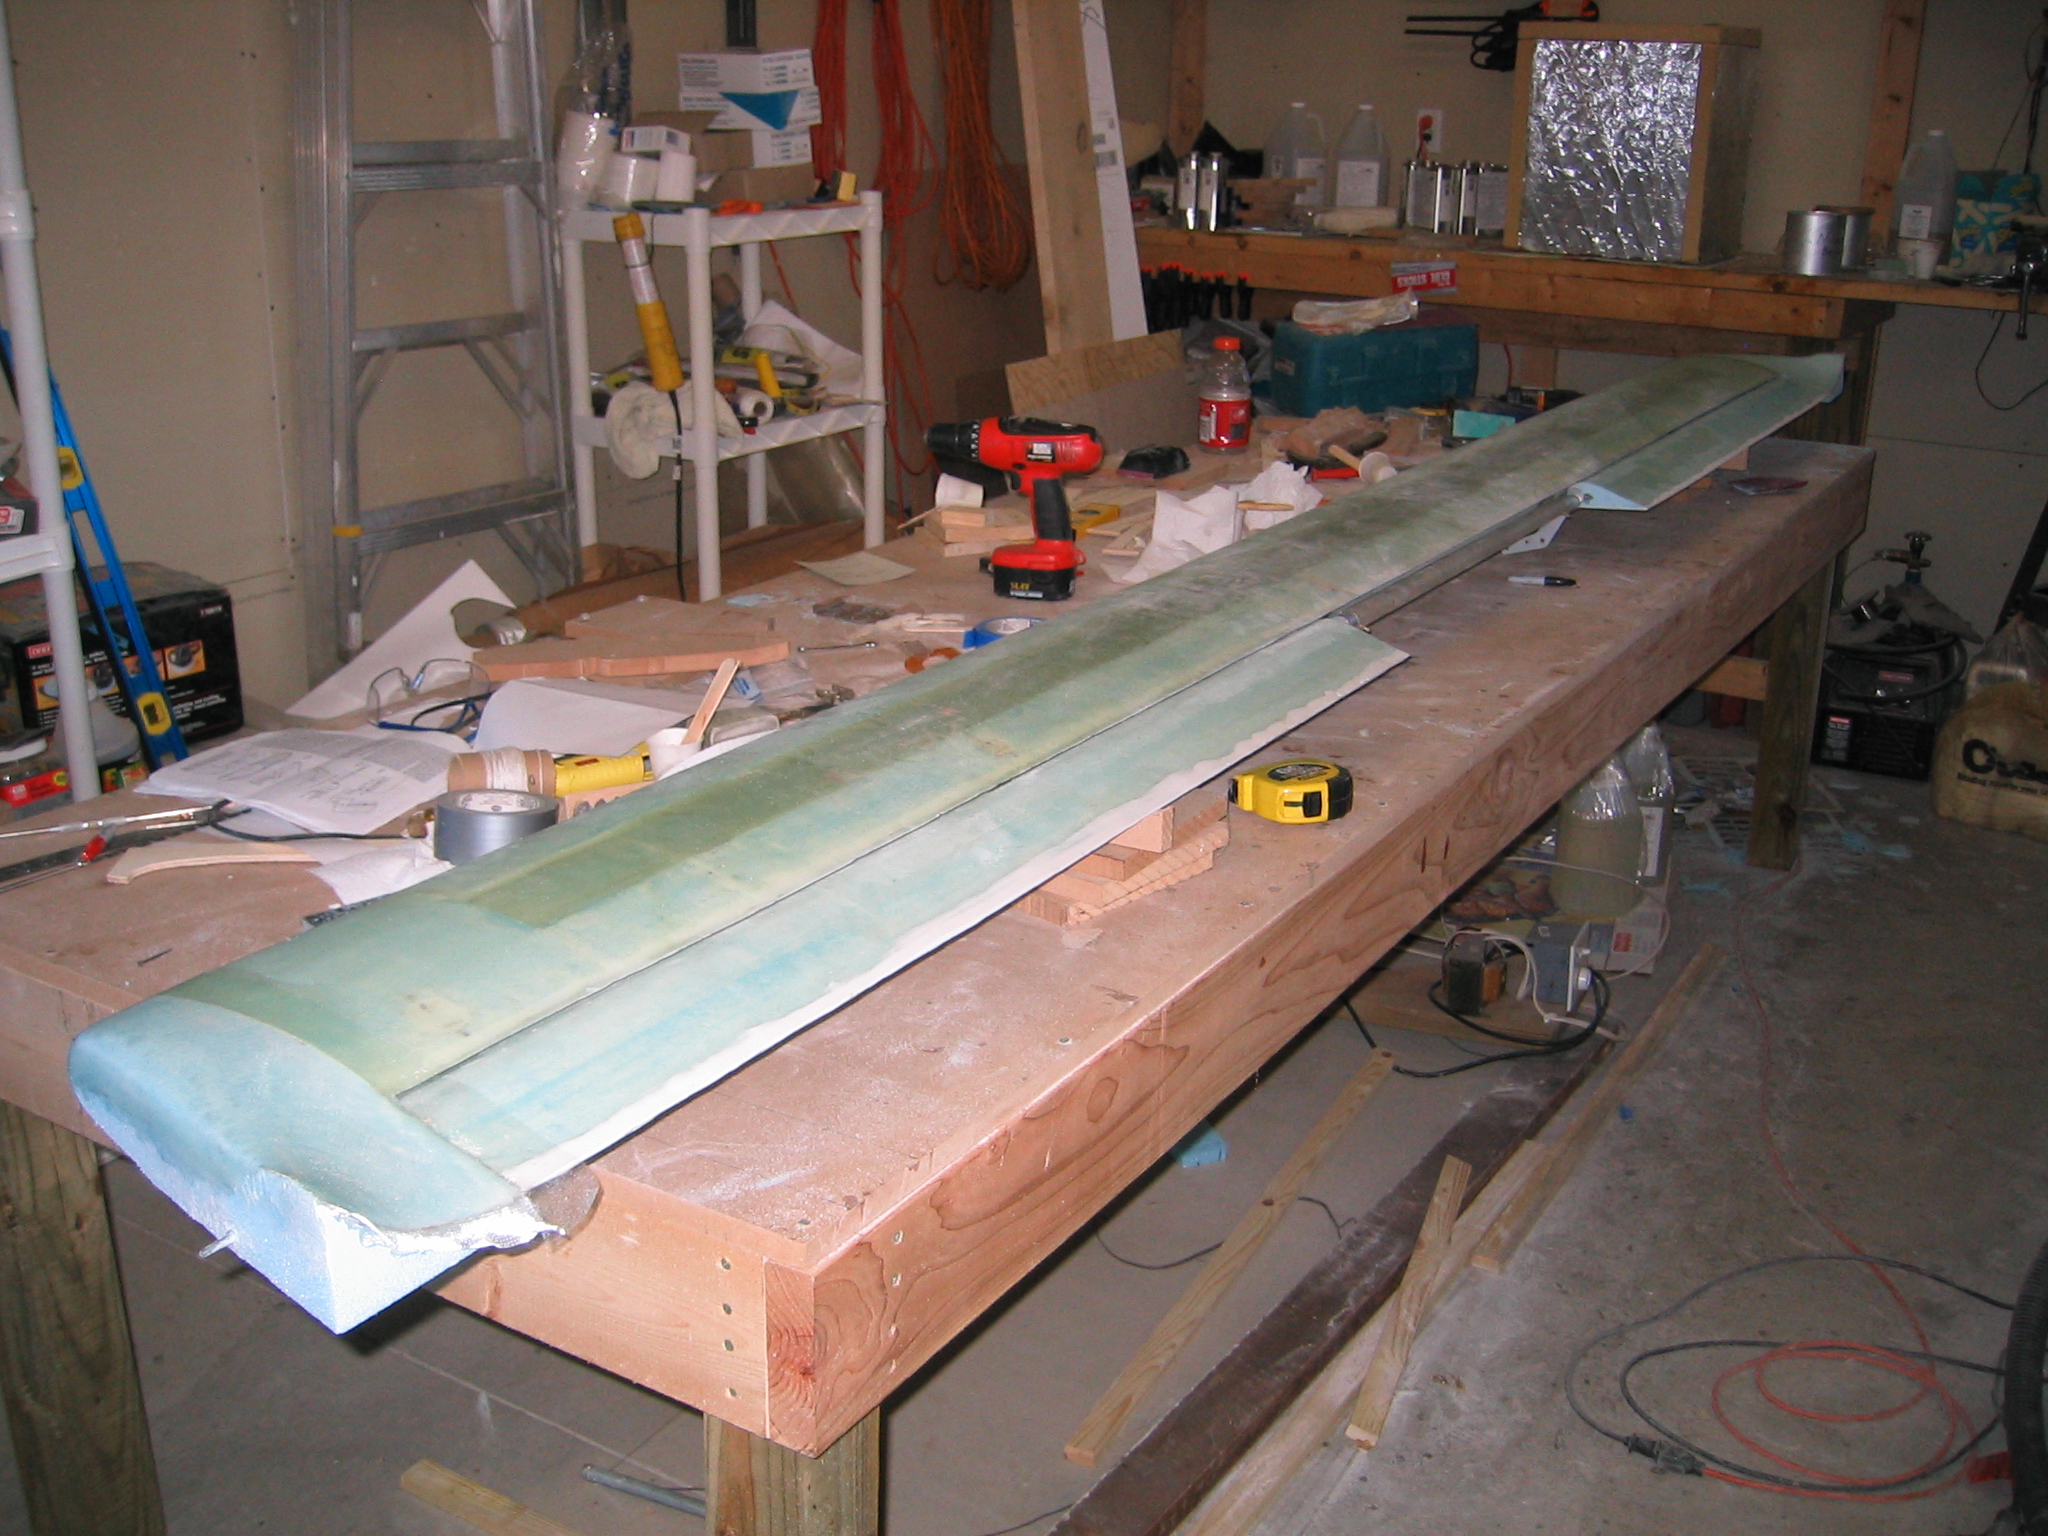
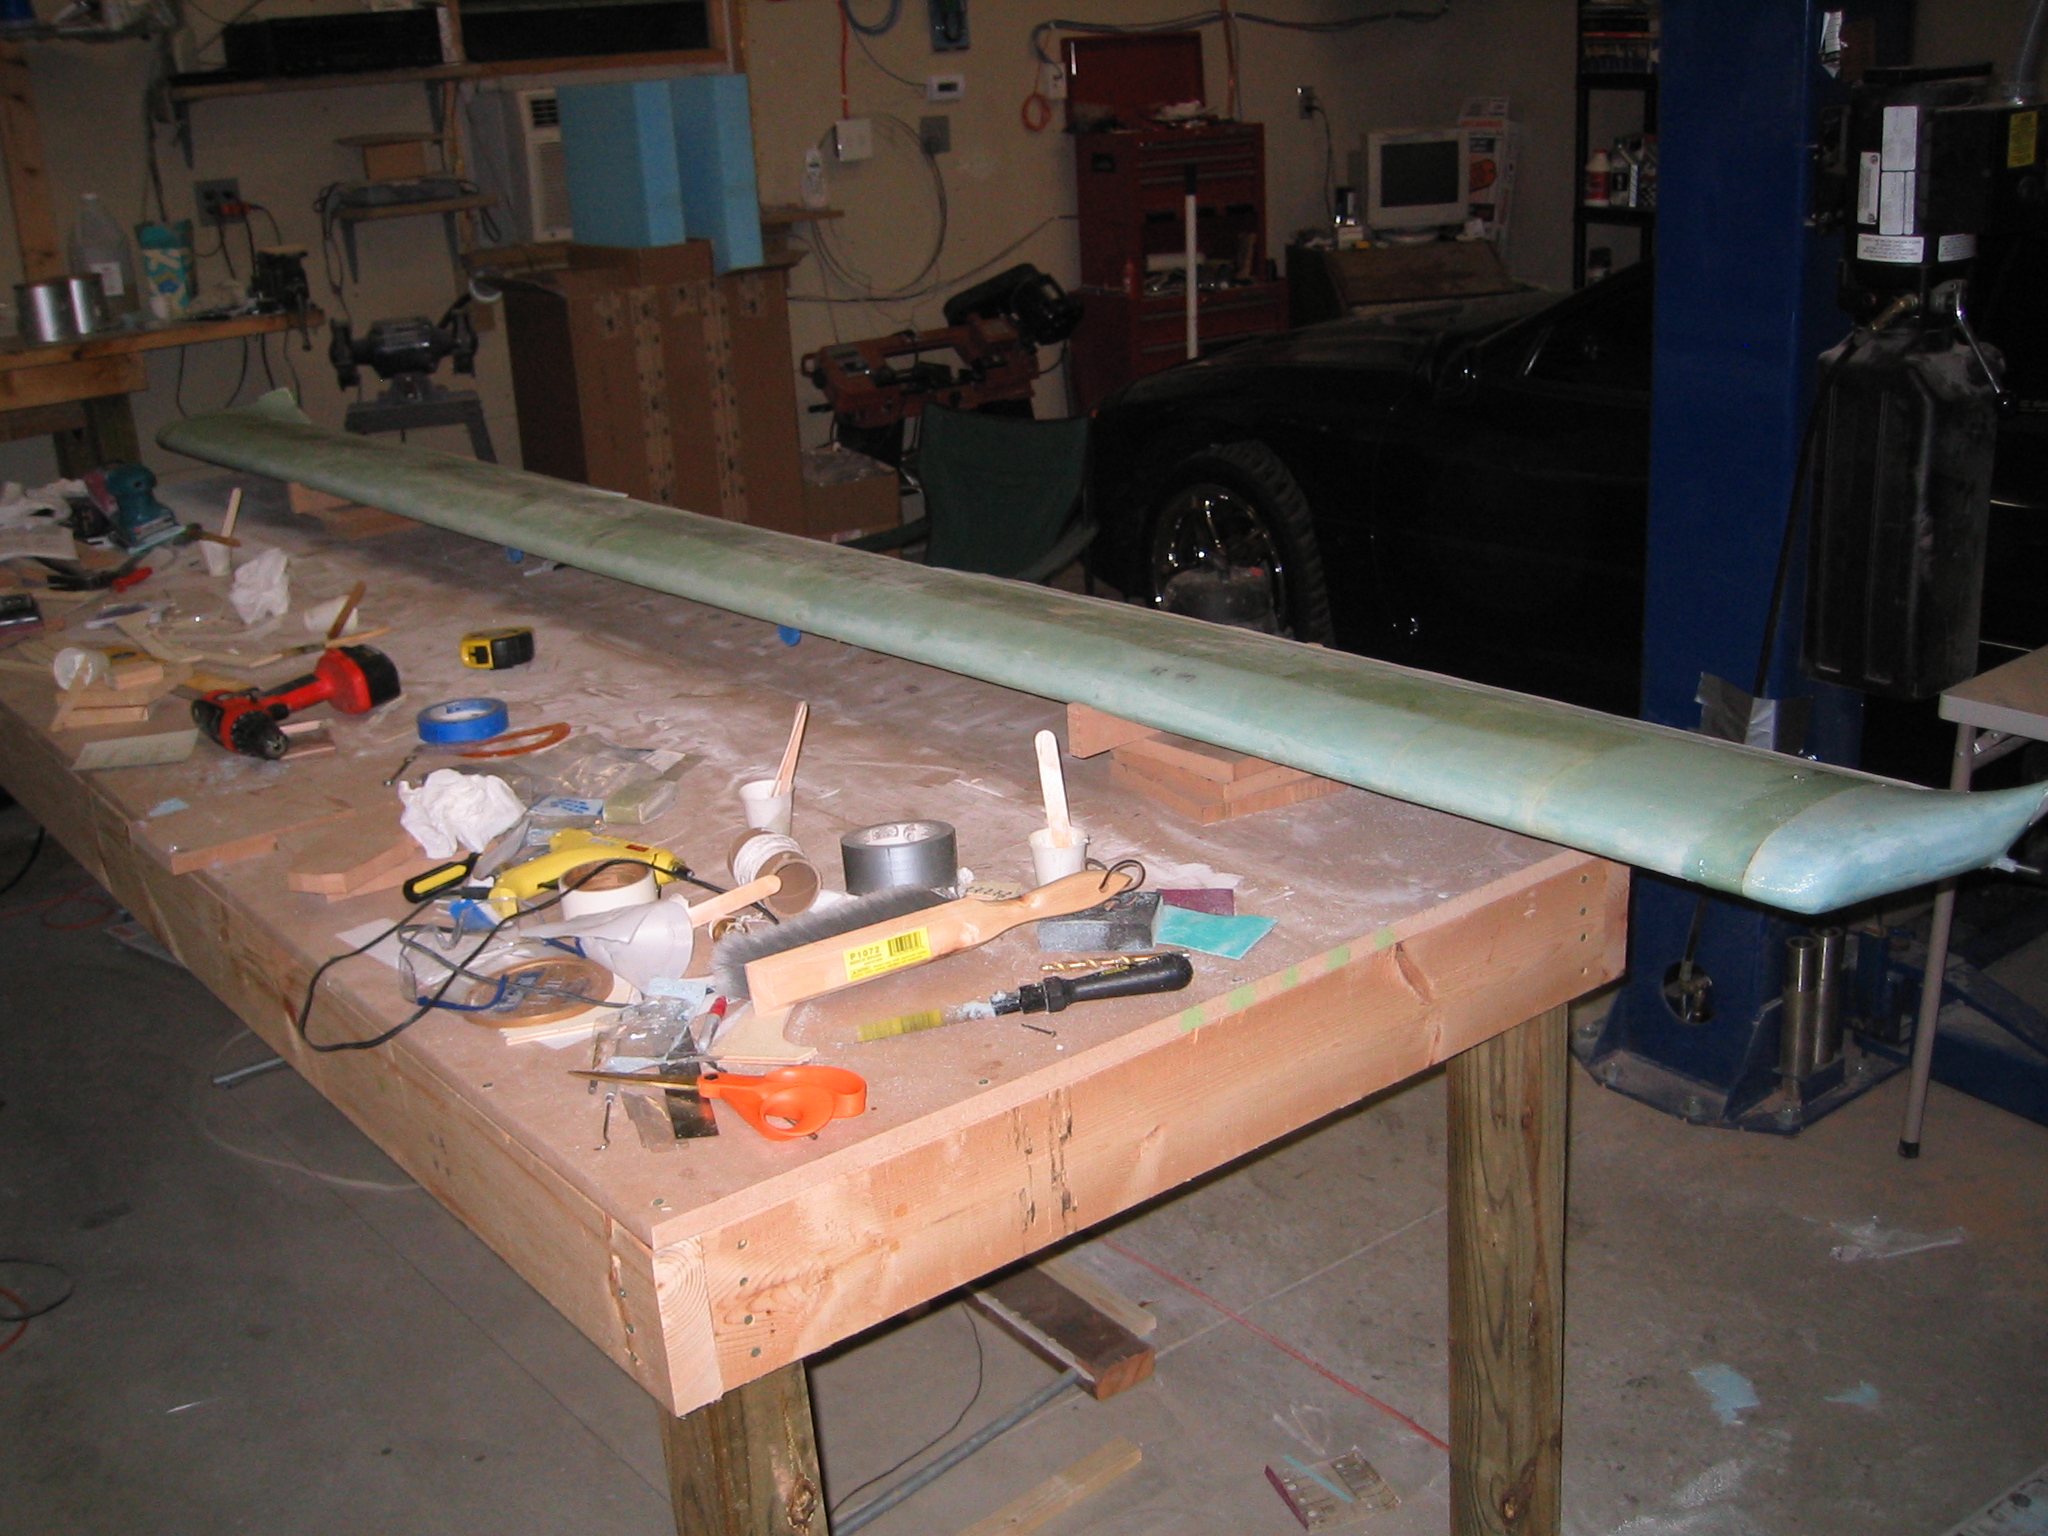
After the micro holding the cores to the torque tubes has cured we can glass the bottom skin of the elevator, being certain that all is level and straight.
Once the bottom skin has cured, we can flip the elevators over and glass the top skin. After the top skin has cured we trim the trailing edges, perform any final sanding to feather the leading edge overlaps and begin mounting the hardware that will attach the elevators to the canard and control systems.
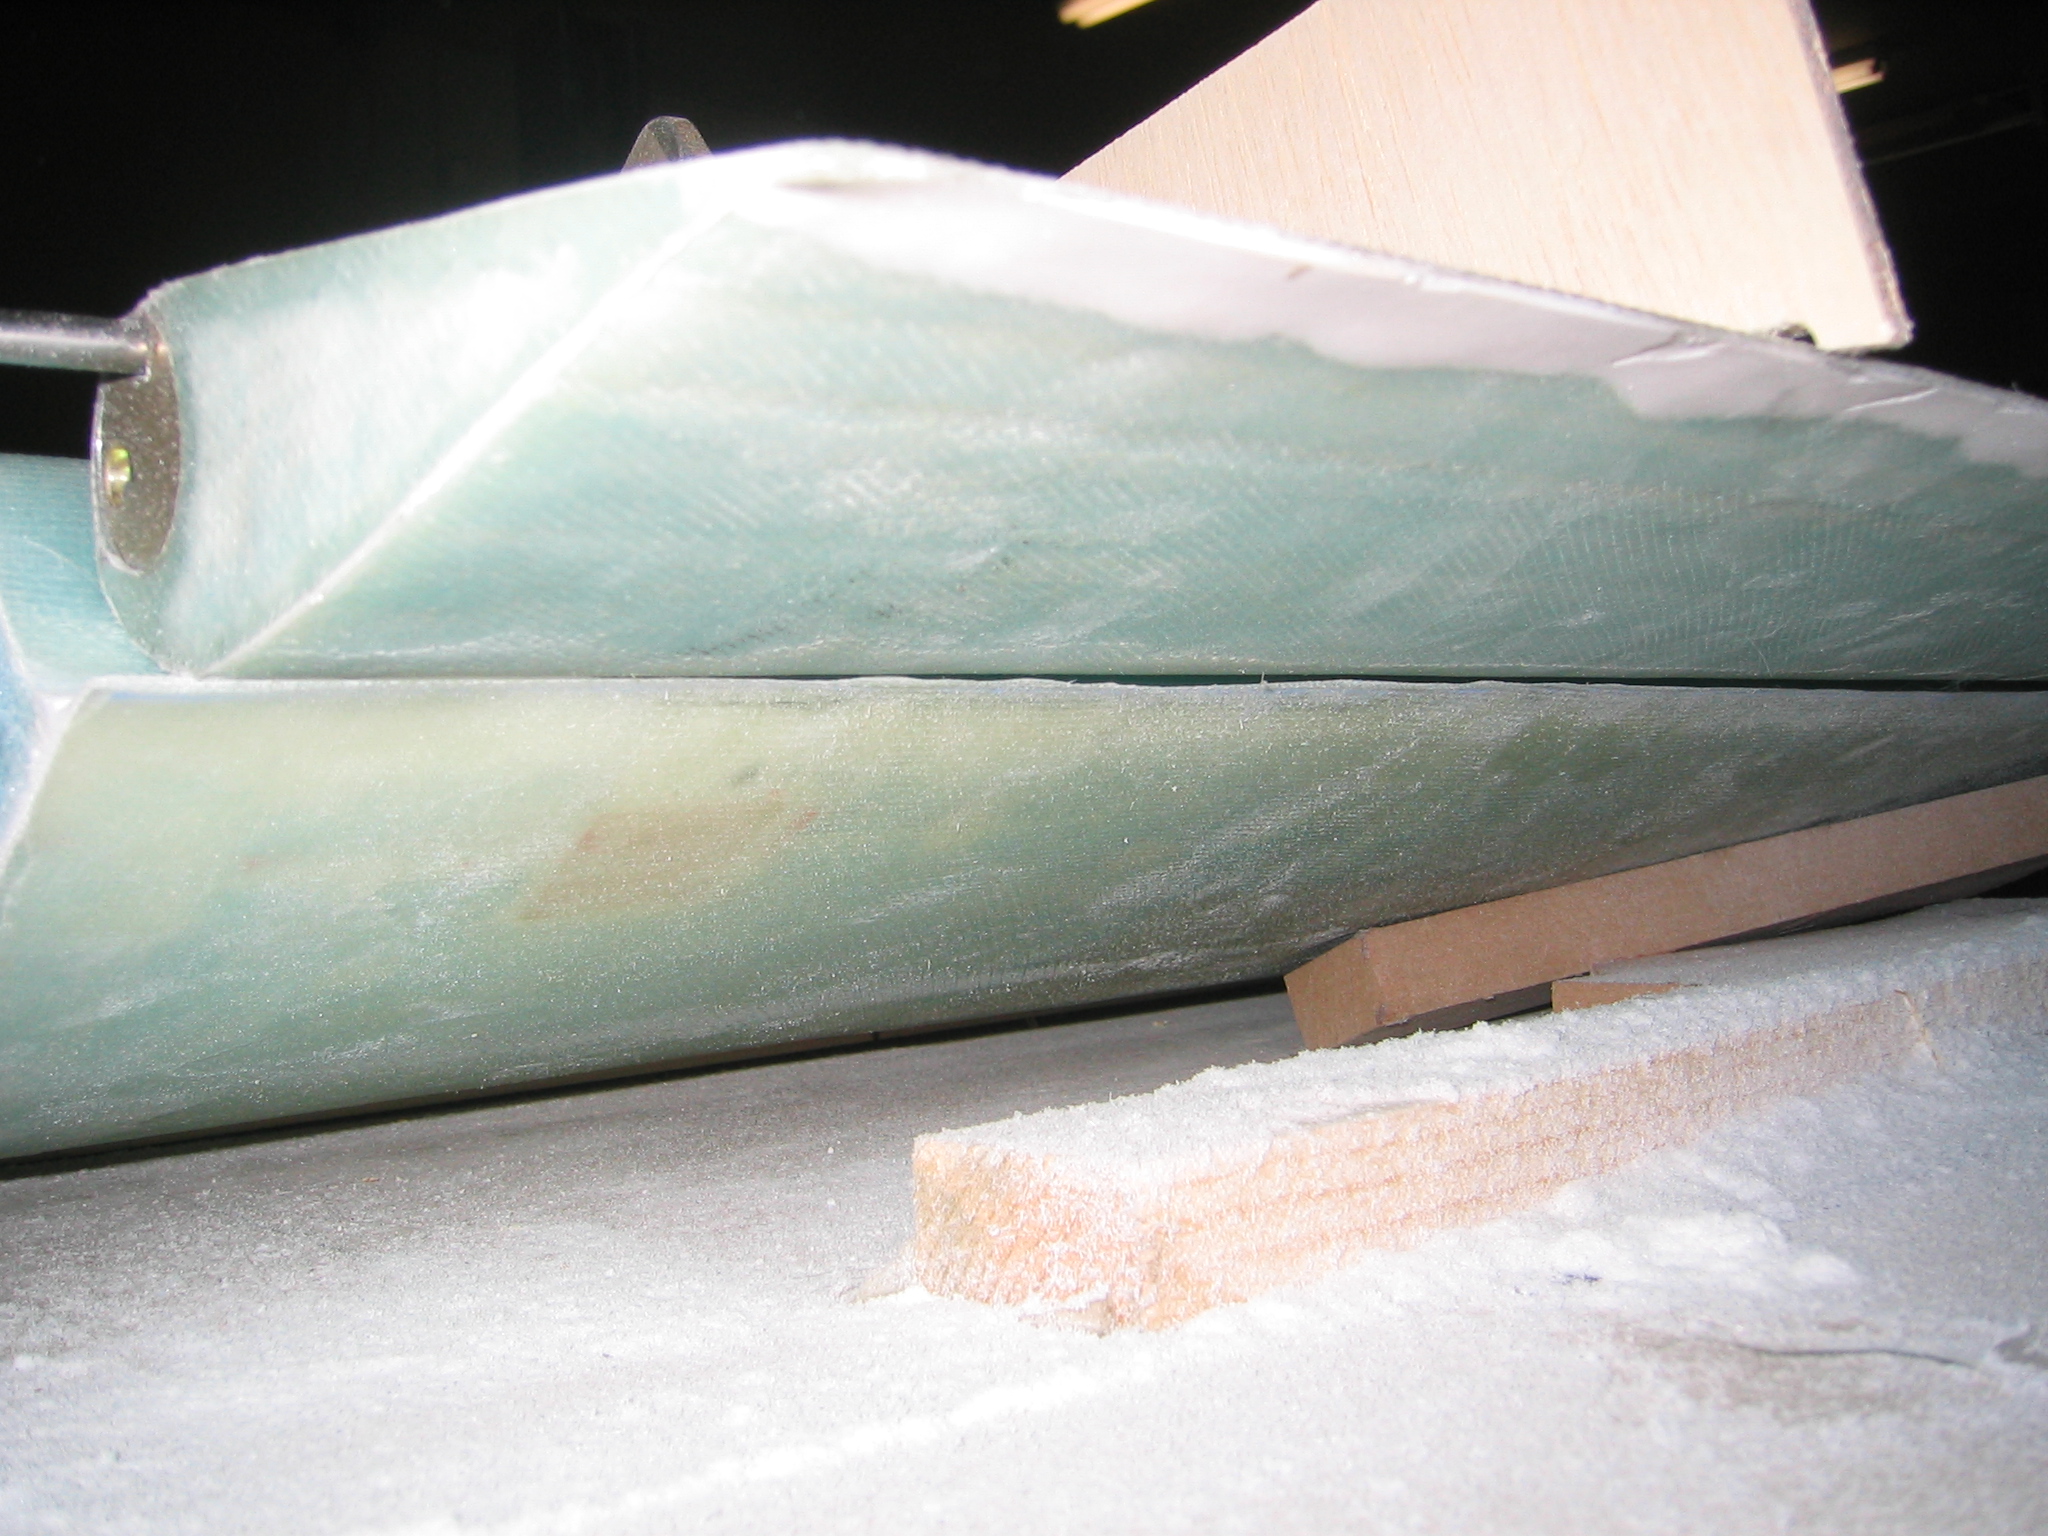
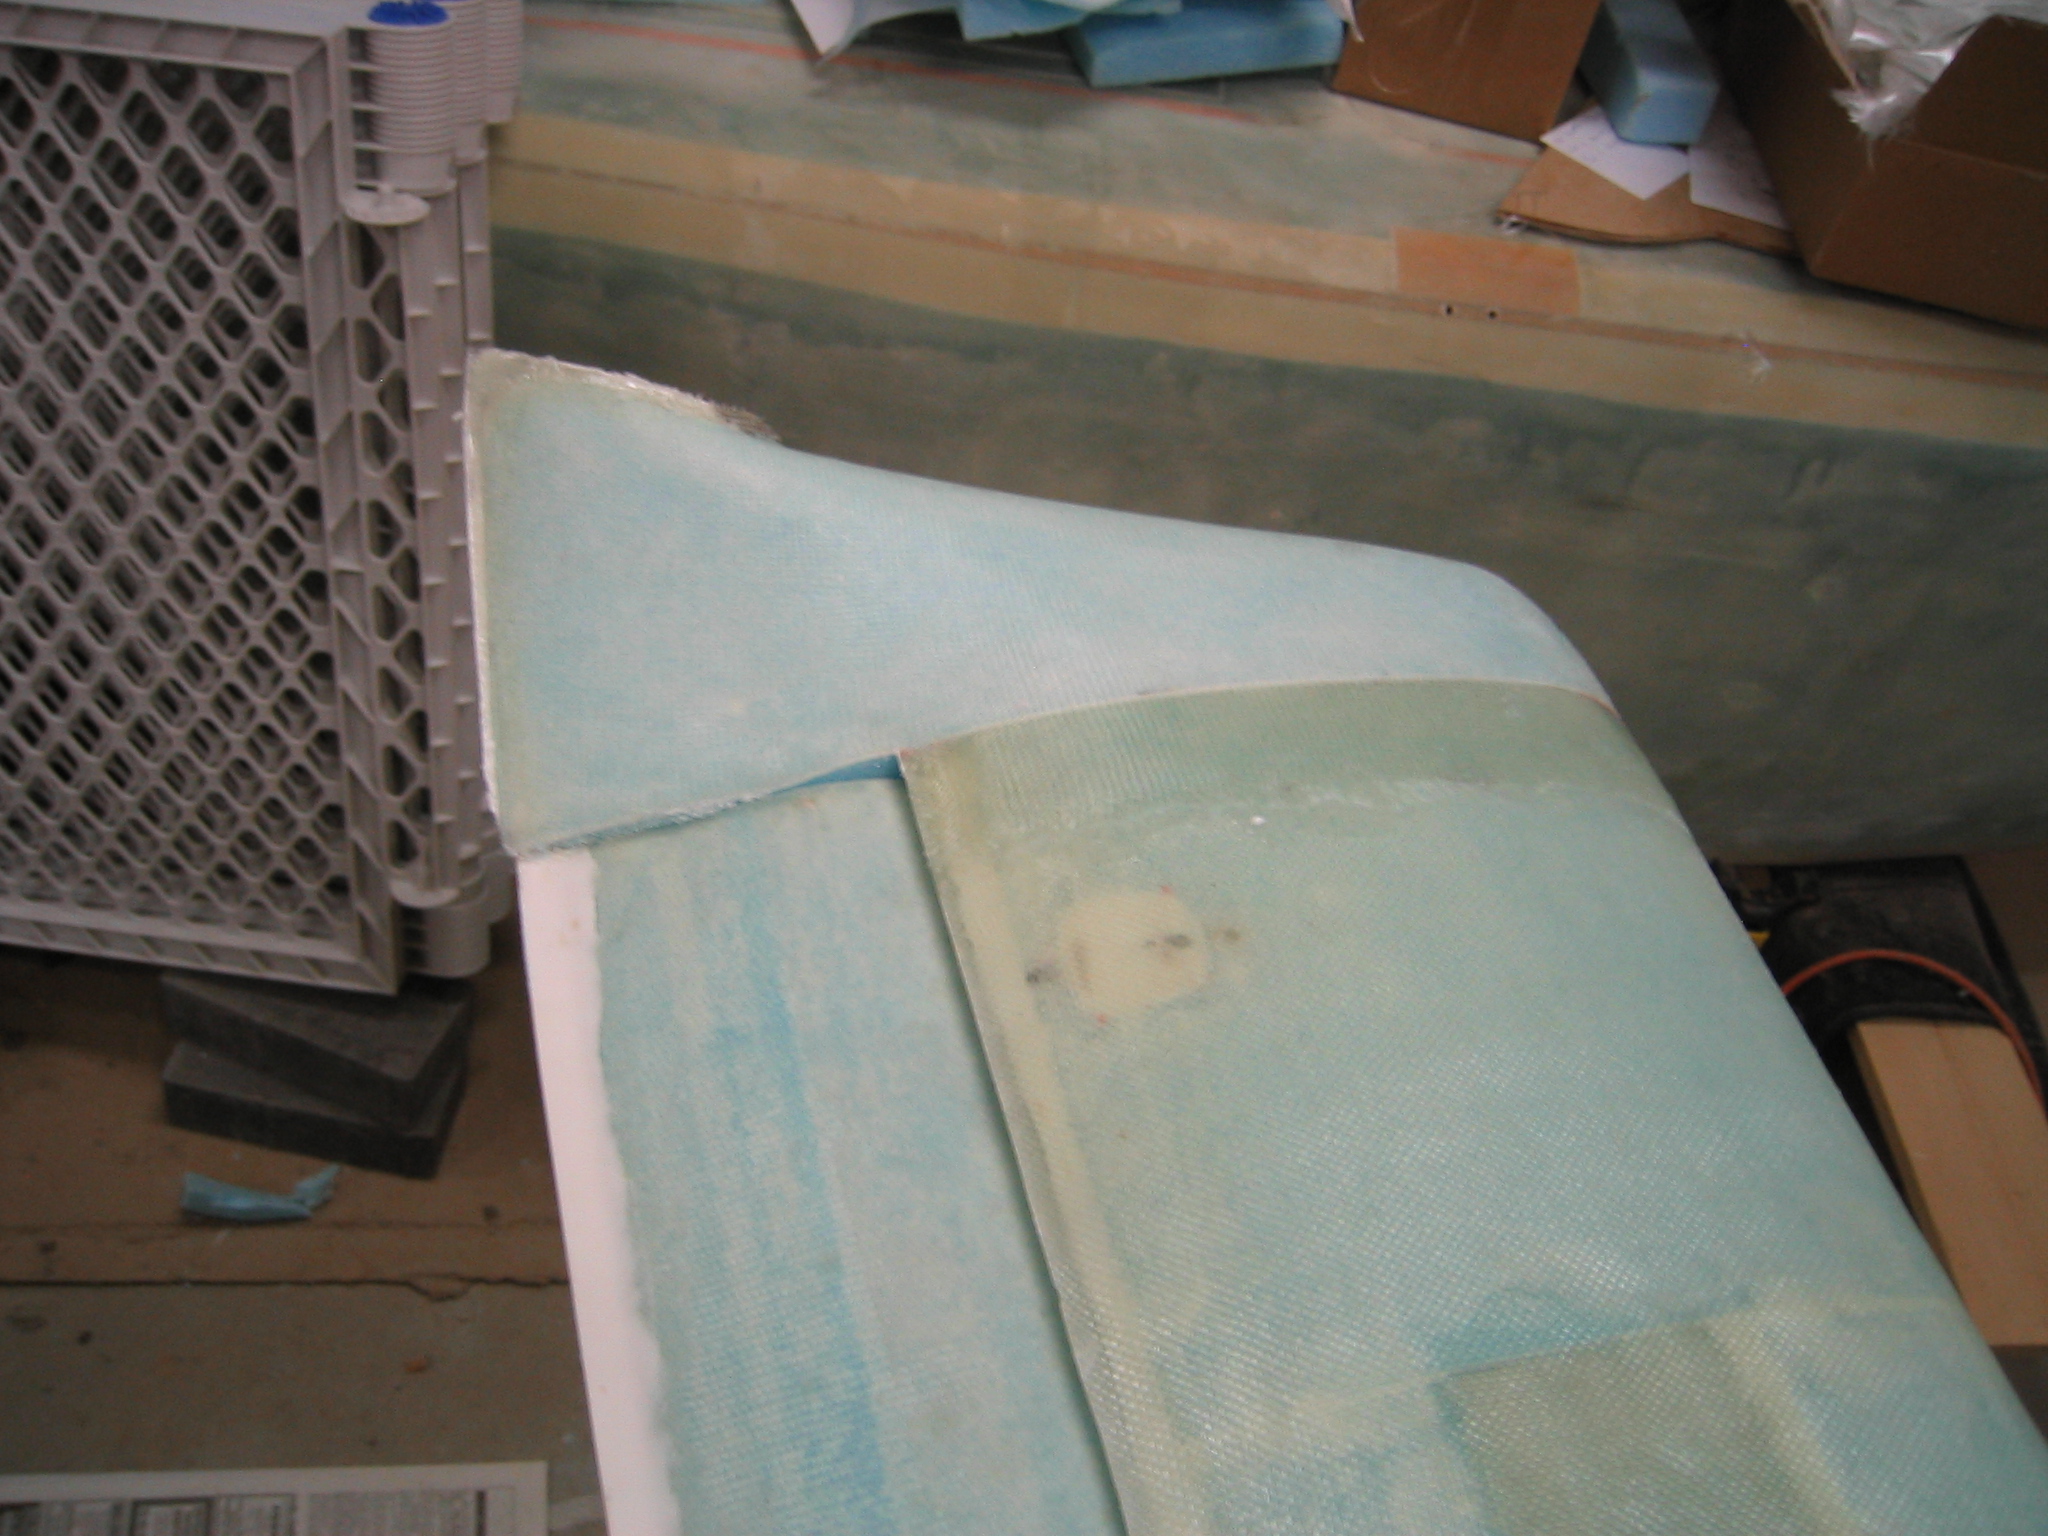
Sadly, this is where the project encountered yet another 3 month pause. There is simply no good excuse for this. Though, on Thanksgiving weekend we took advantage of the time off from work to concentrate on getting back to work on the plane. We didn’t make as much progress as we would have liked for a 4 day weekend, as we have run into a fitment issue that others have apparently encountered as well. While jigging the elevators into position with the canard, we are getting a bit of interference at the trailing edge of the canard / leading edge of the elevator. Once we have a good resolution to this we will proceed.
After resolving the interference the elevators are ready to have the hinges floxed into the canard. We were a bit apprehensive about this, as it seems as though it would be a difficult thing to fix once the flox has cured. We filled the slots for the hinges about half way with wet flox, lowered the hinges into place with the elevators, and the proceeded to re-jig the elevators to the canard using the jigs. Once re-attached we finished filling the slots with flox and waited for them to cure.
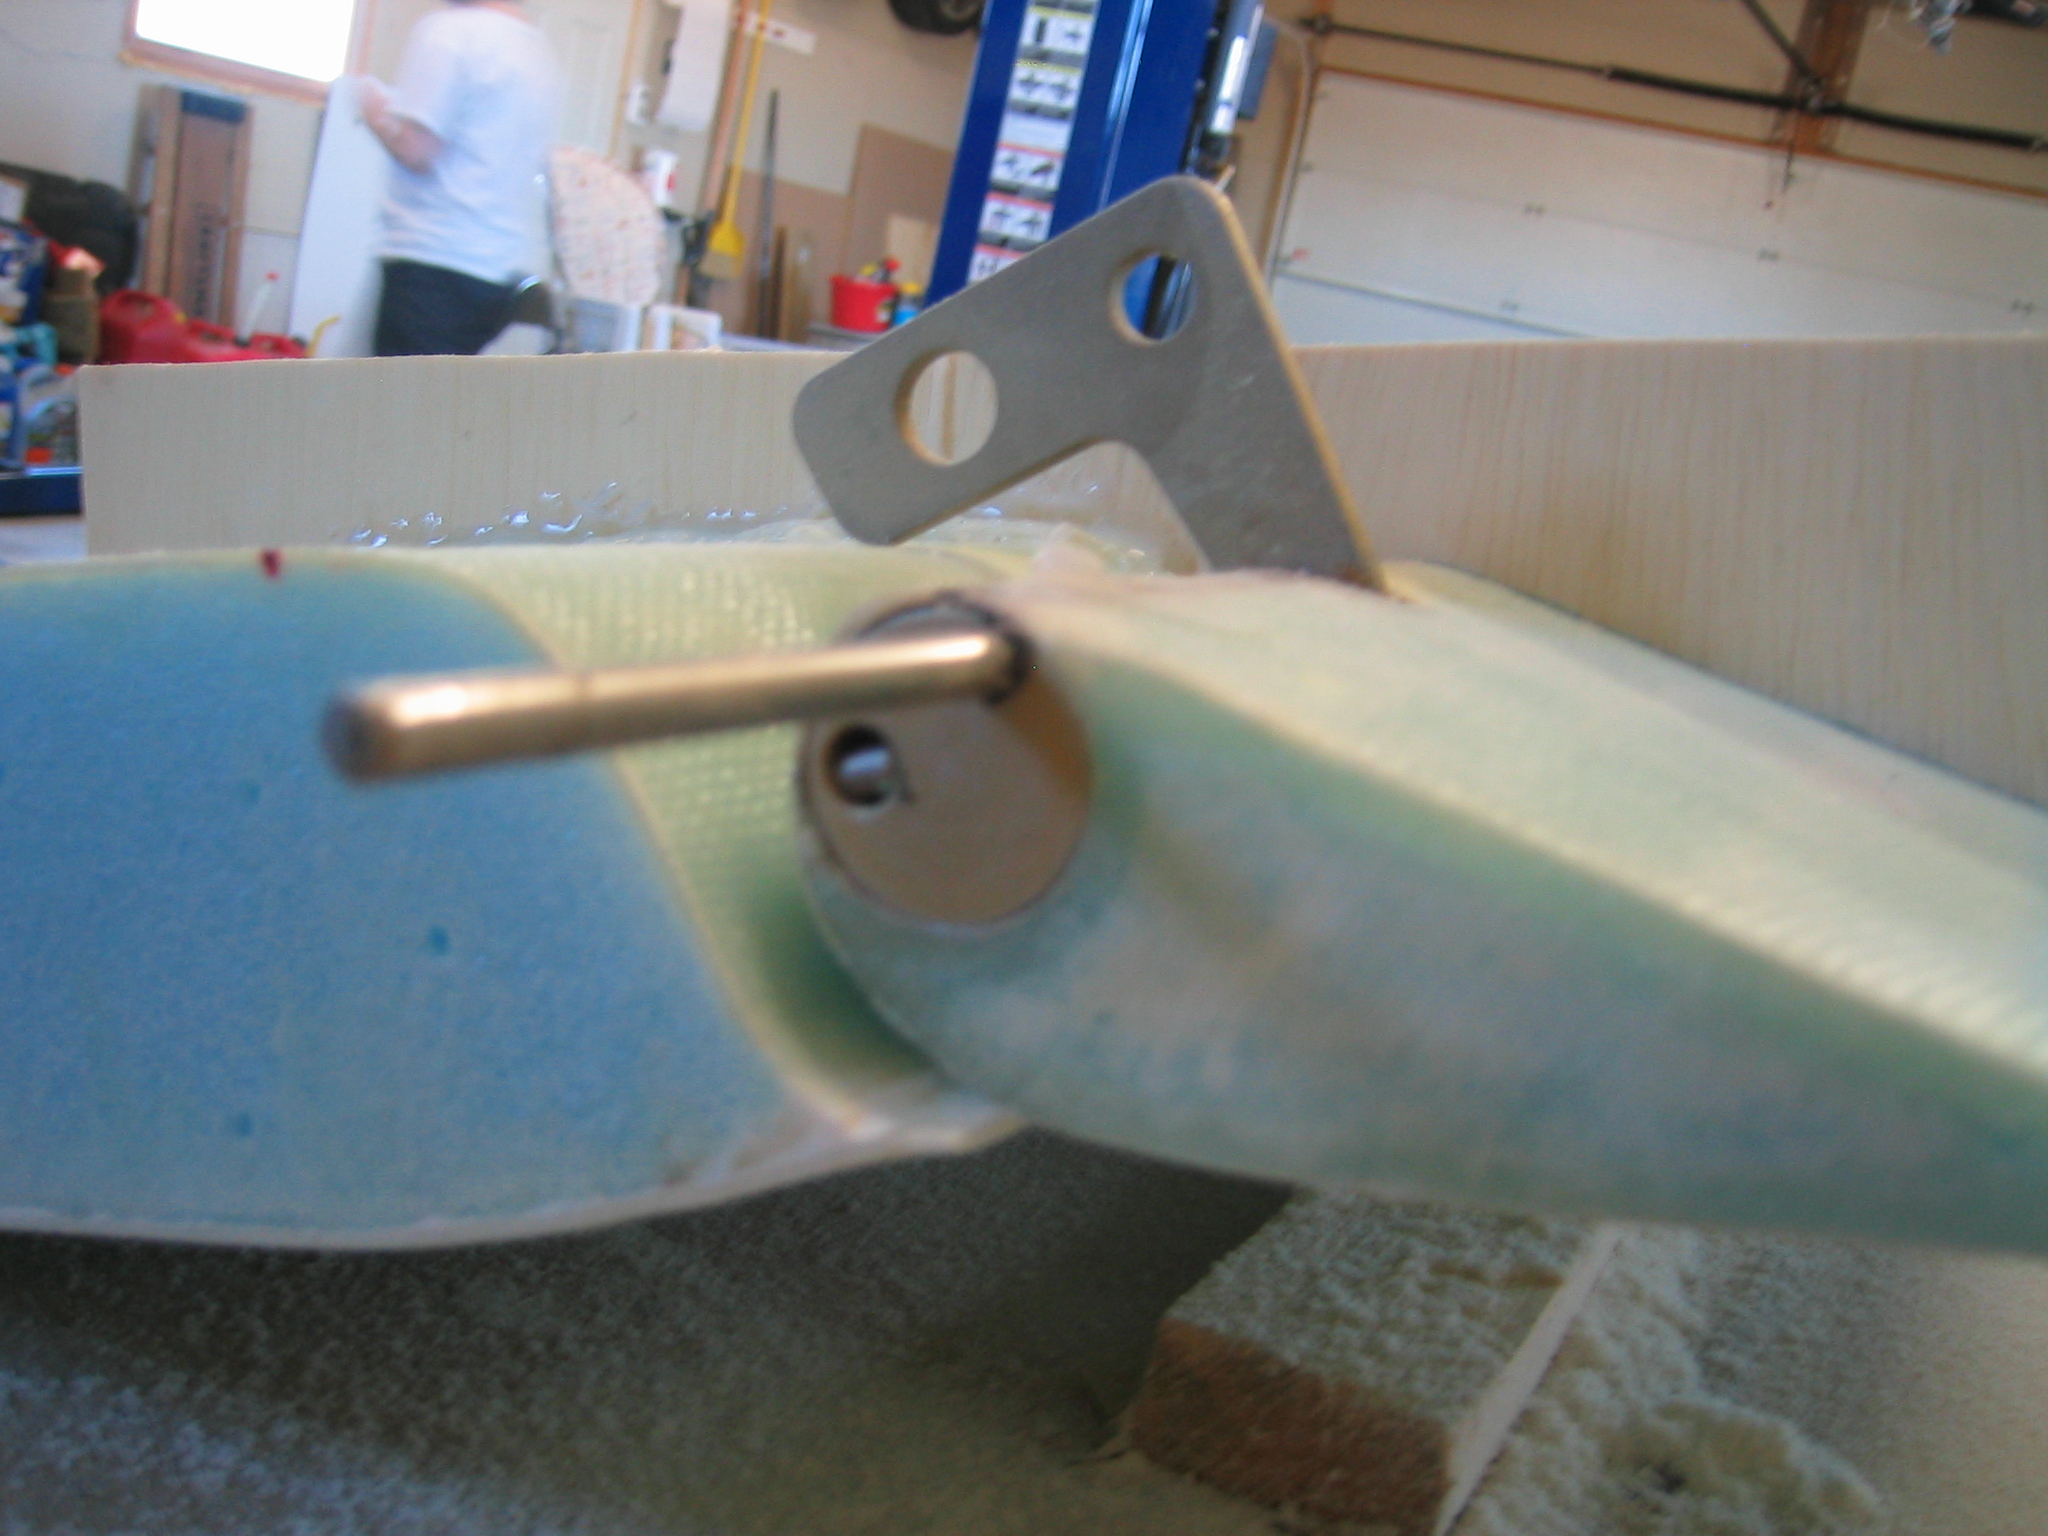
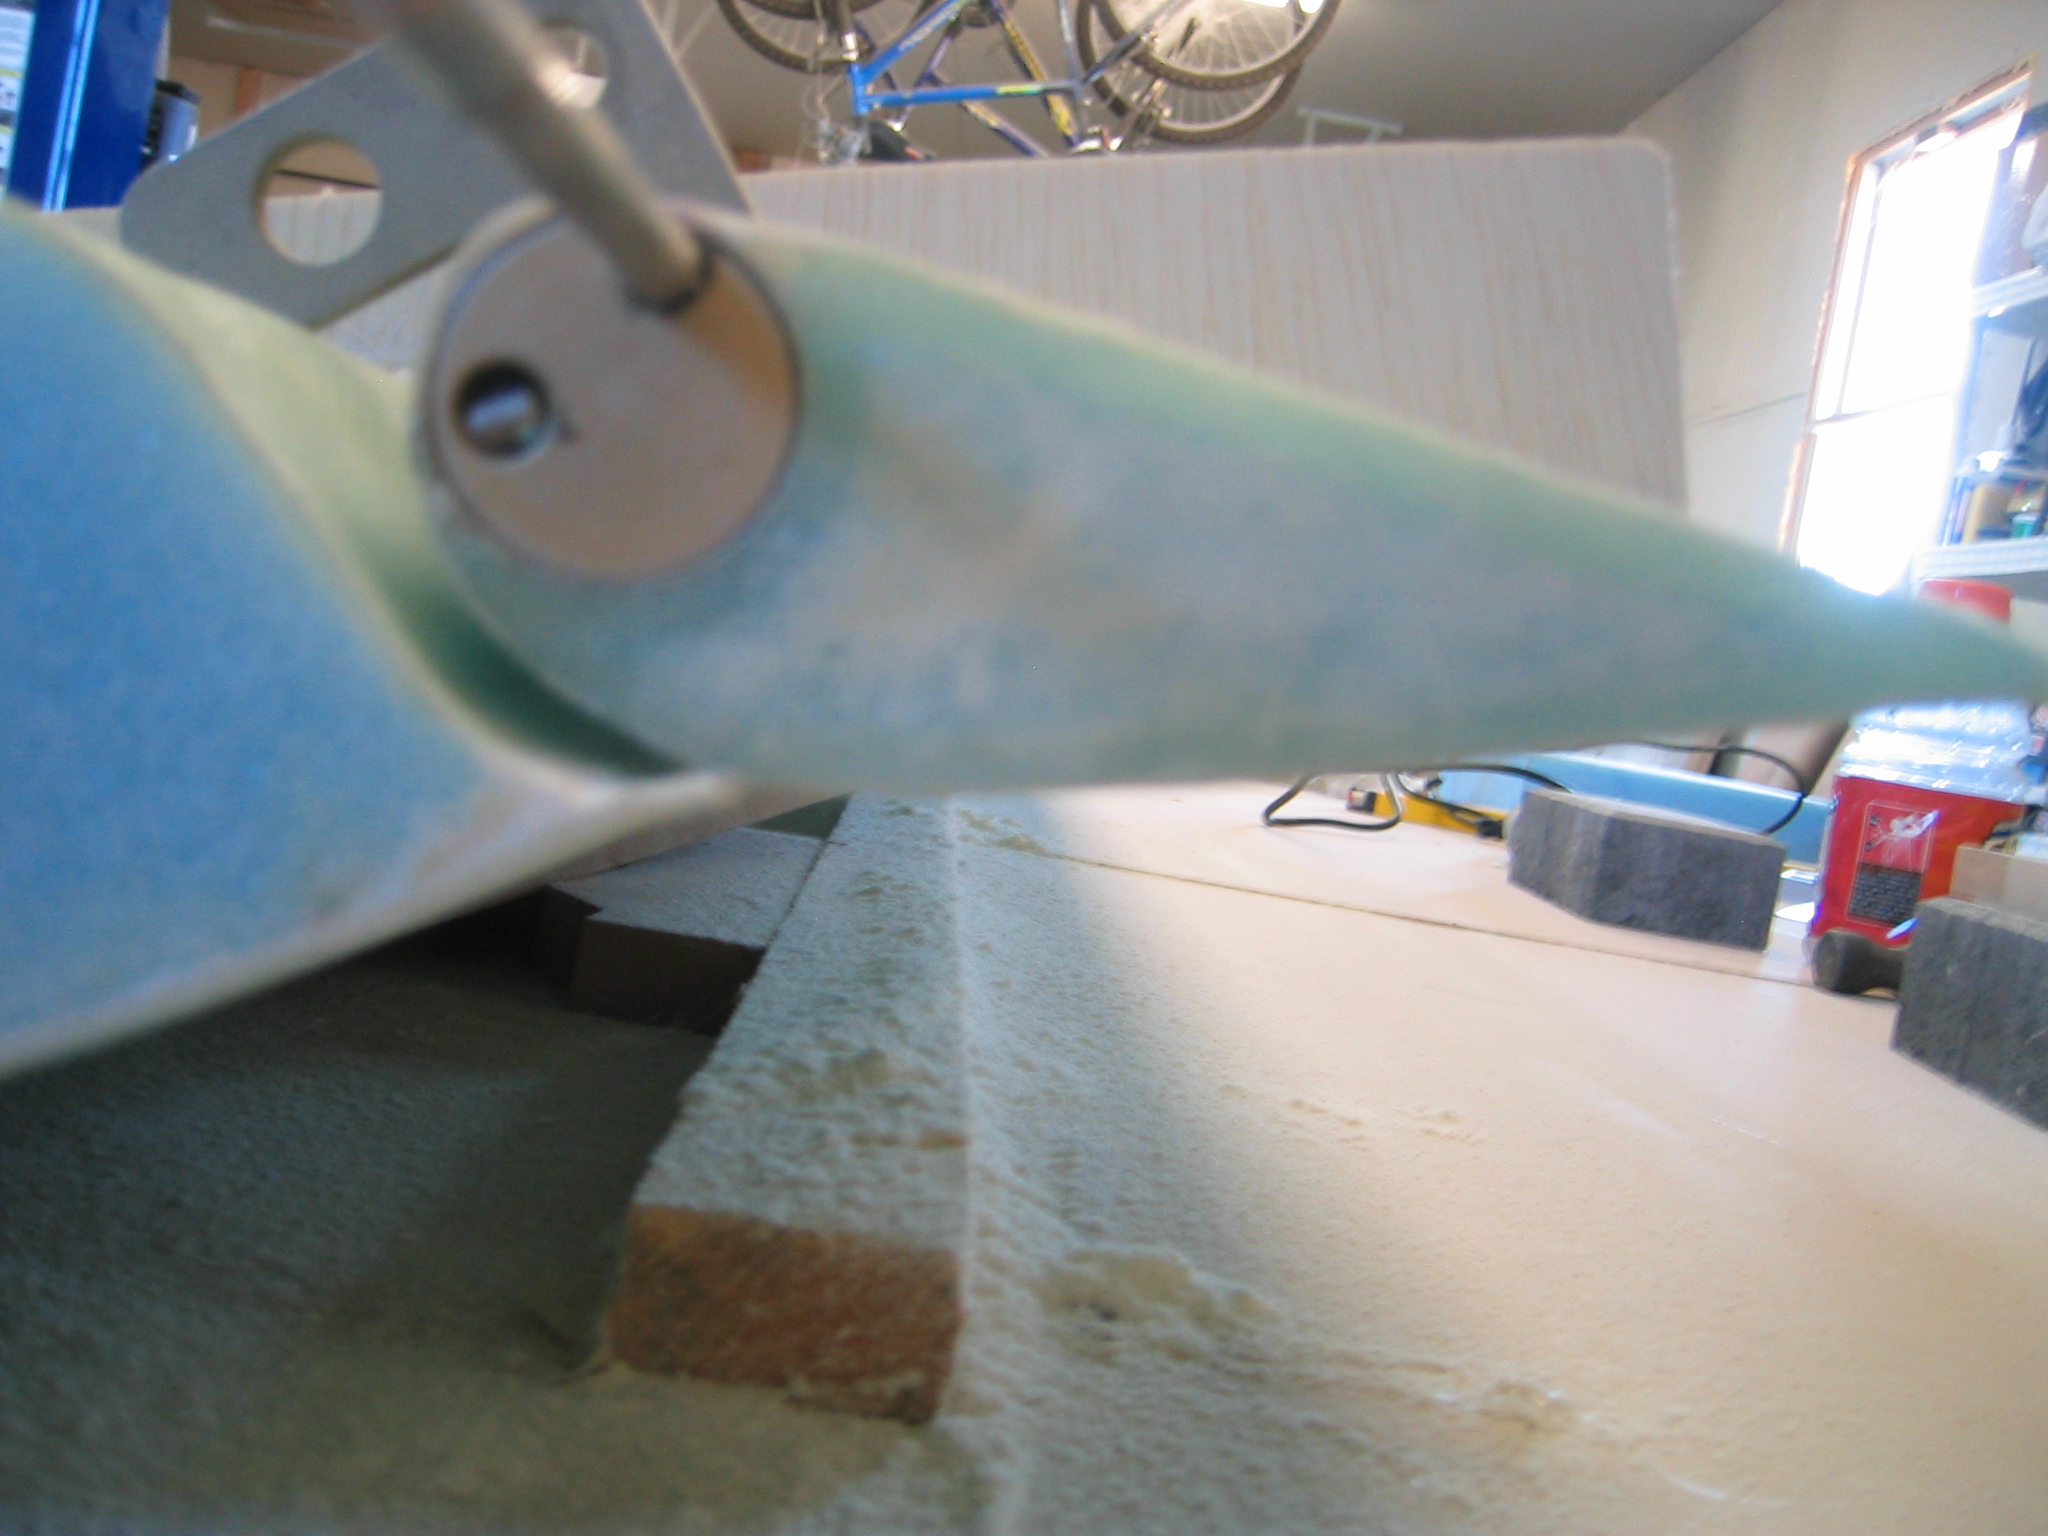
With the elevators now firmly attached to the canard by the NC6 hinges, we removed the L jigs holding the elevators in position. After making the elevator travel checking template, we verified we had a full -15 degrees to +30 degrees of elevator travel. Being that checked out correctly, we continued with the formation of the canard tips.
The plans indicate to reattach the L jigs to hold the elevators at 0 degrees in trail. However the newest L templates (which are included with our plans) hold the elevators at -15 degrees. Being we needed the elevators at 0 degrees for forming the proper contour of the tips, I made a couple of new L jigs that would hold the elevators appropriately. This is easily achieved with the existing L jig template, and a protractor.
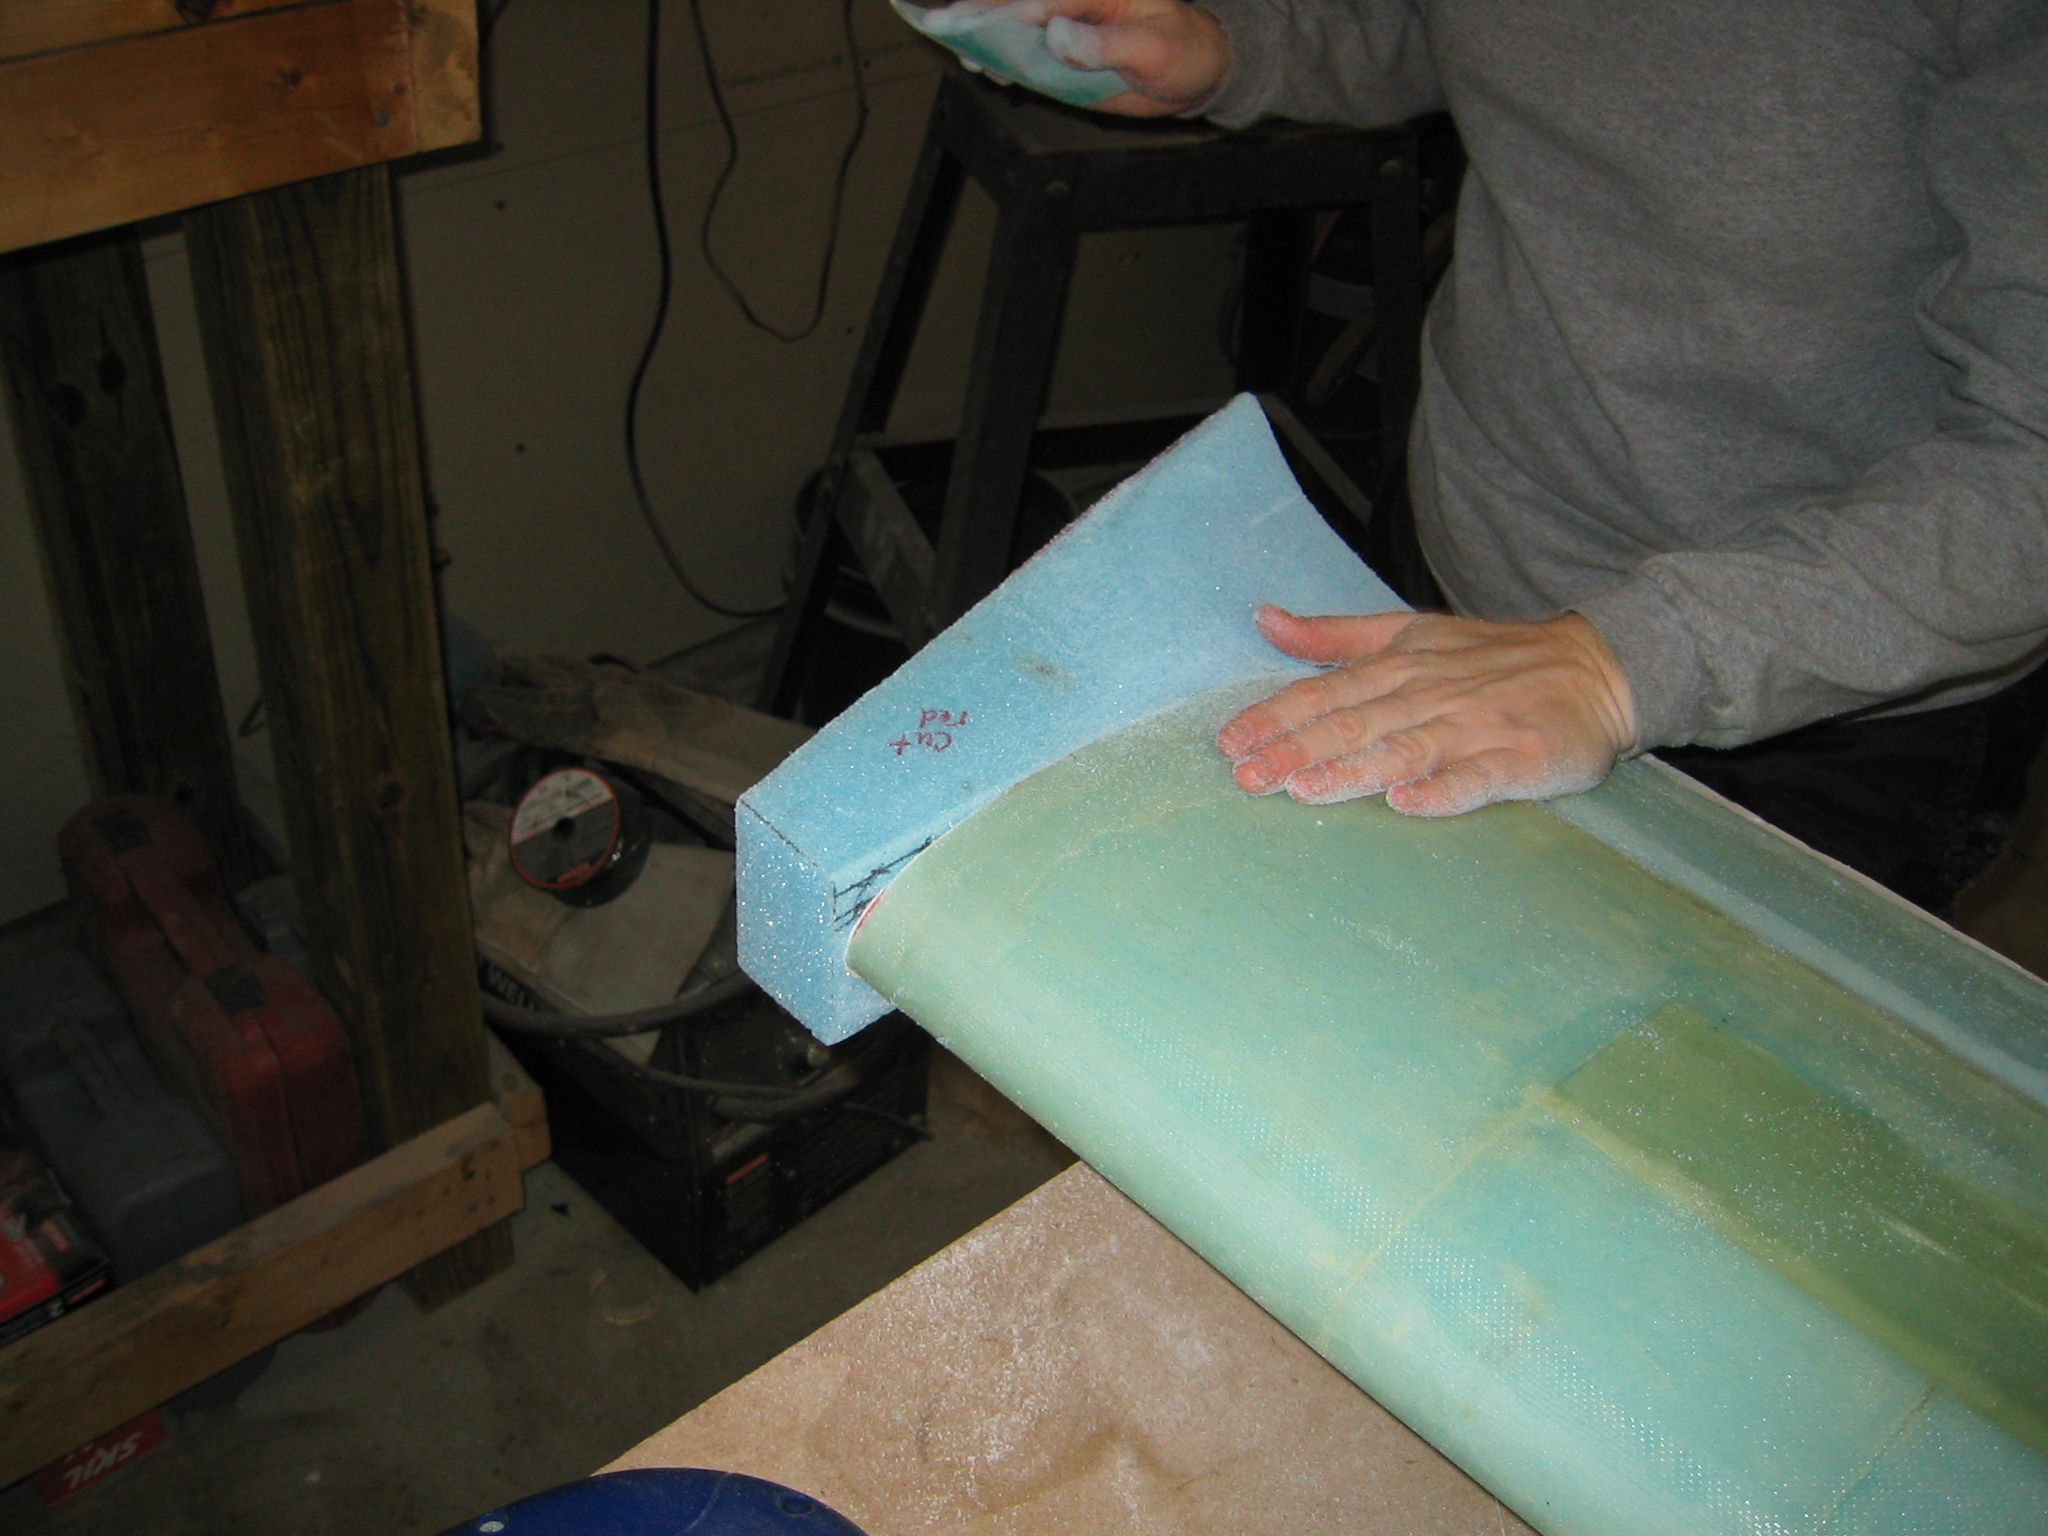
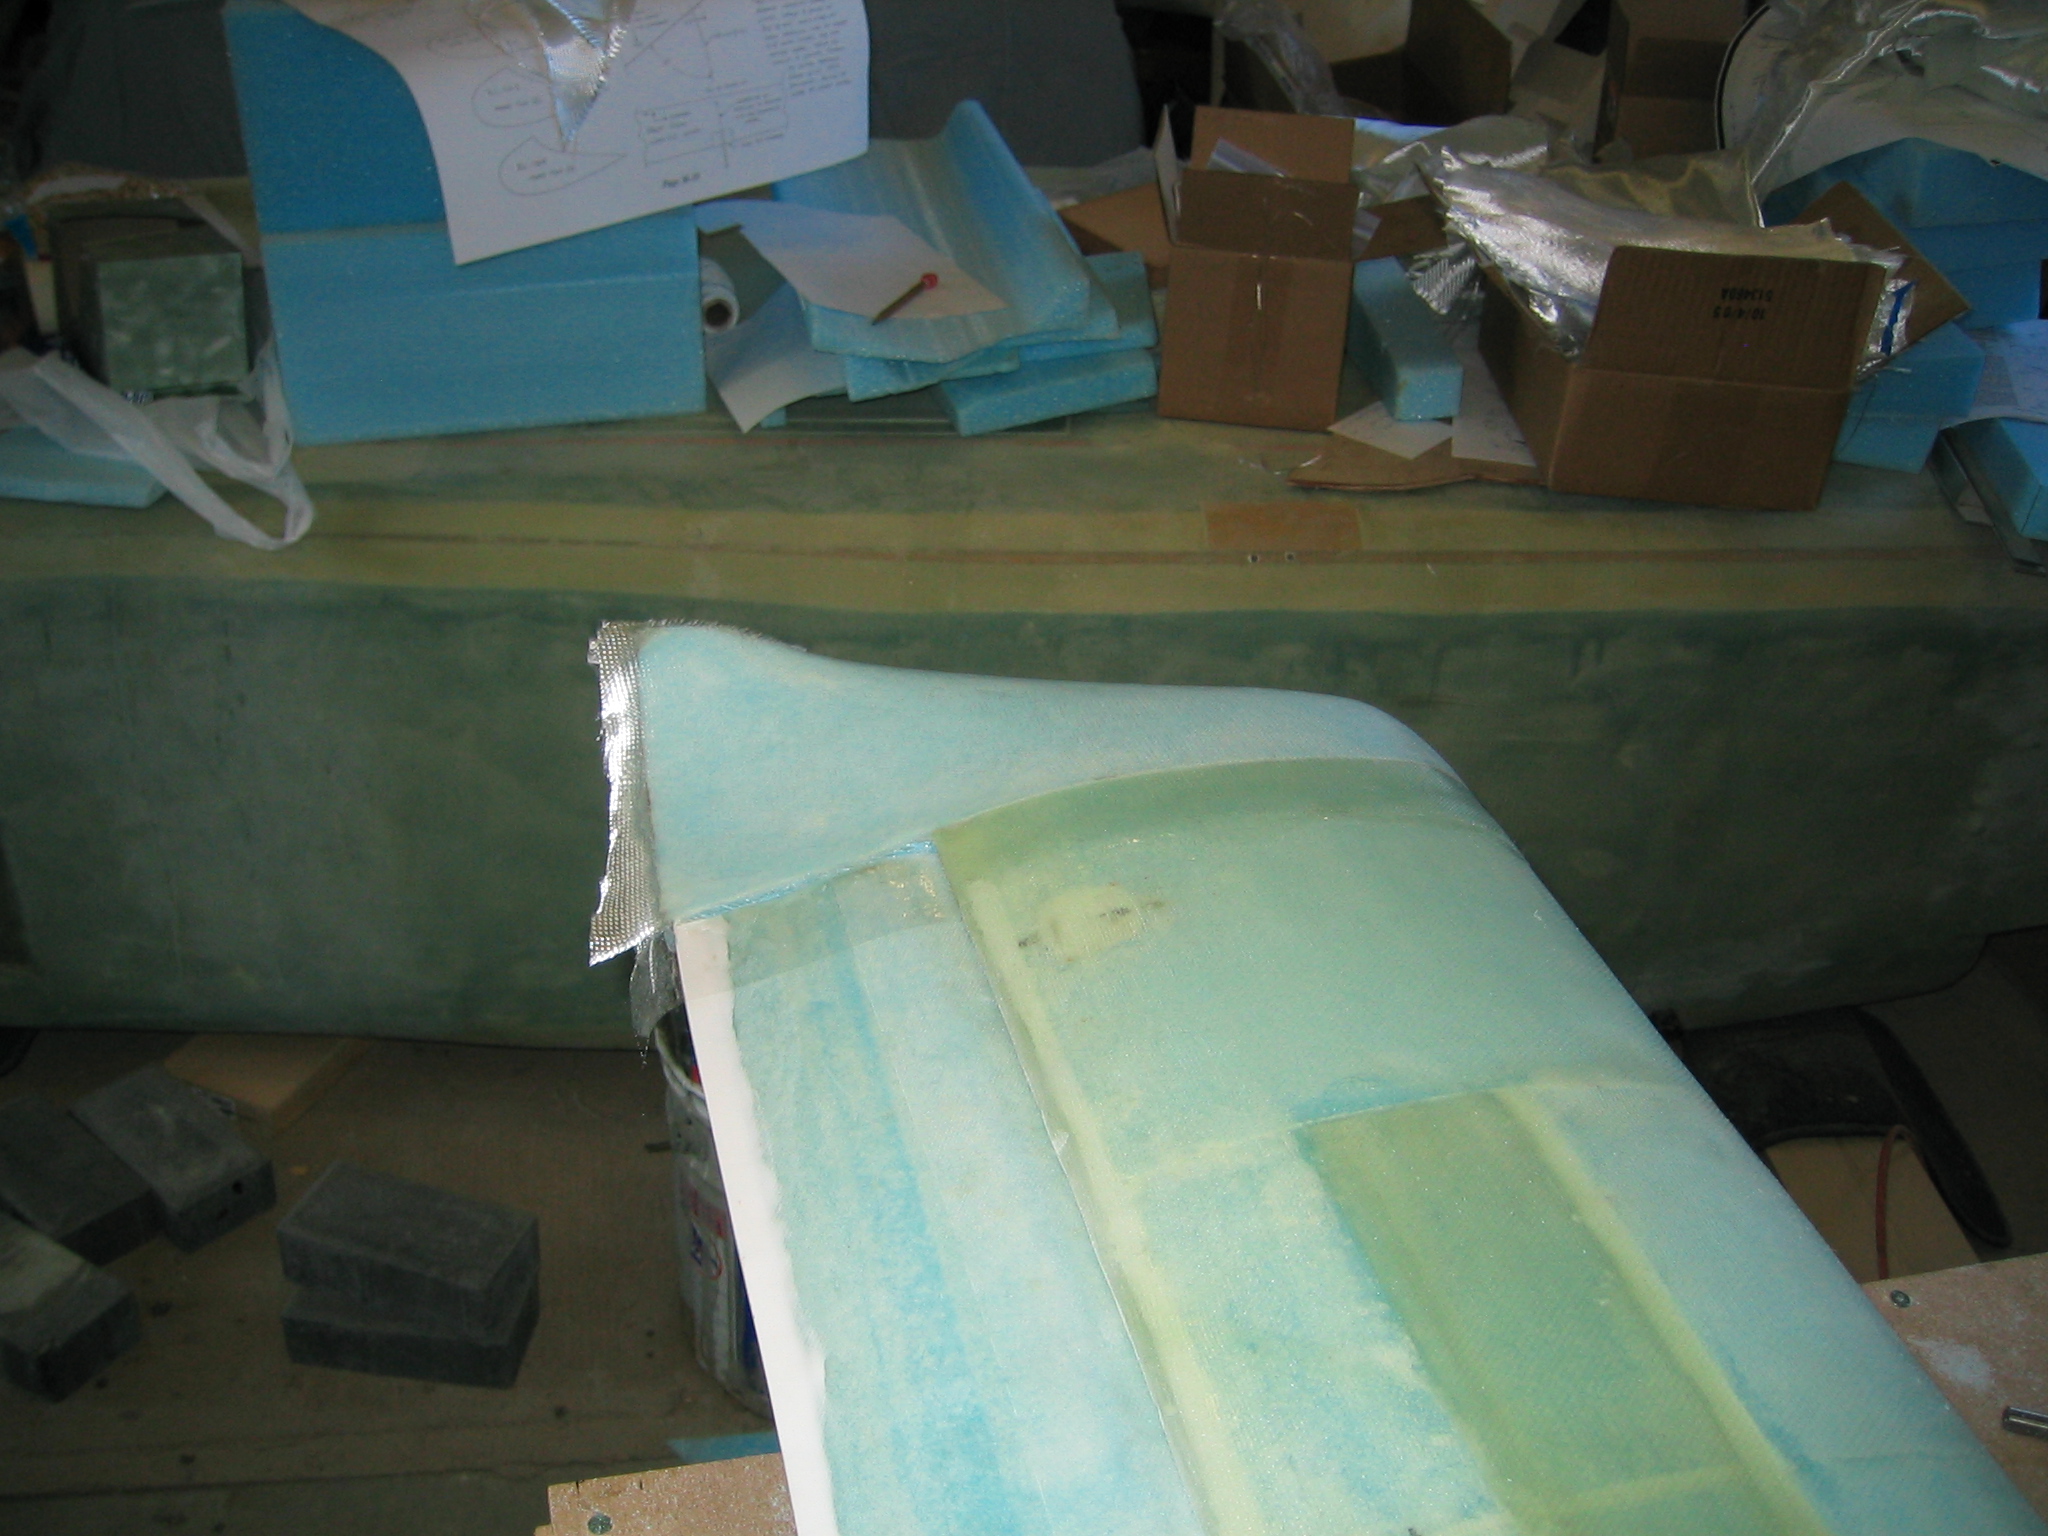
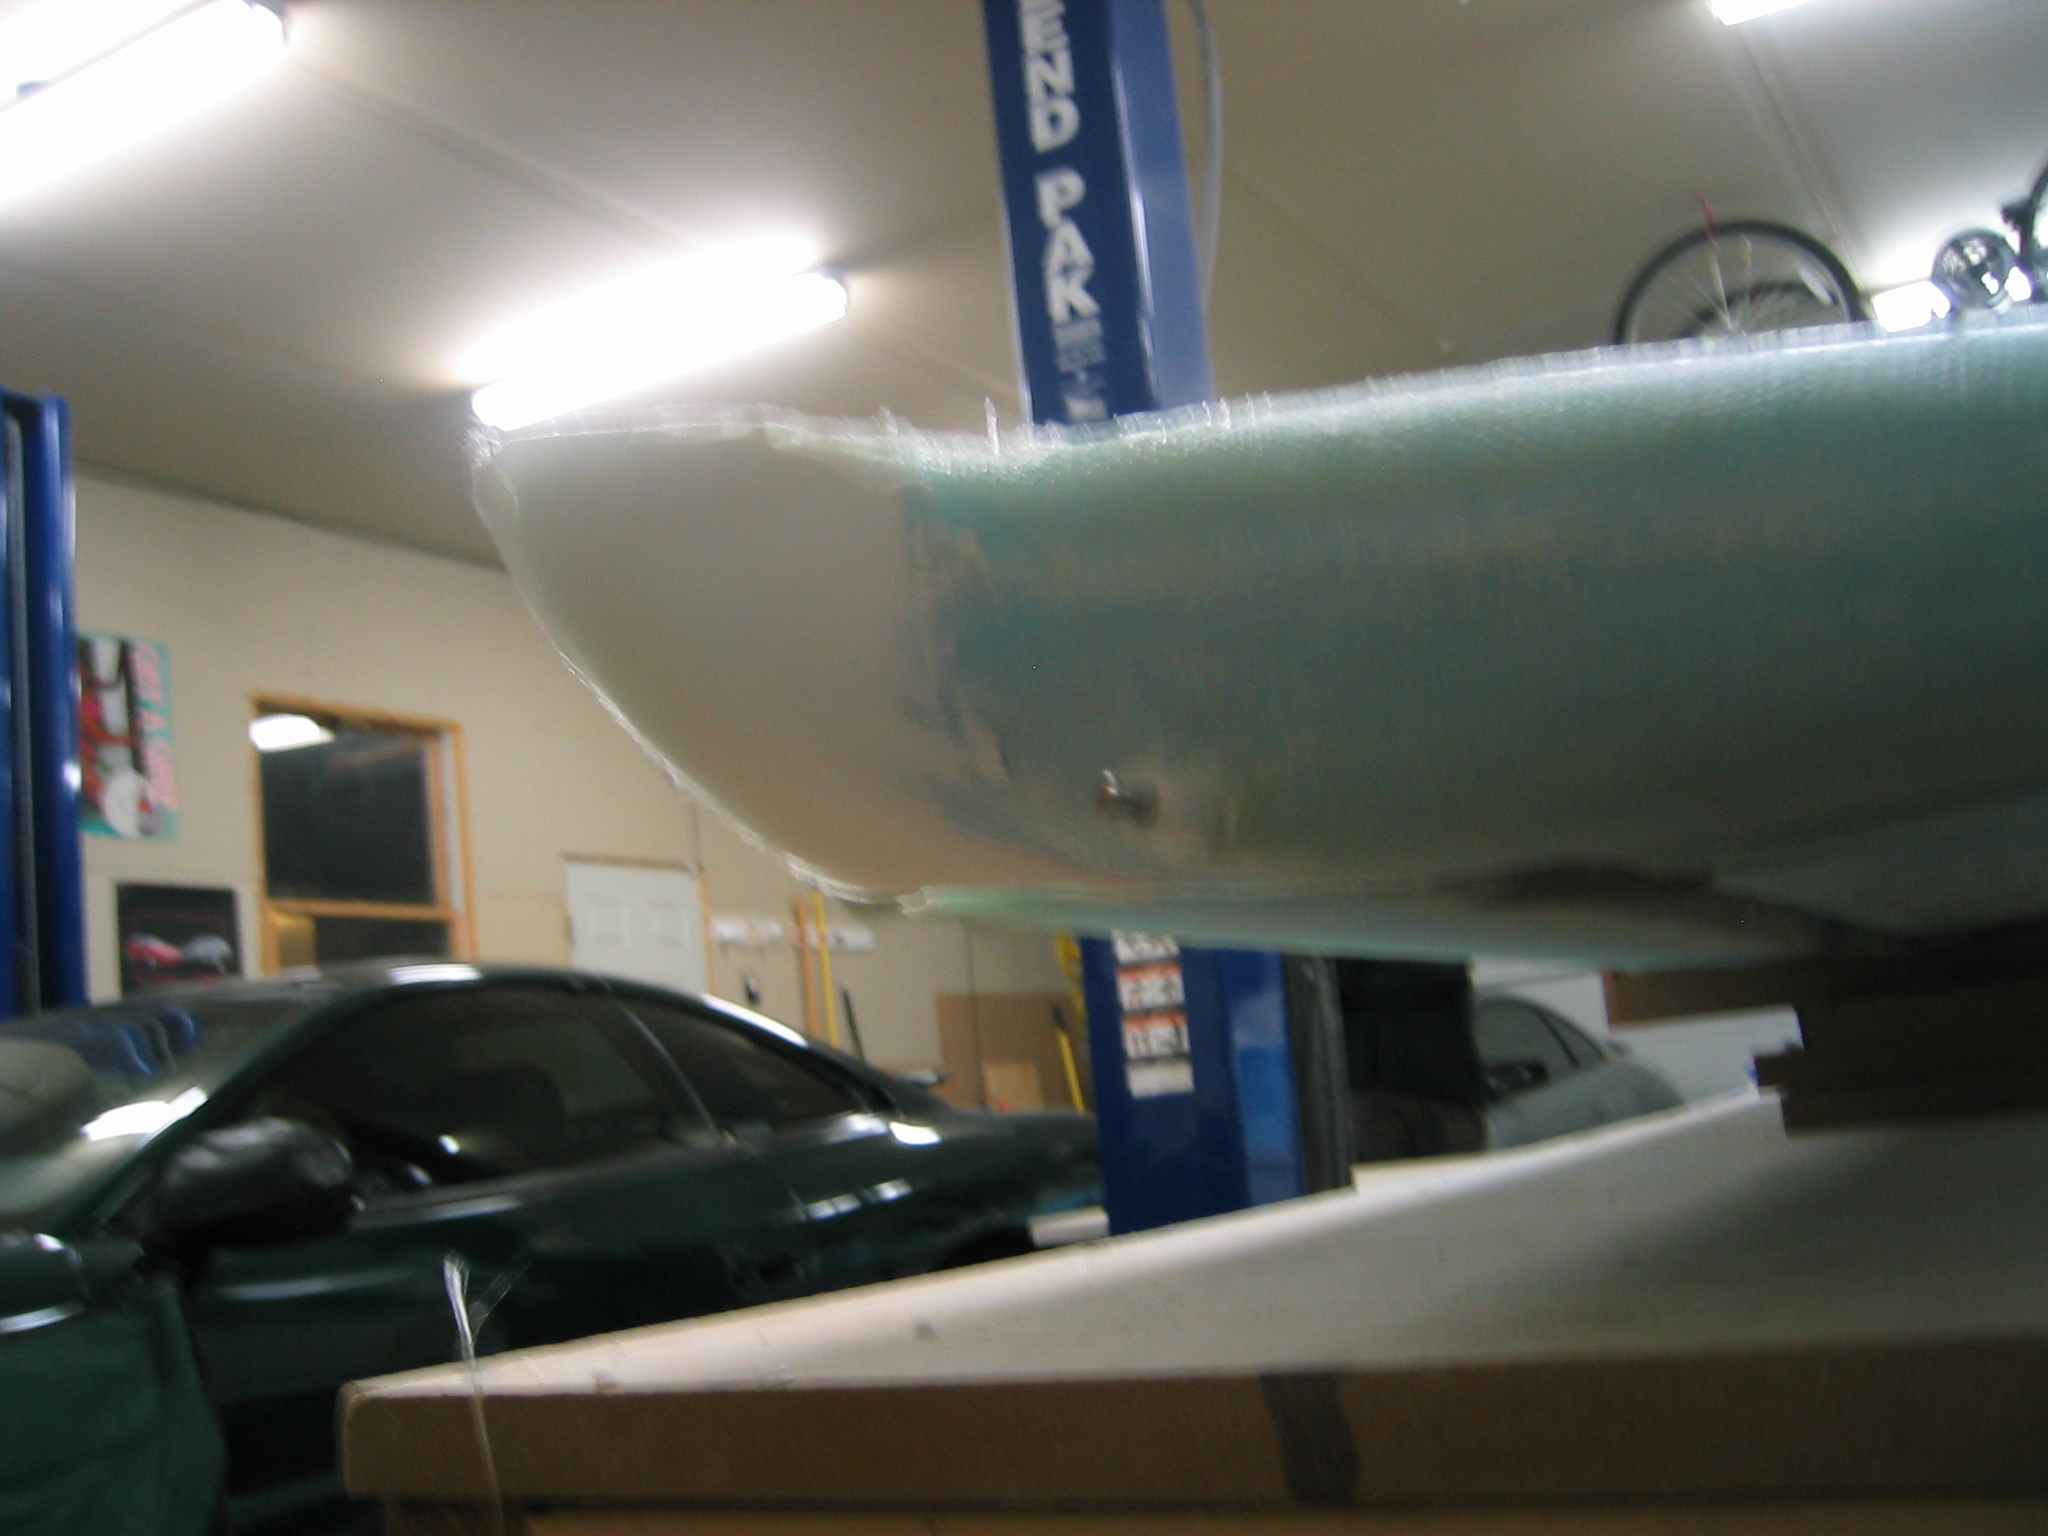
With the elevators positioned correctly, we began carving and sanding the top of the canard tip foam blocks to shape. Once the appropriate shape for the top was attained, we glassed them. After glassing the top of the tips, the canard was flipped over and the bottom of the tips were carved to shape. A 1/4″ plastic tube is installed to provide easy removal of the elevator hinge pins. The bottom of the tips are then glassed, as are the inboard faces alongside the elevators.
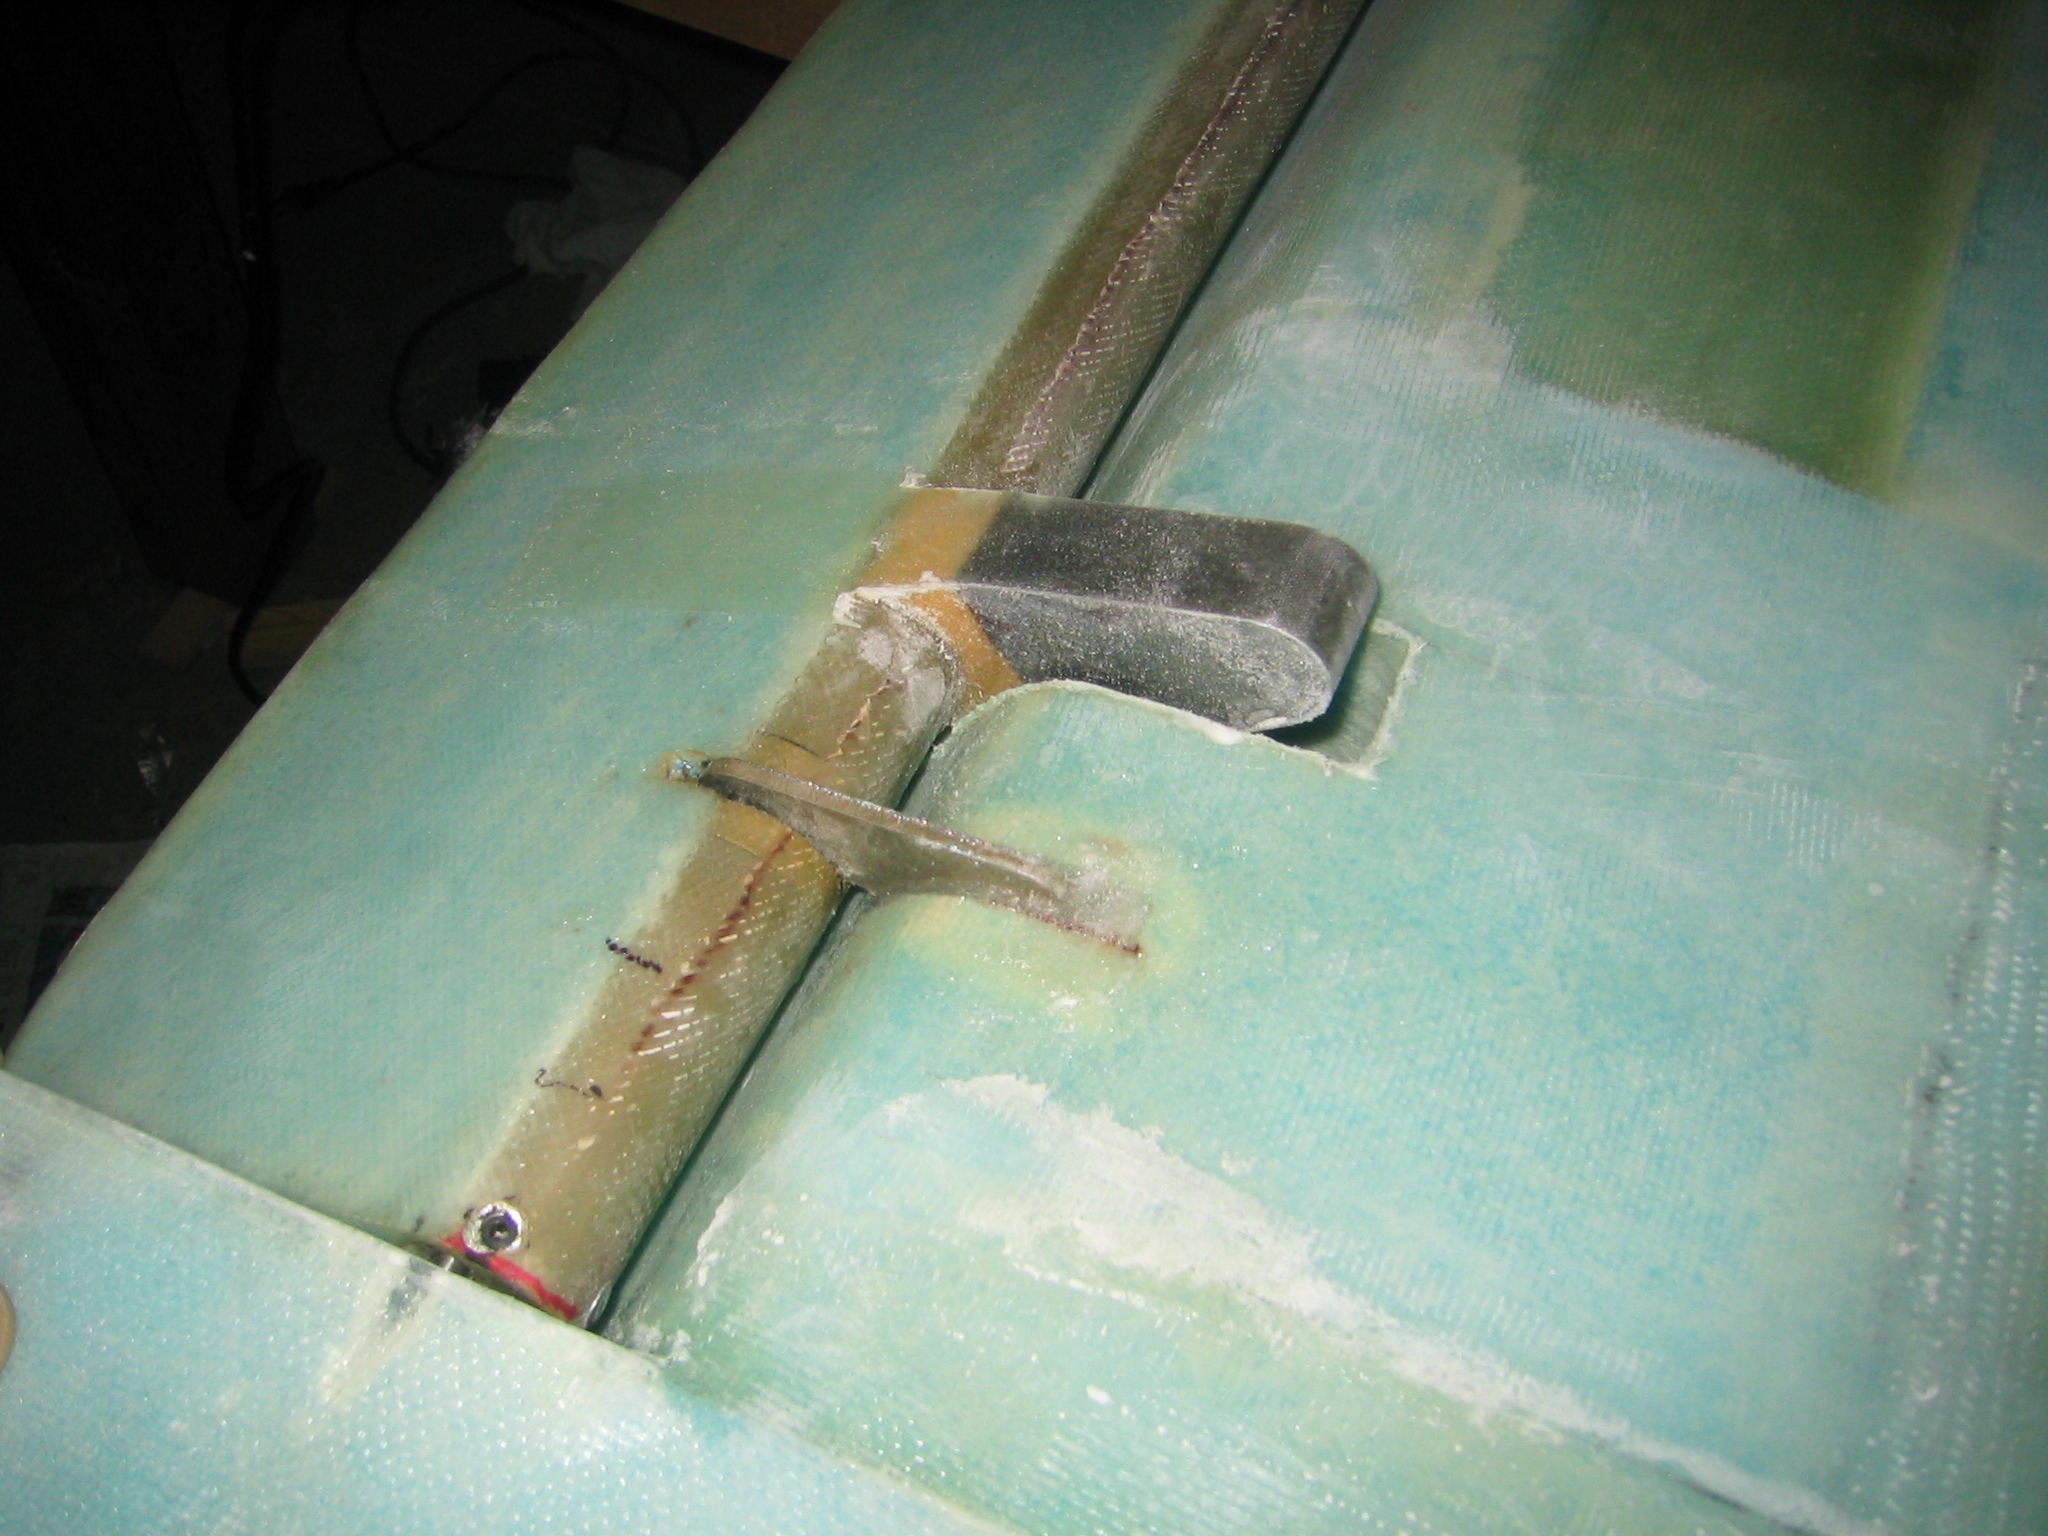
Next we installed the CS5A pitch trim bell crank, and the inboard and outboard elevator mass balance weights. The CS5A is simply riveted to the center spool piece of the torque tube. The outboard CS10 mass balance weights are installed by carving foam spacers to hold them out in front of the leading edge of the elevators. They are first installed with 5 minute epoxy and positioned using the appropriate jigs, and then glassed onto the elevator. The bottom of the canard must have a notch cut into it to allow the CS10 weights to swing freely through the elevator range of motion. The CS11 inboard weights are simply bolted to the elevator control arms.
And with that, chapter 11 is complete. Sadly, it took only 48 hours of working time, but took us over 4 calendar months to complete due to long breaks in the work schedule. 2006 has not been a particularly good year for our progress. We are hopeful that 2007 will afford us more time to dedicate to this adventure. It is truly the most interesting and rewarding project we’ve ever undertaken.